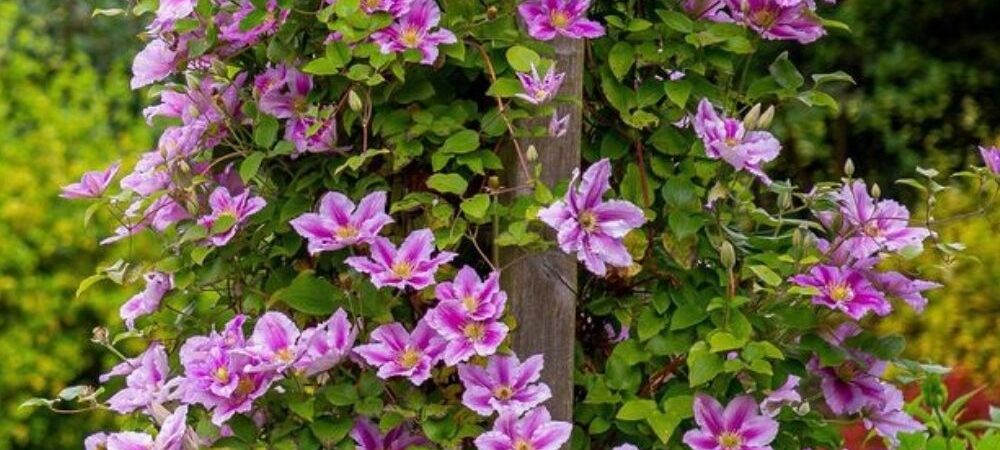
Unpopular opinion: the pruning groups aren’t the confusing part of clematis pruning. The confusing part is that almost nobody mentions the second cut.
Every guide walks you through the late-winter trim, tells you which group does what, and stops there. So you trim in late winter, get one glorious flush in early summer, and then the vine sits there being green until November.
That’s not a failure. That’s the predictable result of following half a rule.
The old rule has two cuts in it. A light one in late winter, and a second immediately after the first flowers fade. That second cut is the entire mechanism behind a clematis that blooms twice, and it’s the one that gets left out.
So here’s the myth, what the rule actually says, and how to run it this season without losing your flowers.
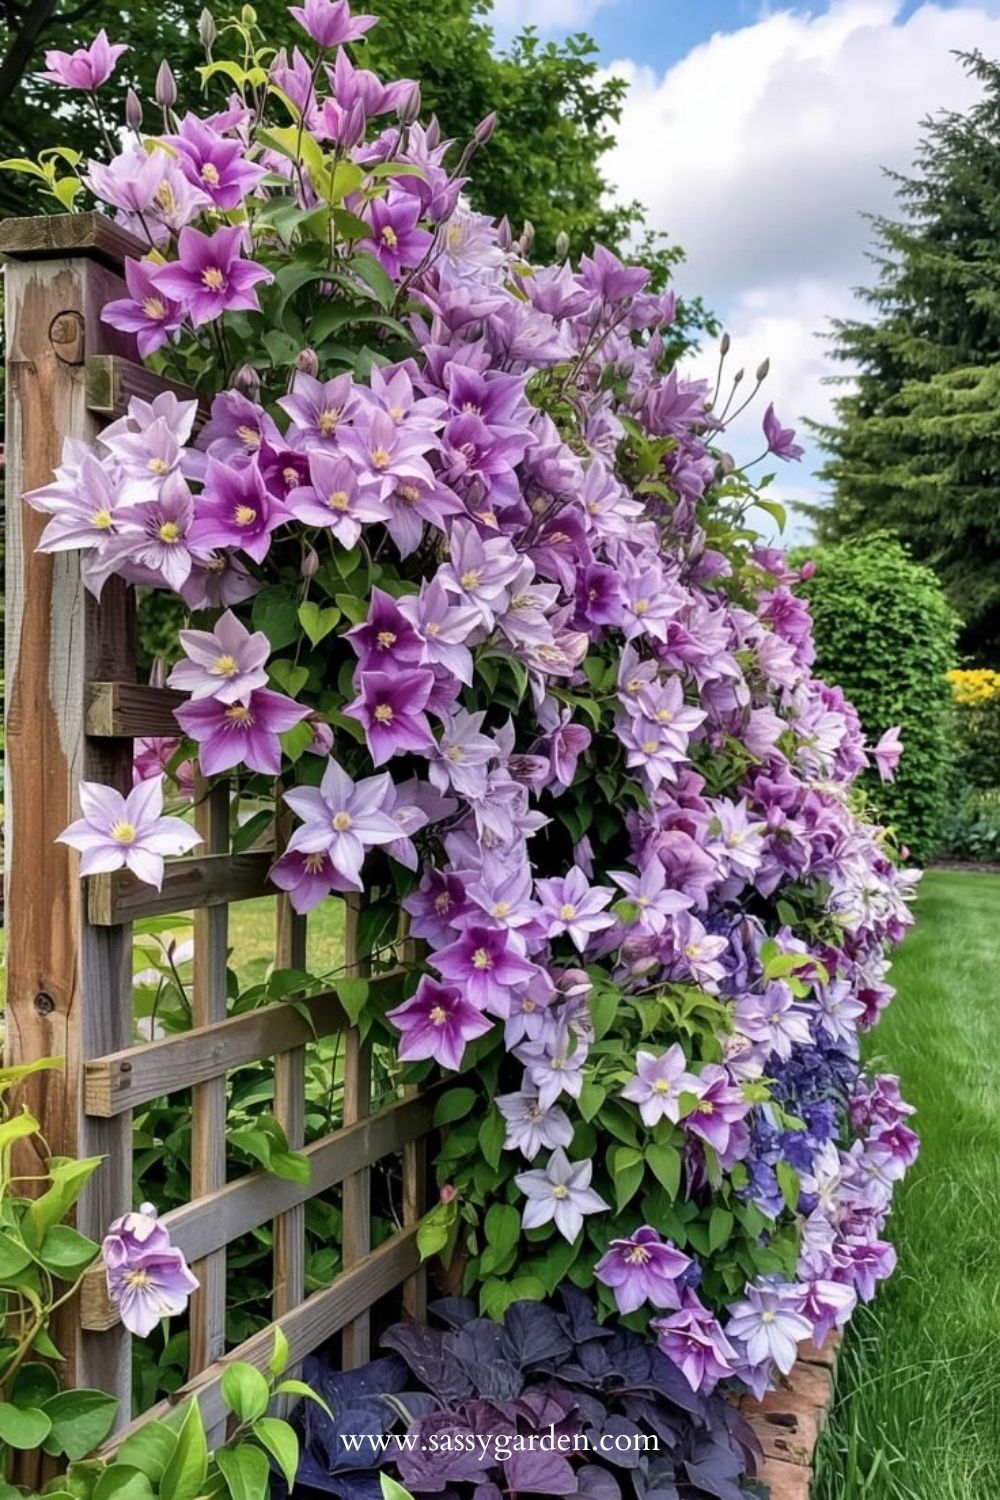
Where the “Just Cut It Back Hard” Advice Came From
One Rule Got Applied to Three Very Different Plants
Clematis fall into three pruning groups, and they want genuinely opposite treatment. Group 1 flowers earliest on old wood and barely needs pruning. Group 3 flowers late on new growth and gets cut hard.
Group 2, the large-flowered hybrids that most people actually buy, sits awkwardly in the middle. It flowers first on last year’s wood, then again on new growth, which is why the three-group system exists at all.
Somewhere along the way, “cut clematis back hard in late winter” became the shorthand version. It’s correct for group 3 and quietly disastrous for the other two.
What Happens When You Chop a Group 2 to the Ground
You remove every stem that was going to flower in May and June. All of it, in one afternoon.
The plant isn’t damaged. It just spends the whole spring rebuilding vine instead of opening buds, and by the time it has new growth mature enough to flower, you’re into late summer at best.
I did this for three years running to a clematis that gave me one spectacular June and then nothing. Three years. (Ask me how I know.)
Why the Mistake Looks Like a Healthy Plant
This is the part that keeps people repeating it. A hard-pruned group 2 puts out enormous amounts of leafy growth, climbs beautifully, and looks thriving.
So you assume the problem is feeding, or sun, or the soil. You buy fertilizer. Nothing changes, because the vine was never short of energy. It was short of old wood.
The Old Rule, and What It Actually Says
Cut One: Light, in Late Winter, to the Strongest Buds
Not to the ground. Not to a fixed height. You work down each stem from the top until you reach a fat, healthy pair of buds, and you cut just above them.
Do it as the buds start to swell in late winter, which lands earlier in zone 8 and two to three weeks later in zones 4 and 5. Take out anything dead, brittle, or tangled while you’re there.
Wear gloves. Clematis sap irritates human skin, and the plant is toxic to dogs, cats, and horses per the ASPCA, causing drooling, mouth pain, and vomiting if chewed. Worth knowing before you leave a pile of trimmings on the lawn.
Cut Two: Right After the First Flush Fades
This is the one that does the work. As soon as the early-summer flowers are going over, cut those flowered stems back by about a third, down to a strong bud or a healthy side shoot below the spent bloom.
That’s the whole trick. Pruning back to large buds or a strong side shoot immediately below the blooms is what pushes a group 2 into a second, lighter flush in late summer or early fall on new growth.
Go light here. Prune hard at this point and you cut off the buds that would have given you the second show, which means you’re back to one flush again.
And to be clear: this only works on group 2. Group 1 gets pruned right after flowering and left alone. Group 3 gets one hard cut in late winter and blooms once, late, on new growth.
How to Do It Without Losing a Season
Which Pruning Group Is Your Clematis, Actually?
Forget the plant tag. You lost it, everybody does.
Work it out by watching when it flowers instead:
- Early spring, on stems that were clearly there last year: group 1.
- Big flowers in May or June, then a few stragglers later: group 2, and this post is for you.
- Nothing until midsummer, on obviously new growth: group 3.
If you can’t tell, do nothing for one season except take notes. A walkthrough of all three groups makes identification easy once you know the flowering window.
The Late-Winter Cut, Step by Step
Wait for bud swell, then work stem by stem from the top down. Cut just above the highest pair of plump buds, angling the cut so water runs off.
Untangle what you can before you cut rather than after. Clematis stems snap if you yank them, and a broken stem below your cut point is a flower you don’t get.
Then feed and mulch. A handful of balanced fertilizer and a couple of inches of mulch pulled back from the crown, because clematis genuinely does want cool roots and a sunny head. Shading the base with a low perennial does the same job for free.
The Midsummer Cut, Step by Step
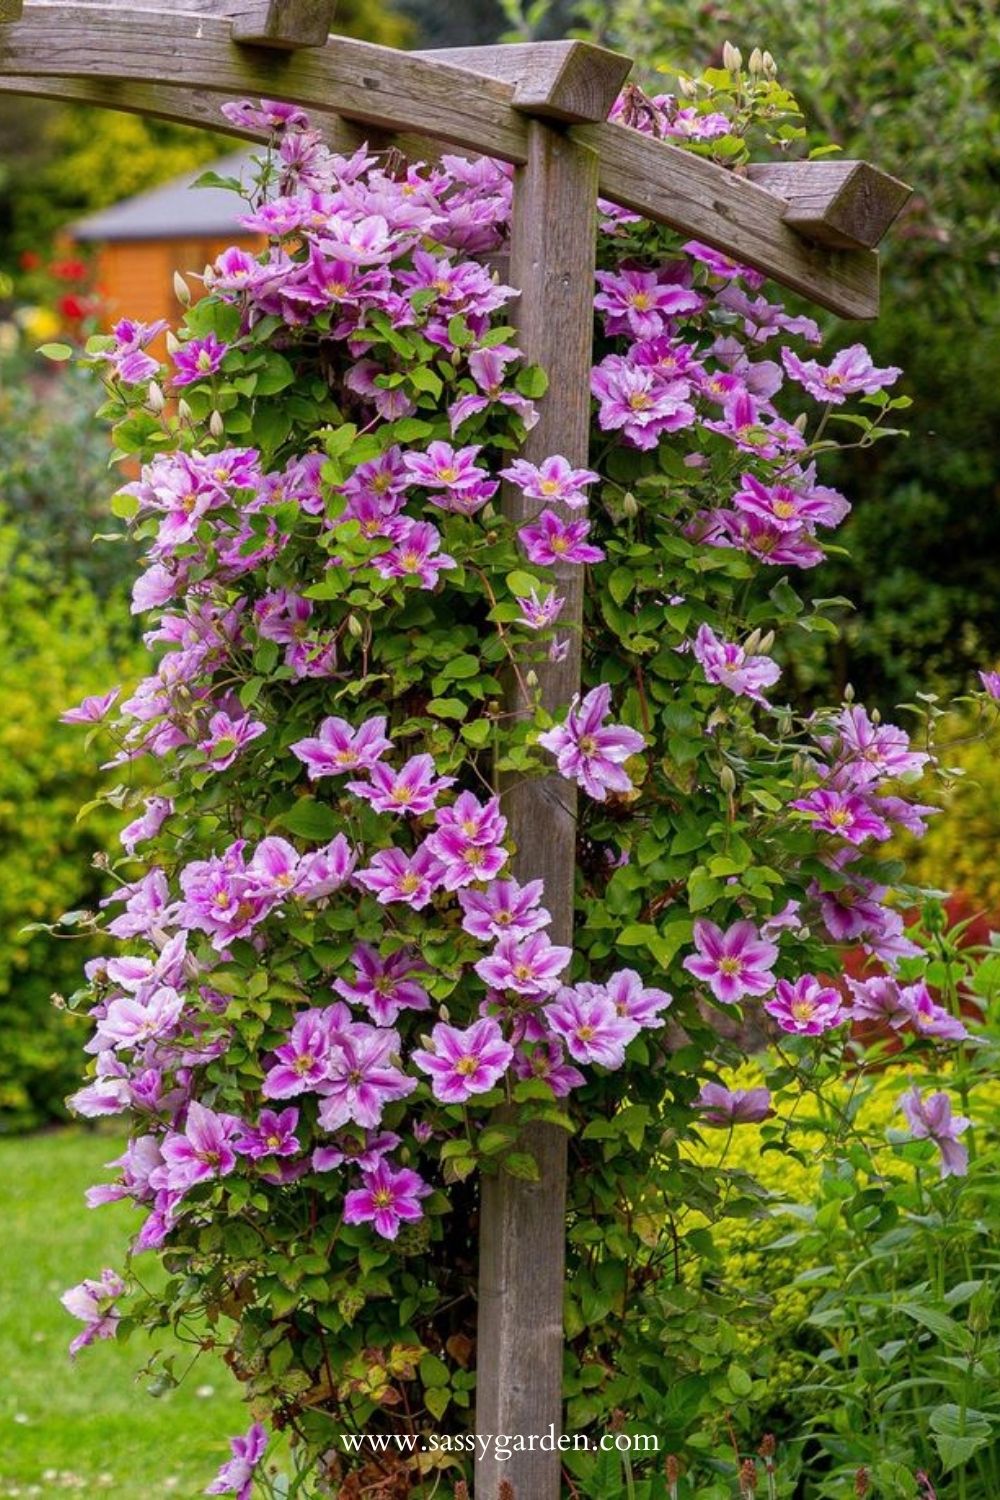
Do it the week the first flush finishes, not a month later. Trim each flowered stem back by roughly a third to a strong bud or side shoot, water well, and give it a light feed.
Then leave it alone. The second flush comes on the new growth that push generates, and it’s usually lighter than the first, which is normal rather than a sign you did it wrong.
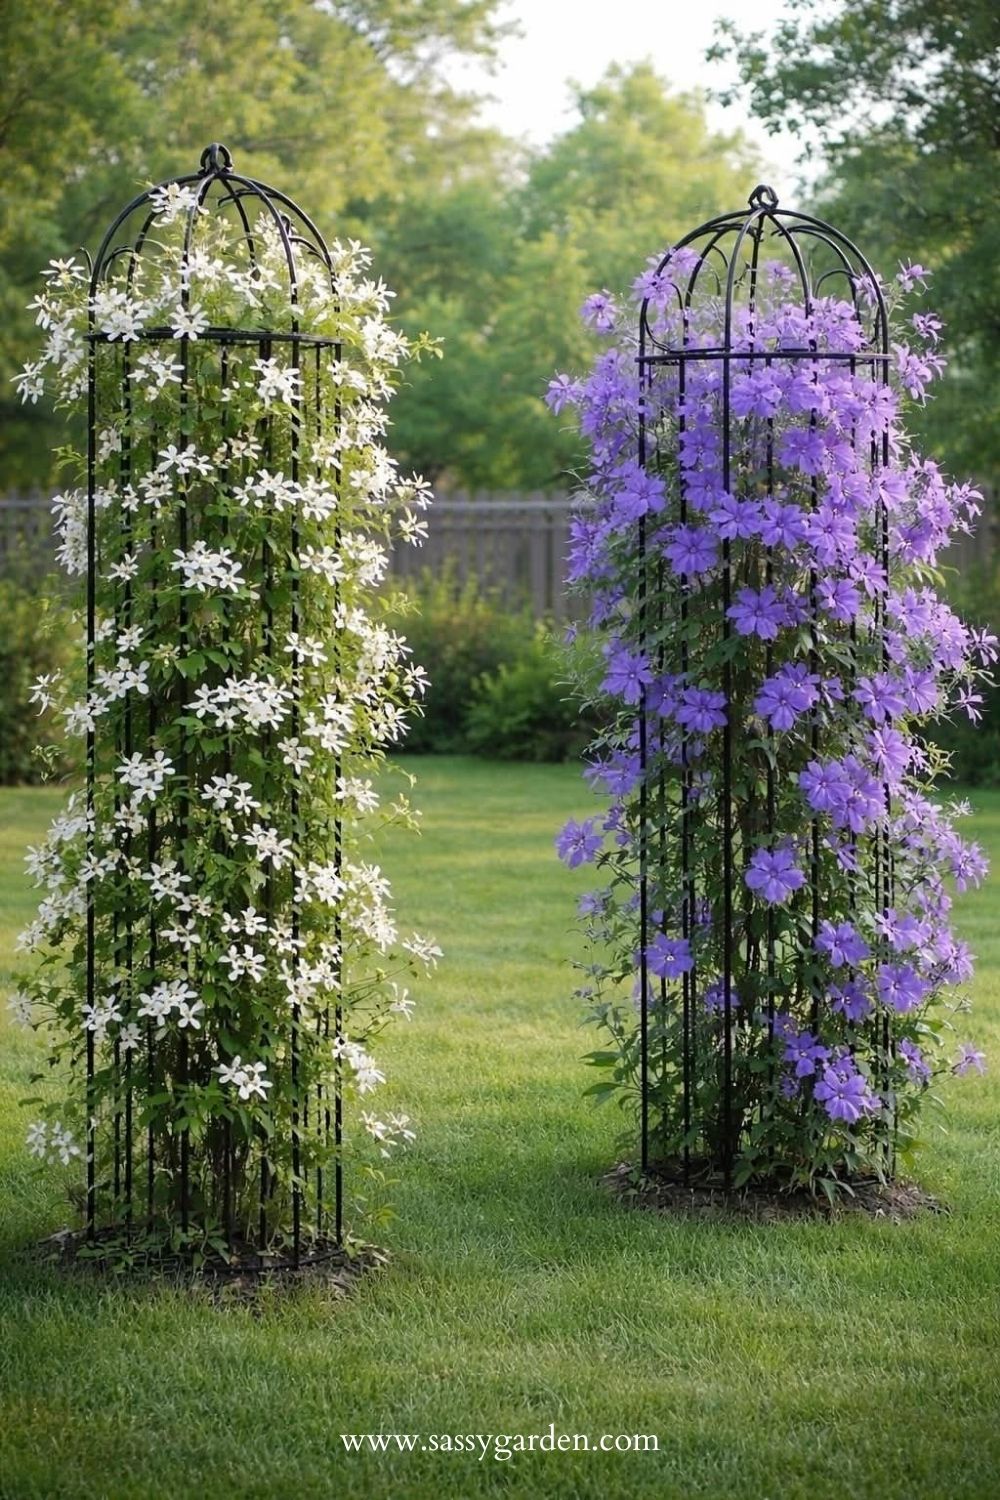
A word on structures while you’re in there: obelisks, arbors, and lattice panels all make both cuts easier than a wall of tangled wire does, and which trellis is right for your climbers matters more for pruning access than for looks. If you’re growing clematis as cover, these garden privacy screen ideas pair well with a group 2 on a panel.
One species to skip: sweet autumn clematis (Clematis terniflora). It’s reported invasive in at least ten states, seeds everywhere on the wind, and smothers whatever it climbs. Native virgin’s bower (Clematis virginiana) gives you the same froth of small white flowers, and you can tell them apart by the leaf edges, since the native has jagged margins and the invasive is smooth.
But What If You’ve Already Cut It Back?
Then this year’s early flush is gone, and I’d rather tell you that plainly than pretend otherwise.
The plant is fine. It’ll spend spring building vine, and depending on how vigorous it is you may still get a modest late-summer showing on the new growth. Next year it flowers normally, provided you leave the old wood alone in late winter.
While you wait, do the useful things. Feed it, mulch it, keep the roots cool, and make sure it’s planted deep enough. Setting a clematis a couple of inches deeper than it sat in the pot gives it buried buds to resprout from if clematis wilt takes the top growth, which it sometimes does with no warning at all.
If a stem does collapse suddenly, cut it out at ground level, bin it rather than compost it, and wait. Healthy plants usually push new shoots from below. That patience-plus-hygiene approach is the same one behind the old gardener’s approach to disease-free roses, and it works here for the same reason.
Container growers: same two cuts, but water far more often, since a pot dries out fast and a stressed clematis drops its second flush first. (I know, I know. But hear me out, it’s one extra watering can.)
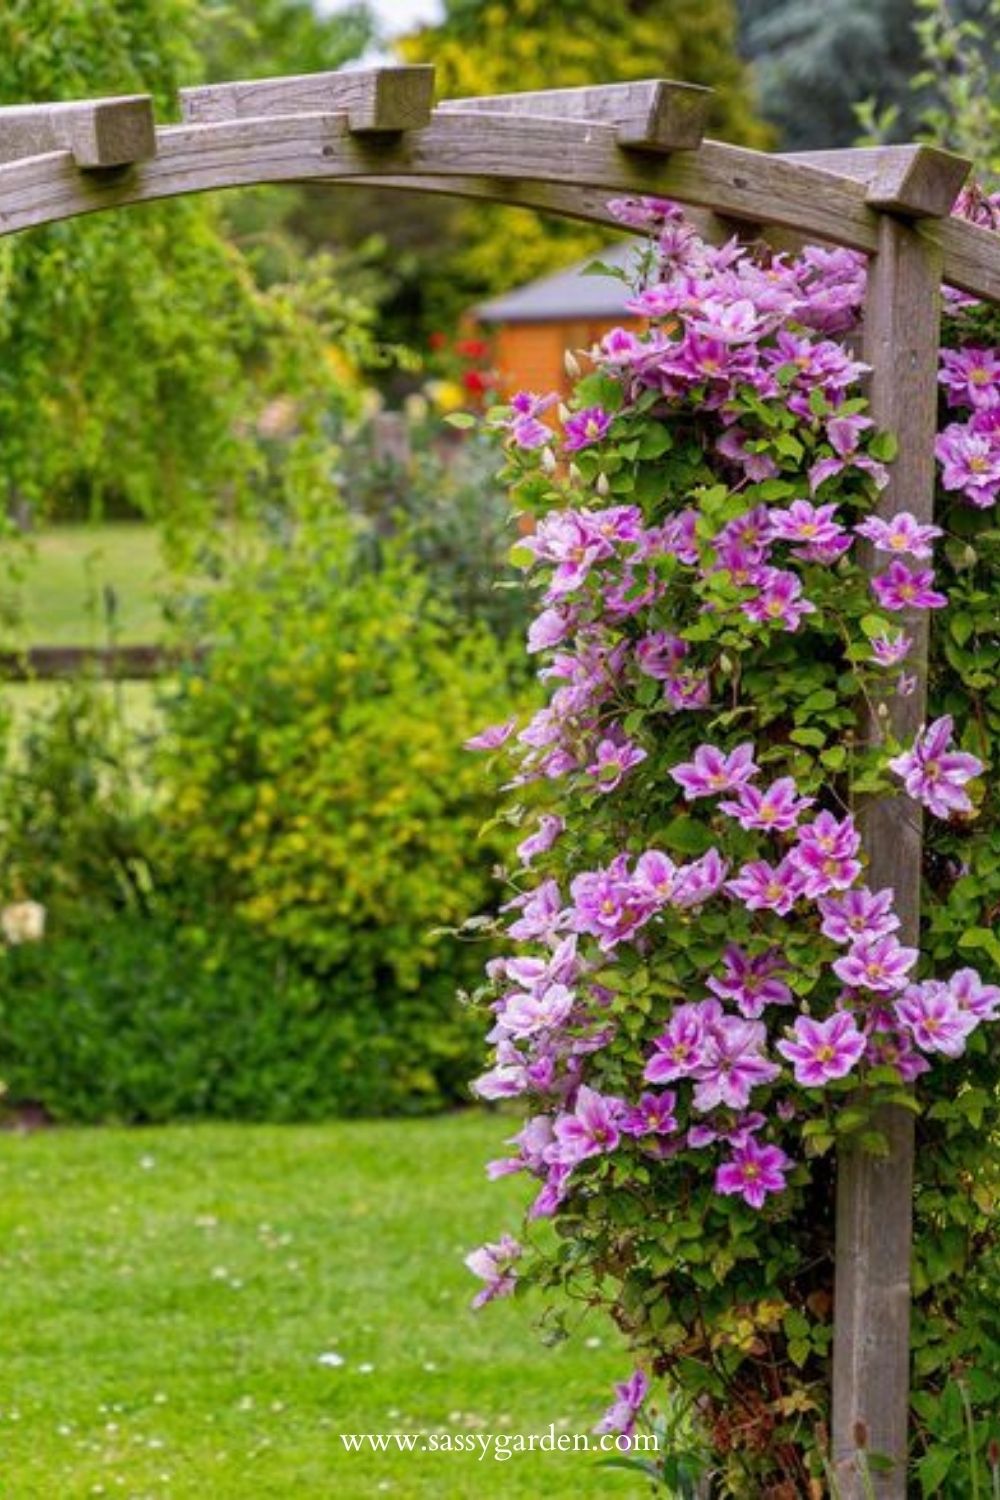
New plants get a pass on all of this. In the first year or two, cut a young clematis back hard in late winter regardless of group. You’re trading one season of flowers for a plant that branches from the base instead of growing one bare leggy stem forever.
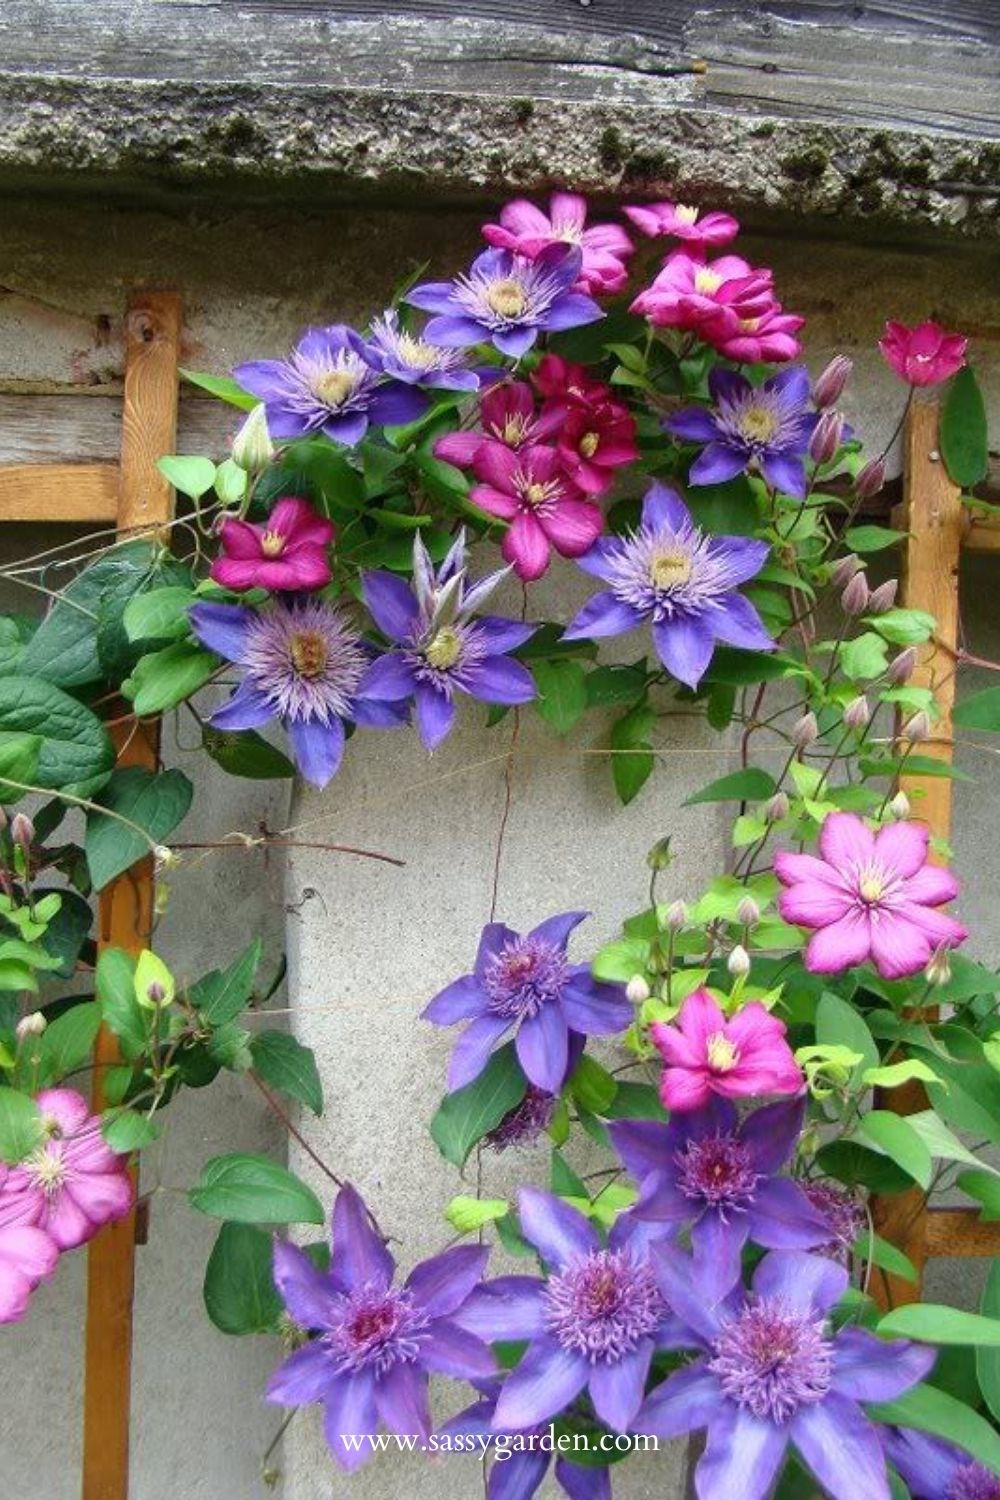
Start with this: write down the week your clematis opens its first flower this year. That single note tells you the group, and the group tells you everything else.
Skip this: the hard late-winter chop on anything that flowers before midsummer. It’s the most common piece of clematis pruning advice going and it’s the reason so many vines give you one show a year instead of two.
Then this summer, the week those first flowers fade, go out with clean pruners and take the flowered stems back by a third. That’s the old rule, all of it, and it costs you ten minutes.