The idea that a sunken fire pit is just a hole with a fire in it? That’s how people end up with a bowl of standing water and a ring of soggy ash by October.
I’ve seen it happen. A gorgeous circle dug into a lawn, benches in, everyone delighted for about six weeks. Then the first real downpour, four inches of water in the bottom, and by July it’s a mosquito nursery with cushions around the edge.
The difference between that and the ones people use three seasons a year comes down to four rules. None of them are about looks. They’re about where water goes, how far the fire sits from things that burn, how you get in and out in the dark, and whether the seats are comfortable.
So here are the rules, then six sunken fire pit builds that follow them, from a weekend with a pile of gravel to full masonry.
The Three Rules “Just Dig a Hole” Ignores
Rule 1: Water Has to Leave Before You Do
You are digging a basin. Basins collect water, and gravity is not going to make an exception for your patio furniture.
Build the floor on compacted drainage gravel, and six inches of three-quarter-inch gravel tamped down firmly is the standard starting point. That layer keeps the whole thing stable as well as dry.
Then give the water somewhere to go. On free-draining soil a center sump works: a hole roughly a foot across and eighteen inches deep, filled with coarse gravel. On heavy clay you need a run-out trench leading away from the pit, about six inches wide, carried ten feet or so to daylight.
Do this first, before anything pretty happens. Retrofitting drainage under a finished stone bench is a job nobody enjoys twice.
Rule 2: Ten Feet of Nothing, Sideways and Overhead
The standard clearance is at least ten feet from anything combustible, and that includes the branches over your head, which people forget constantly because they plan in daylight looking down.
Keep a non-combustible margin around the pit itself too, roughly three feet of gravel or pavers with nothing burnable in it. Sitting in a depression makes you feel safely contained, and that feeling is not the same as being far enough away.
Planting matters here more than you’d think. Juniper and arborvitae are resinous and go up fast, and dormant ornamental grasses are basically kindling. Set grasses well back, and choose native little bluestem (Schizachyrium scoparium) over Chinese silvergrass (Miscanthus sinensis), which is both flammable and listed invasive across much of the eastern US.
Never burn oleander, treated lumber, or poison ivy. The smoke from all three is genuinely dangerous. (Yes, really. People do it every year.)
And call 811 before you dig. Free, quick, and better than finding your gas line with a mattock. If you’re thinking about roofing the area, whether a fire pit under a pergola is safe is worth reading first.
Rule 3: Two Ways In, and Steps You Can See in the Dark
One entrance means everyone climbs over the person nearest the gap. Two openings on opposite sides turns a pit into a room with a way through.
Steps need a visible edge at night, because a sunken area is exactly where someone carrying two drinks misjudges the drop. Recessed strip lighting under the tread, a lantern at each landing, or a line of solar garden lights that actually keep working along the path.
Make the treads generous. Deep, shallow-rise steps read as part of the seating and get sat on constantly, which is a feature rather than a problem.
Rule 4: The Seating Numbers Nobody Checks
Most DIY benches come out too low and too close, and you don’t find out until the first evening when everyone’s knees are up around their ears and their shins are cooking.
Aim for a seat height around 18 inches, the same as a dining chair, and a seat depth of about 18 to 20 inches so a cushion fits without hanging off. Set the bench face roughly three feet back from the outer edge of the fire, further if you’re building a big pit.
A backrest changes everything about how long people stay. A low retaining wall behind the bench does the job, or a run of cushions propped against the wall face, which is cheaper and works nearly as well.
What to Sit On, and What Not To
Stone, block, and poured concrete are the low-maintenance answers and they hold warmth into the evening. Timber is warmer to sit on from the first minute and needs sealing every couple of years.
Cushions want a spark-resistant outdoor fabric, not indoor upholstery, and they want somewhere dry to live. A bench with a hinged lid or a deck box at the top of the steps saves you hauling them in and out.
One note for cold zones: in zone 5 and colder, frost heave will move mortared walls and shallow footings over a few winters. Dry-laid stone and block flex with it. Mortar wants a proper footing below your frost line. (I know, I know. But hear me out, it’s the difference between five years and twenty.)
6 Sunken Fire Pit and Seating Ideas
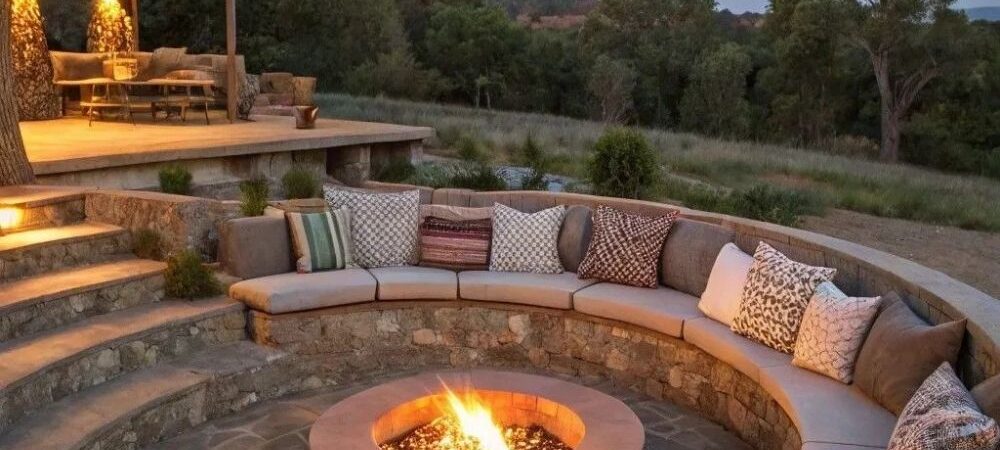
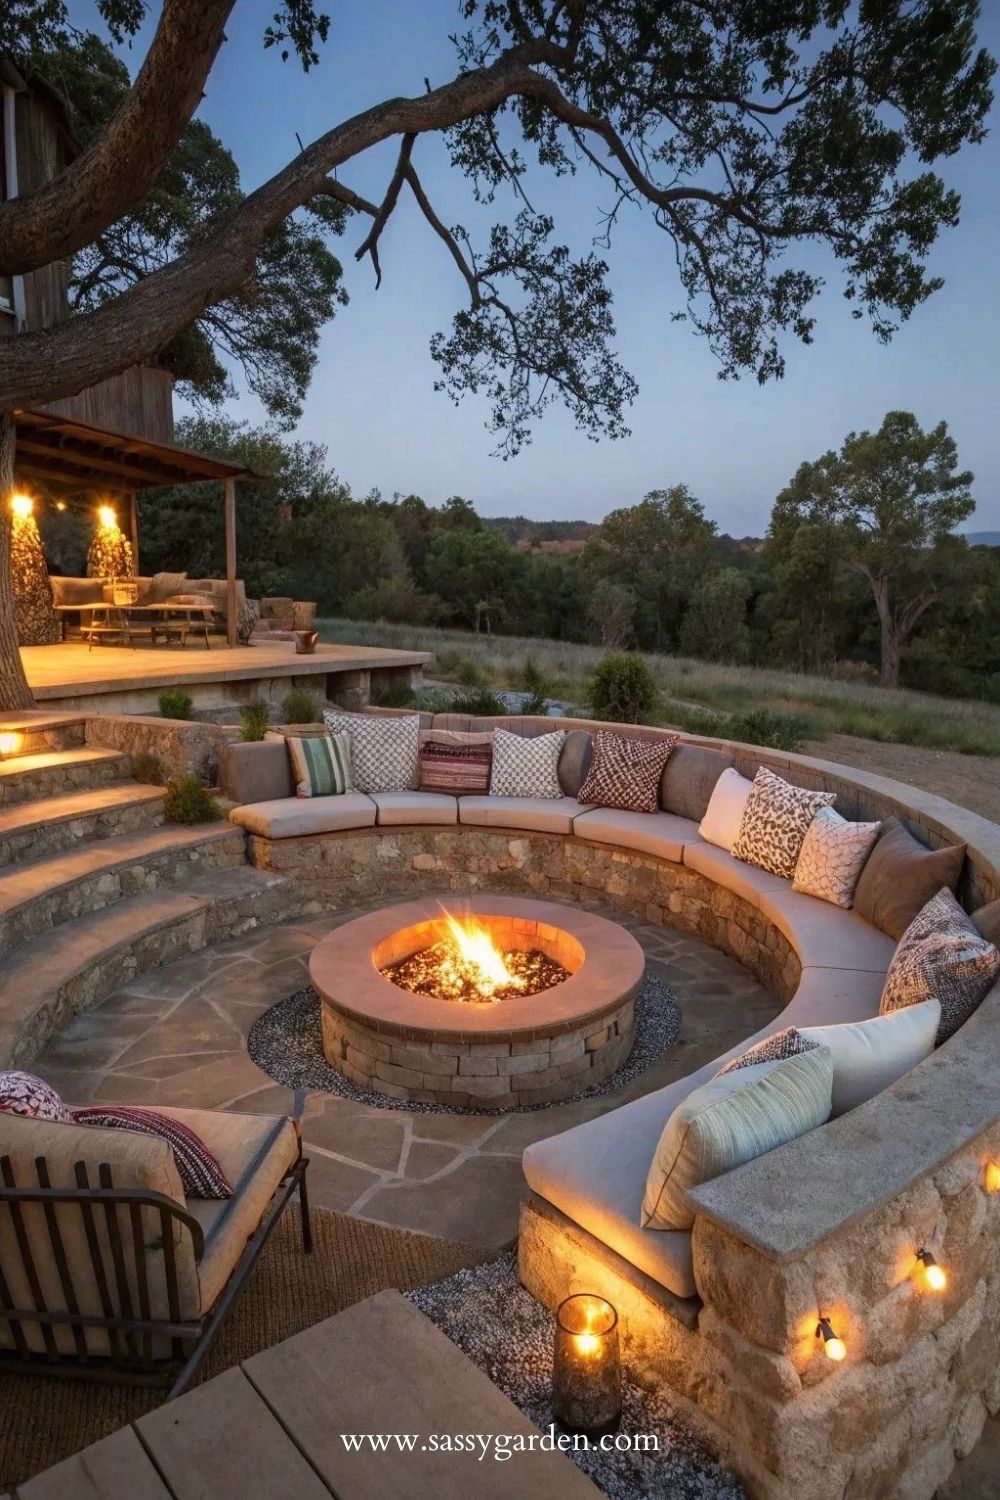
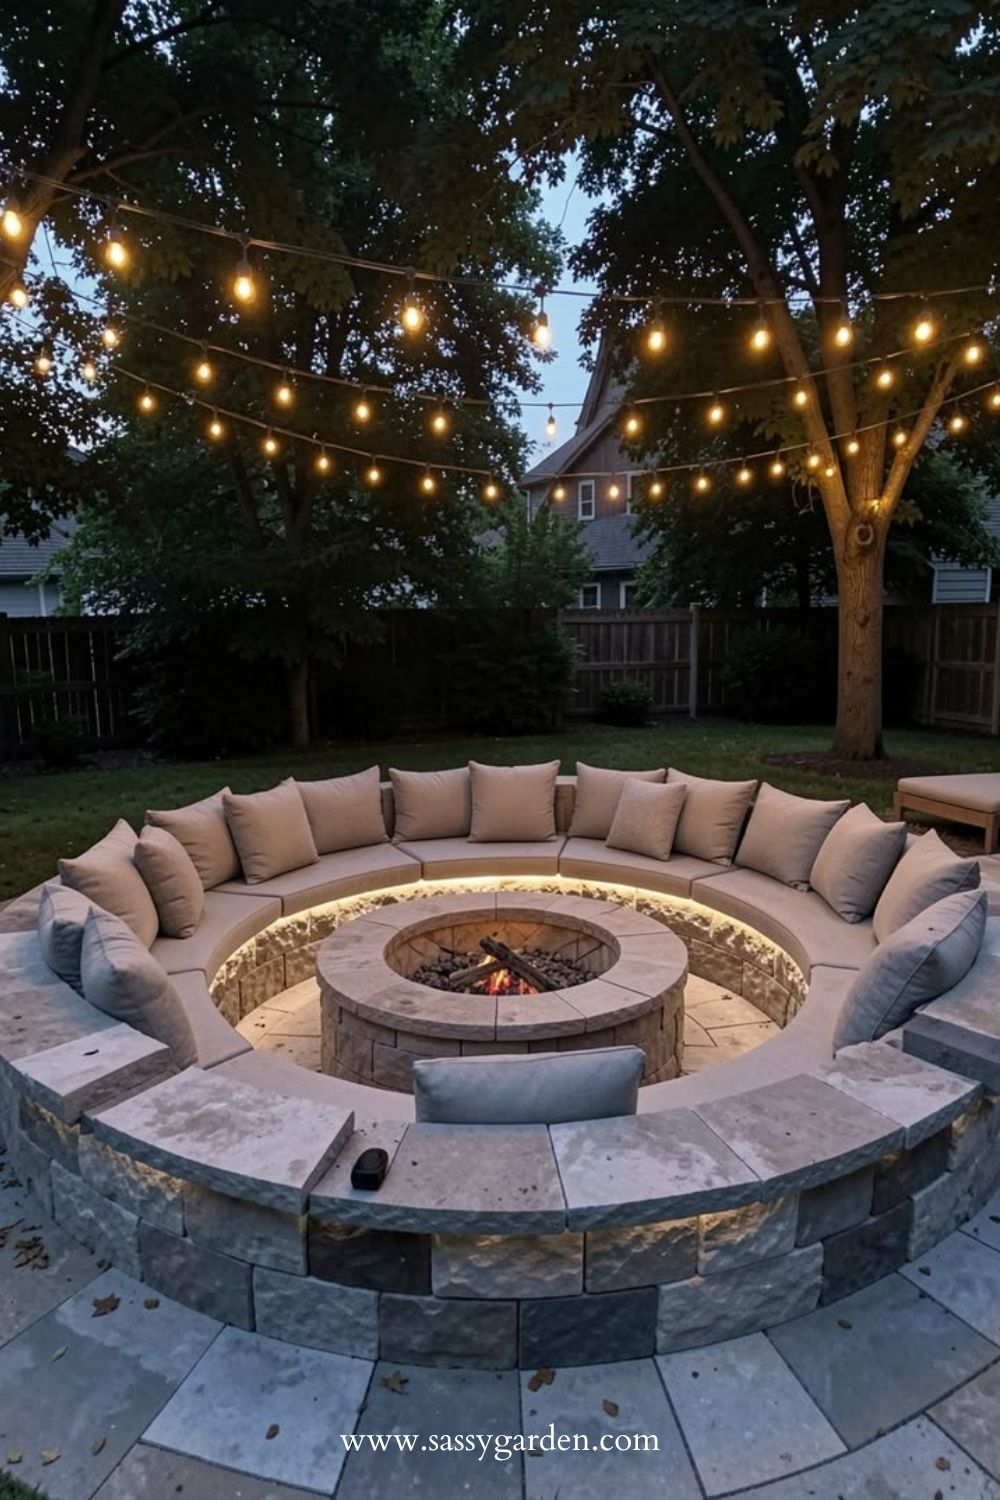
1. Stone amphitheater with a curved built-in bench. A stacked stone retaining wall wrapping two thirds of a circle, capped with a smooth stone seat, flagstone floor, masonry fire ring in the middle. Terraced steps down from the patio double as extra seating.
Expensive and permanent. If you already have a slope it’s less work than it looks, because you’re cutting into a bank rather than digging a hole.
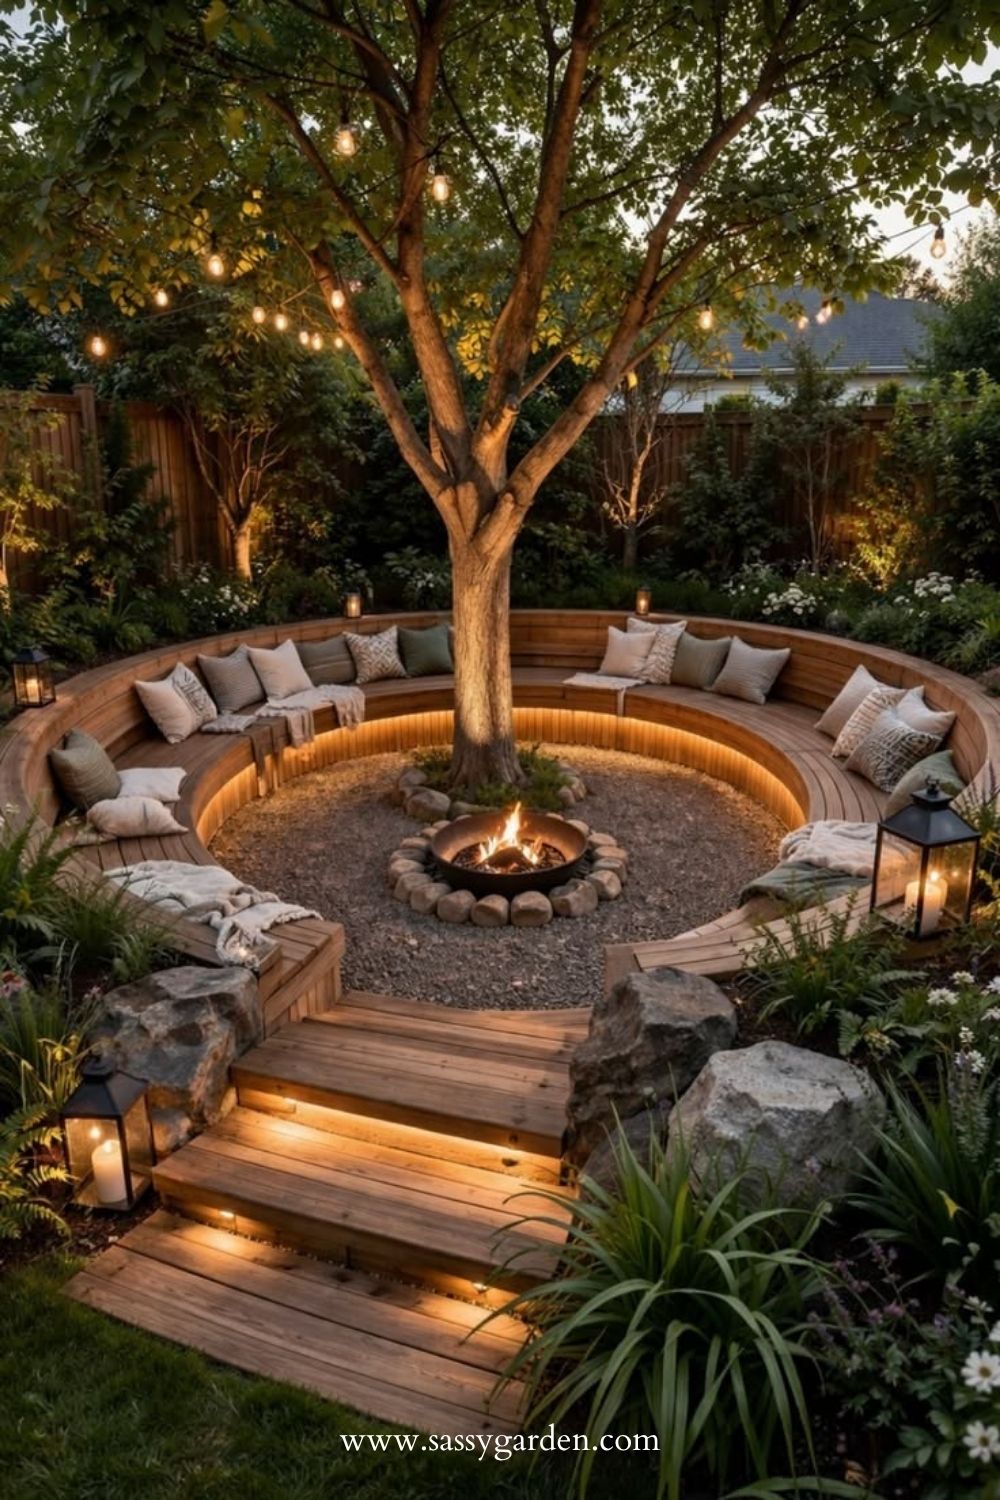
2. Timber bench ring around an existing tree. A curved cedar or redwood bench following the circle, gravel floor, portable fire bowl offset from the trunk, lights strung through the branches.
Beautiful, with a real caveat: keep the fire well away from the trunk and root zone, since heat damages roots and low branches are exactly the overhead hazard rule 2 is about.
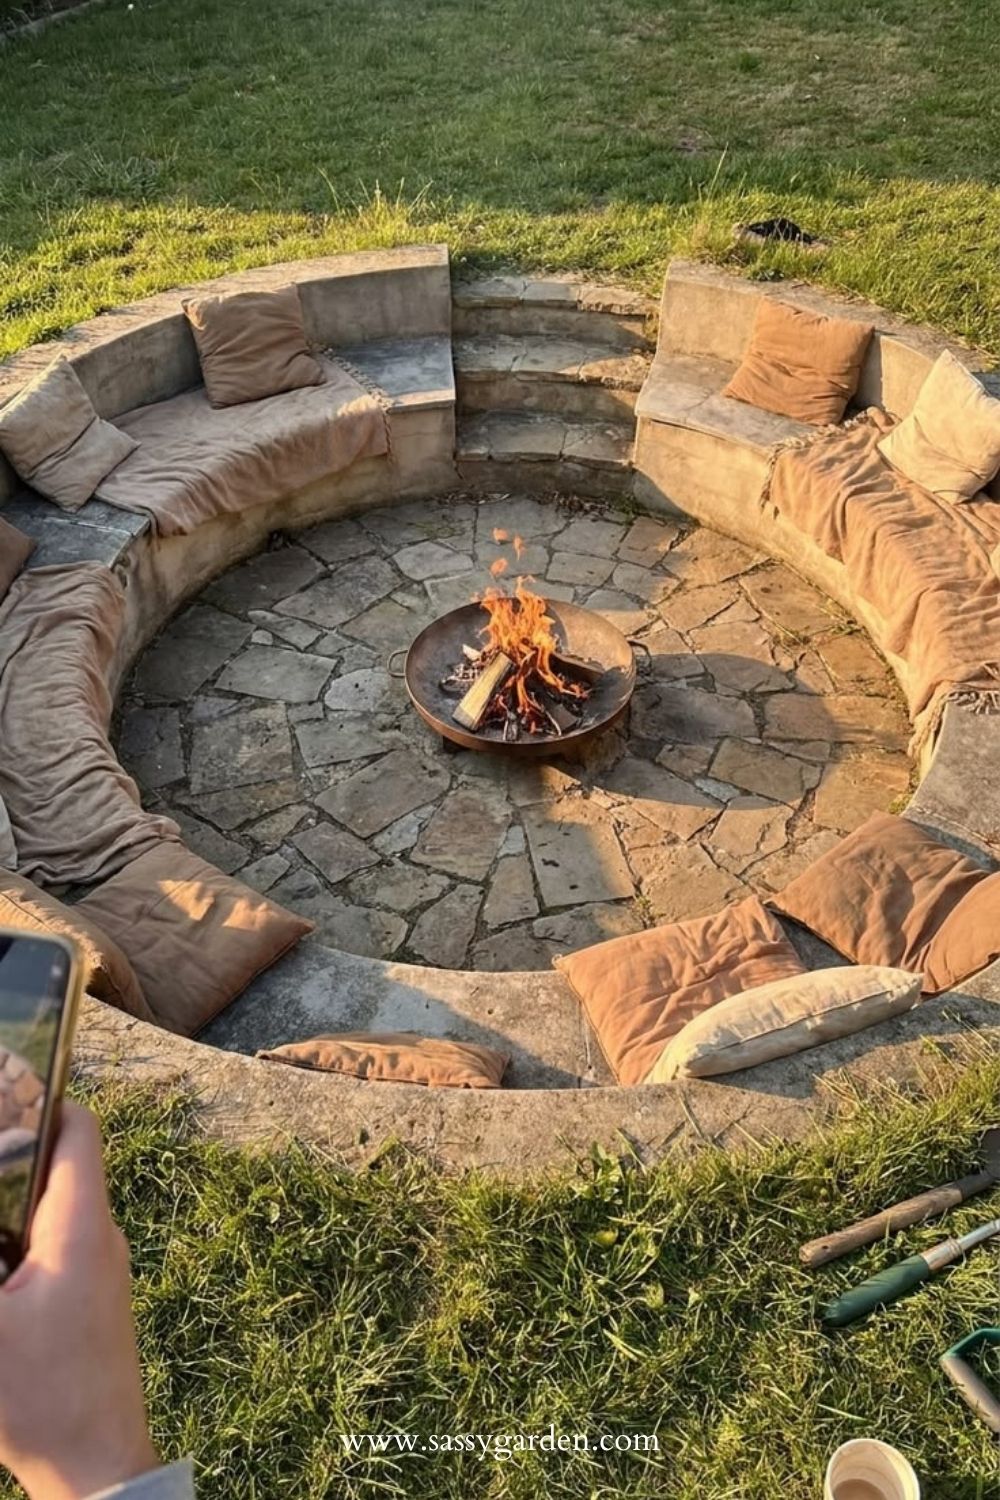
3. Flagstone floor with a poured concrete bench. A dished area paved in irregular flagstone with a continuous concrete bench curving around the back. A steel fire bowl sits loose in the middle so it can be moved and emptied.
The concrete pours in one go against a curved form, which is a satisfying weekend if you’ve done any formwork before.
4. Paver block circle with under-bench lighting. Retaining wall block laid in a ring, capped with flat pavers as the seat, a strip of LED tape tucked under the cap so the whole bench appears to float at dusk.
This is the most beginner-friendly of the permanent builds. Block systems are designed to curve, no cutting required for the walls, and circular garden design ideas will help you set the radius before you start laying anything.
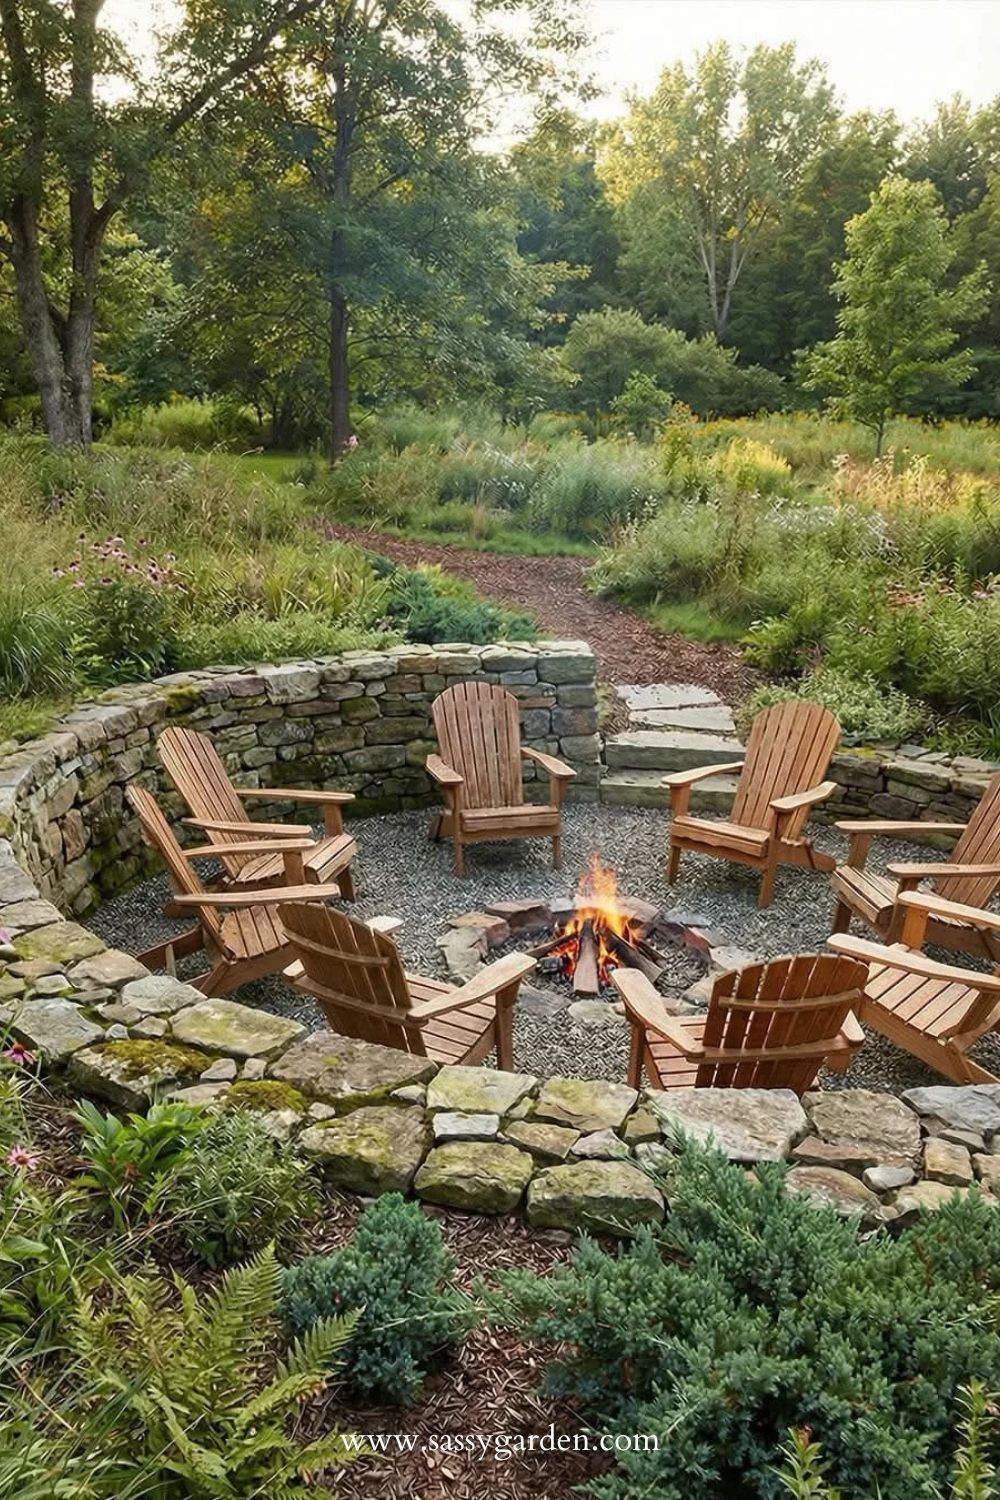
5. Dry-stone wall with loose Adirondack chairs on gravel. A low dry-laid stone wall retaining the edge, a pea gravel floor, and moveable chairs around a simple stone-ringed fire.
My favorite of the six, honestly. It’s the cheapest permanent-looking option, the chairs go where the smoke isn’t, and dry stone doesn’t care about frost.
6. The budget scoop: gravel dish, log rounds, portable bowl. Skim off six inches of turf, lay landscape fabric and gravel, edge it with salvaged stone or timber, and set a steel fire bowl in the middle with log rounds and folding chairs for seating.
One weekend, a few hundred dollars, and it tests whether you’ll actually use the spot before you commit to masonry. I’d tell most people to build this first.
When to Break the Rules
Can You Put a Sunken Fire Pit in a Small Yard?
Yes, and shrink the pit rather than the seating.
A 30-inch fire bowl with a bench at three feet still needs a circle around twelve feet across, which fits more yards than people assume. Cut the seating to a half-circle against a fence line, then put a bistro table opposite instead of a second bench.
What doesn’t flex is rule 2. If you can’t get ten feet from the house, the fence, and the neighbor’s shed, use a portable fire bowl you can position freely rather than digging a permanent pit in the wrong place.
What If Your Yard Floods or Has Heavy Clay?
Then don’t sink it. That’s the honest answer and it saves people a lot of money.
Clay holds water, a depression in clay holds it longer, and no amount of gravel fixes a low spot in a wet yard. Build the same circle at grade with a raised seat wall around it and you get the enclosed feeling without the basin.
If you’re set on sinking it, budget for a real drain: a trench carrying water at least ten feet away to somewhere lower, or a dry well. Not optional.
Sunken Fire Pit Questions
Are Gas Fire Pits Safe in a Sunken Area?
This one deserves a straight answer: propane and sunken areas are a bad combination.
Propane is heavier than air, so leaked gas sinks and pools in the lowest spot available. A sunken seating area is, by definition, the lowest spot available, and pooled propane plus any spark is an explosion rather than a smell you notice in time.
Natural gas is lighter than air and behaves better. Any propane installation needs proper low-level ventilation and professional work. Wood is the simpler choice here, and it’s what almost every build in this post assumes.
What Does a Sunken Fire Pit Cost to Build?
Wide range, and the gap is almost entirely materials and labor.
The gravel-and-bowl version runs a few hundred dollars in a weekend. A block ring with paver caps and lighting lands in the low thousands if you do the work yourself. Full stone masonry with terraced steps is a contractor project and prices like one.
Drainage is the line item people cut. It’s also the one that decides whether you’re still using it in year three.
Here’s what I actually want to know from you, because it changes the whole calculation: how late into the year do you genuinely sit outside?
If the answer is “we stop in September,” a sunken fire pit is a three-month feature and the gravel version is plenty. If you’re the household still out there in a blanket in November, that’s a strong argument for the stone bench and the proper drain, because you’ll get real use out of it.
Tell me where you land and what your winters do, and I’ll tell you which of the six I’d build in your yard. I’m genuinely curious how far north people are managing to keep the season going.