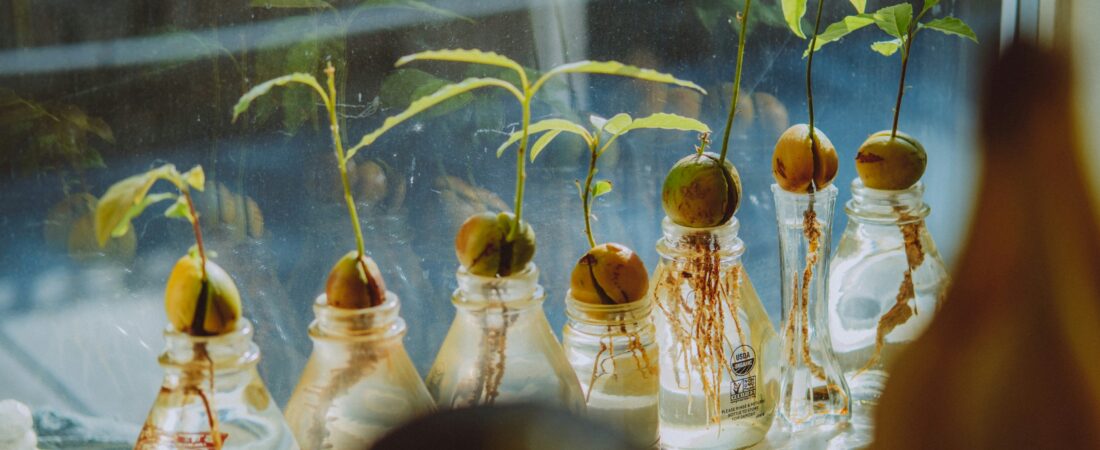
Every avocado comes with a free houseplant inside it. That’s the pitch, anyway, and it’s mostly true: an avocado pit will sprout on a kitchen counter with nothing more than water, a jar and a lot of patience. What the internet tends to skip is how long the patience part takes, which steps really change the result, and which ones are just tradition. I started four pits at the same time to find out, and the answers were not quite what I expected.
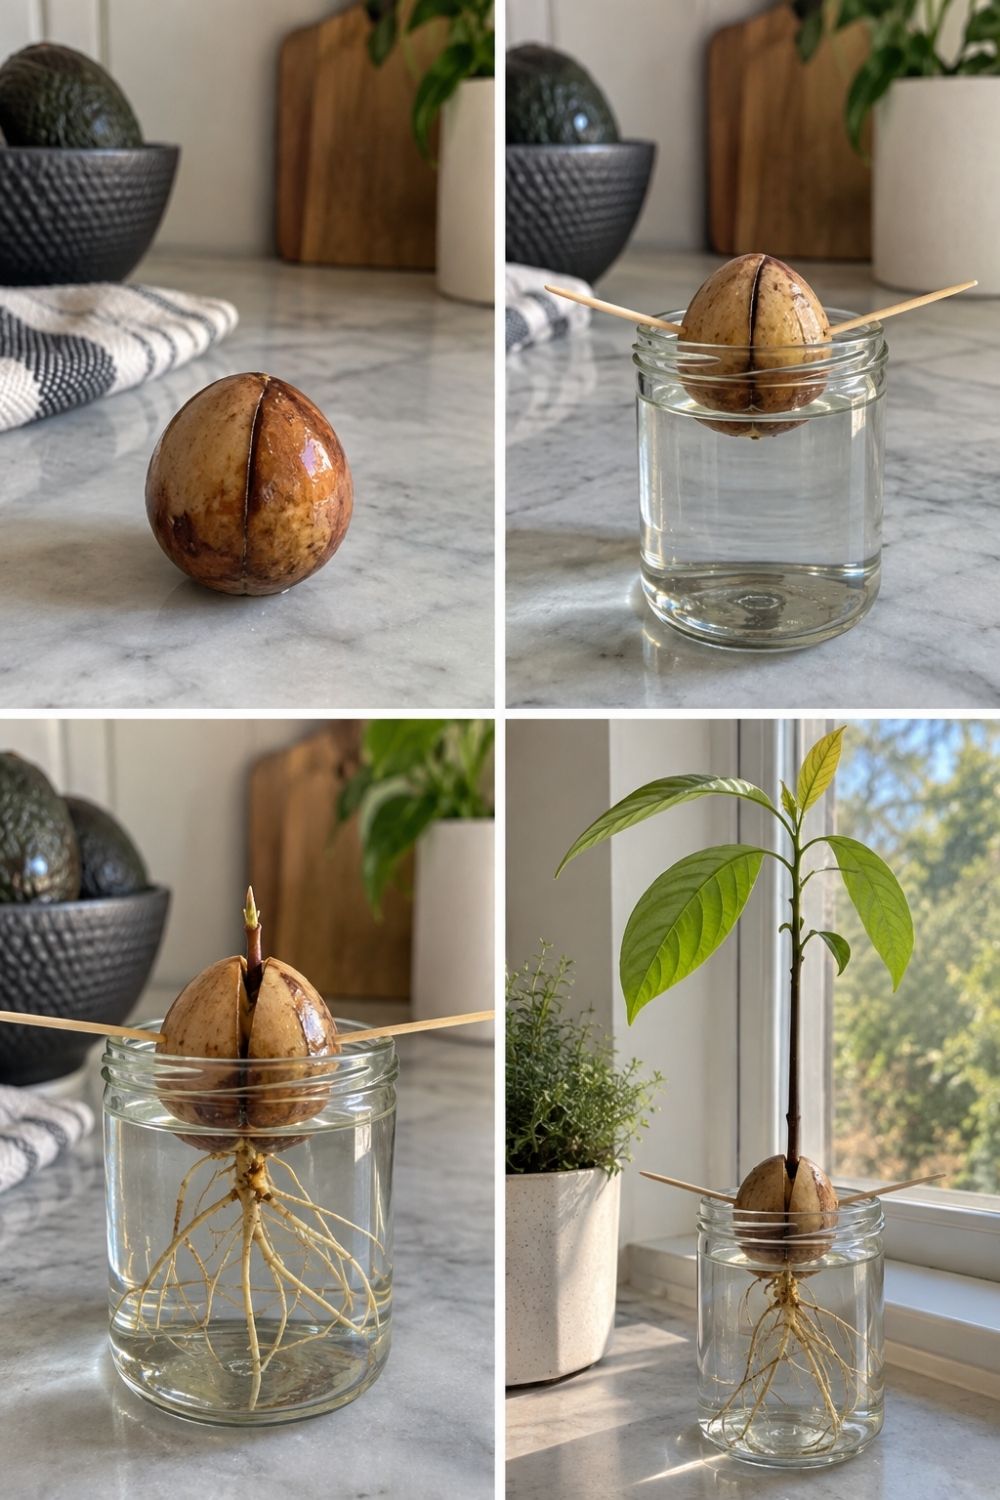
Photo by SassyGarden
The four photos above show the whole journey in one frame: a clean pit on the counter, the same pit suspended over a jar of water on toothpicks, the first roots and a split top, and finally a young avocado plant with a tall stem and big glossy leaves by the window. Between the second and the third photo, expect anything from two to eight weeks. Sometimes longer.
The pit matters less than how you prep it
Any ripe grocery-store avocado will do, Hass included. What matters more is how you handle the avocado seed once it’s out of the fruit.
Wash off every bit of flesh, because leftover fruit goes moldy fast in a jar of water. Then find the top and bottom. The slightly pointed end is the top, where the shoot will appear; the broader, flatter end is the bottom, where the roots come out. Planting it upside down is the most common reason a pit never sprouts. If you really can’t tell, lay it on its side in soil; the roots and shoot will sort themselves out.
Peeling off the thin brown skin is optional. My peeled pit split open about ten days before the unpeeled ones, which matches what a lot of growers report, but both got there in the end.
Water or soil? Both work
This was the real experiment. Two pits went into jars with toothpicks, and two went straight into pots of damp potting mix, broad end down, with the top third showing.
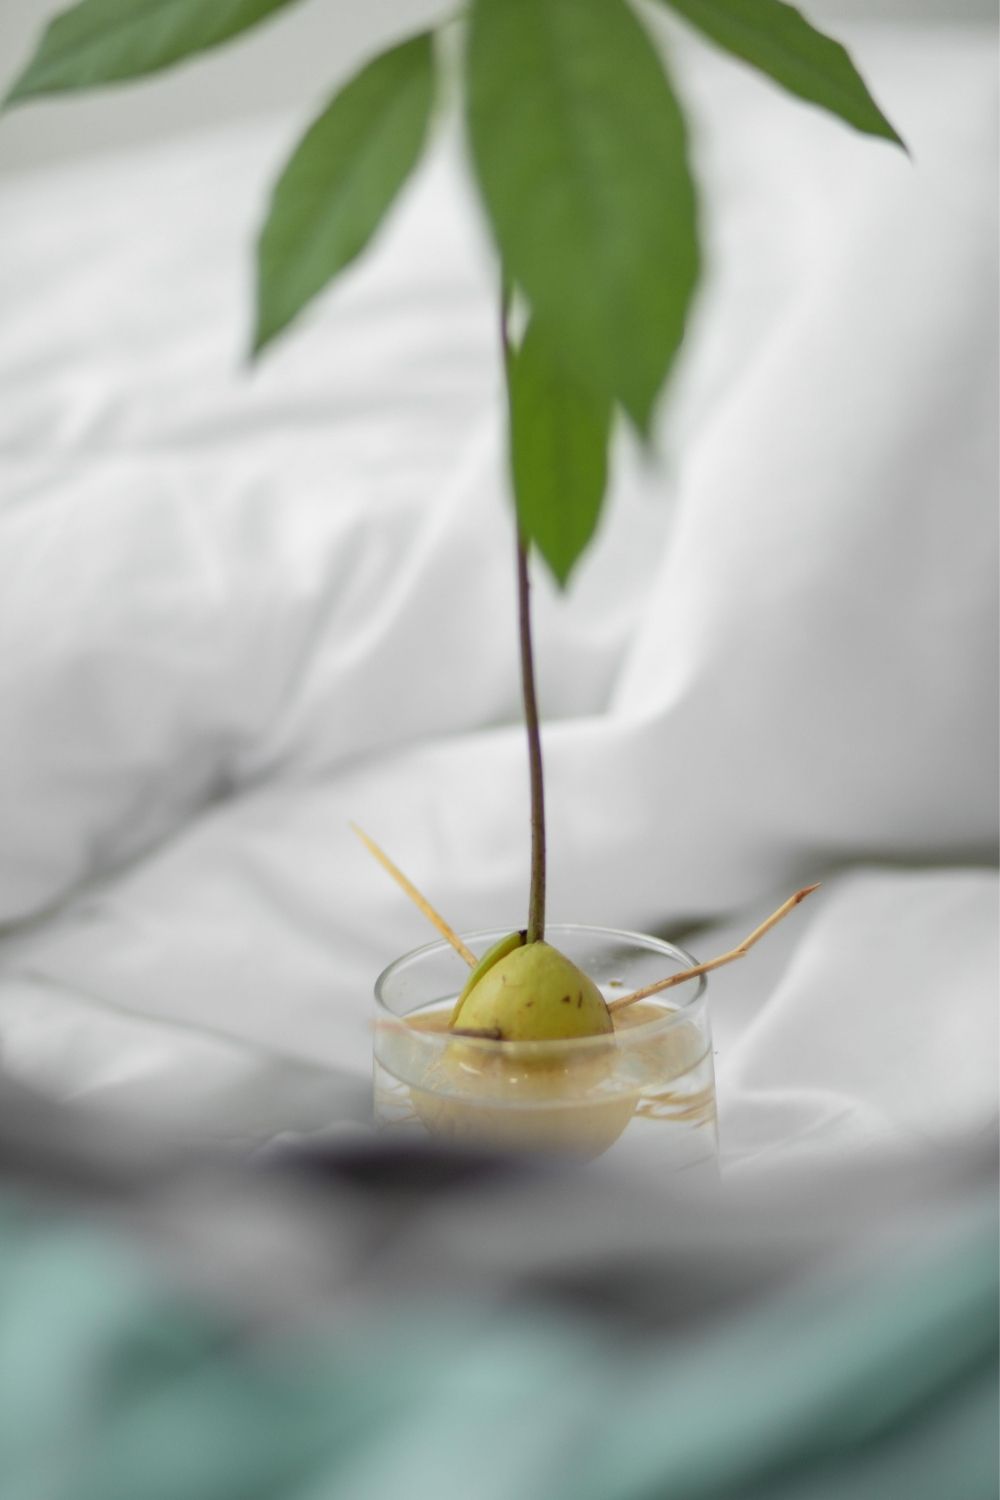
Photo by Maahid Photos on Pexels
The photo above shows the classic look: a sprouted pit resting in the neck of a small glass of water, with a slim stem and a few leaves shooting up. That’s the method everyone recognizes, but it’s one of two good ways to grow an avocado.
| Toothpicks in water | Straight into soil | |
|---|---|---|
| Speed to sprout | Similar, sometimes slightly faster | Similar |
| Seeing progress | Roots visible from day one | Nothing to see until the shoot appears |
| Main risk | Rot and mold if the water goes stale | Overwatering the pot |
| Transplanting | Needed later, roots can sulk | Not needed |
| Effort | Change the water weekly | Keep the mix barely damp |
Both of my soil pits sprouted within a week of the water ones, and they never had to go through a transplant. One of the jar pits, on the other hand, turned soft and smelly after I skipped two water changes while traveling. If you use jars, change the water every five to seven days and keep the bottom third of the pit submerged, no more. A Piece of Rainbow’s guide to growing avocado from seed walks through both methods with good photos.
Roots come first, and slowly
The first sign of life isn’t a shoot. The pit cracks open from the bottom up, a single thick root pushes down into the water, and only after that does a stem appear from the top.
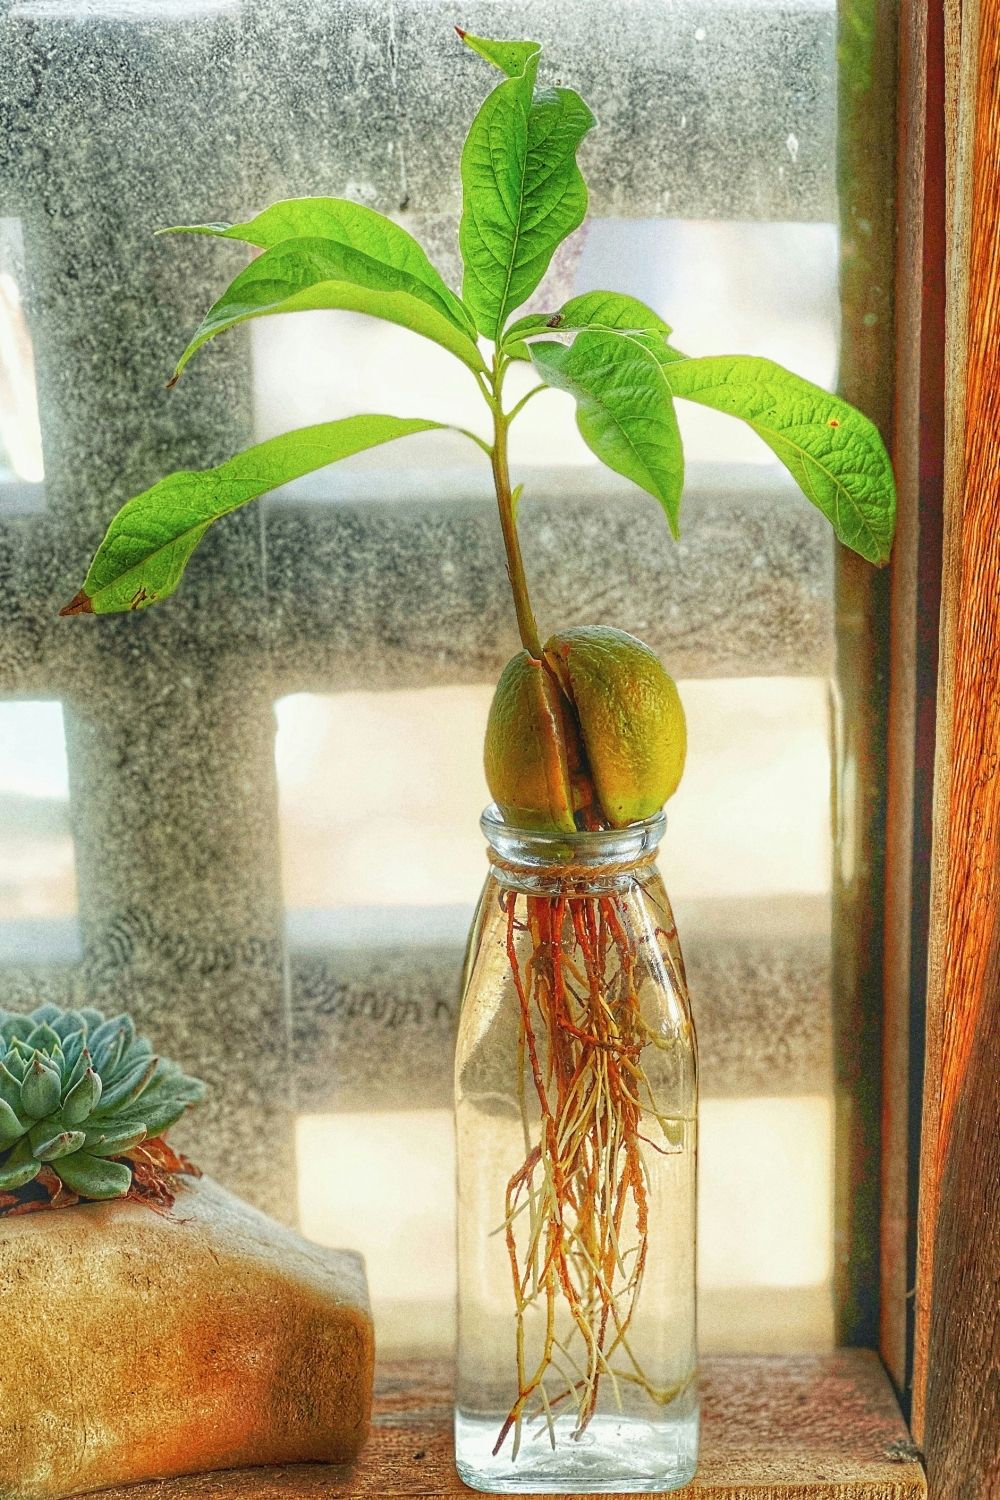
In this photo, an avocado seed sits in the neck of a glass bottle by a sunny window, with a dense tangle of orange roots filling the water below and a bright green seedling on top. That’s what a healthy water-grown pit looks like after a couple of months. Warmth speeds all of this up: pits kept somewhere around 65–85 °F sprout much faster than ones on a cold windowsill. The top of the fridge or a shelf near a radiator (not on it) works well in winter.
Pot it up before the roots take over
Once the stem is 6–7 inches tall and the roots are thick and branching, the avocado seedling is ready for soil. Waiting much longer makes the move harder, because long water roots are brittle and don’t like being bent into a pot.
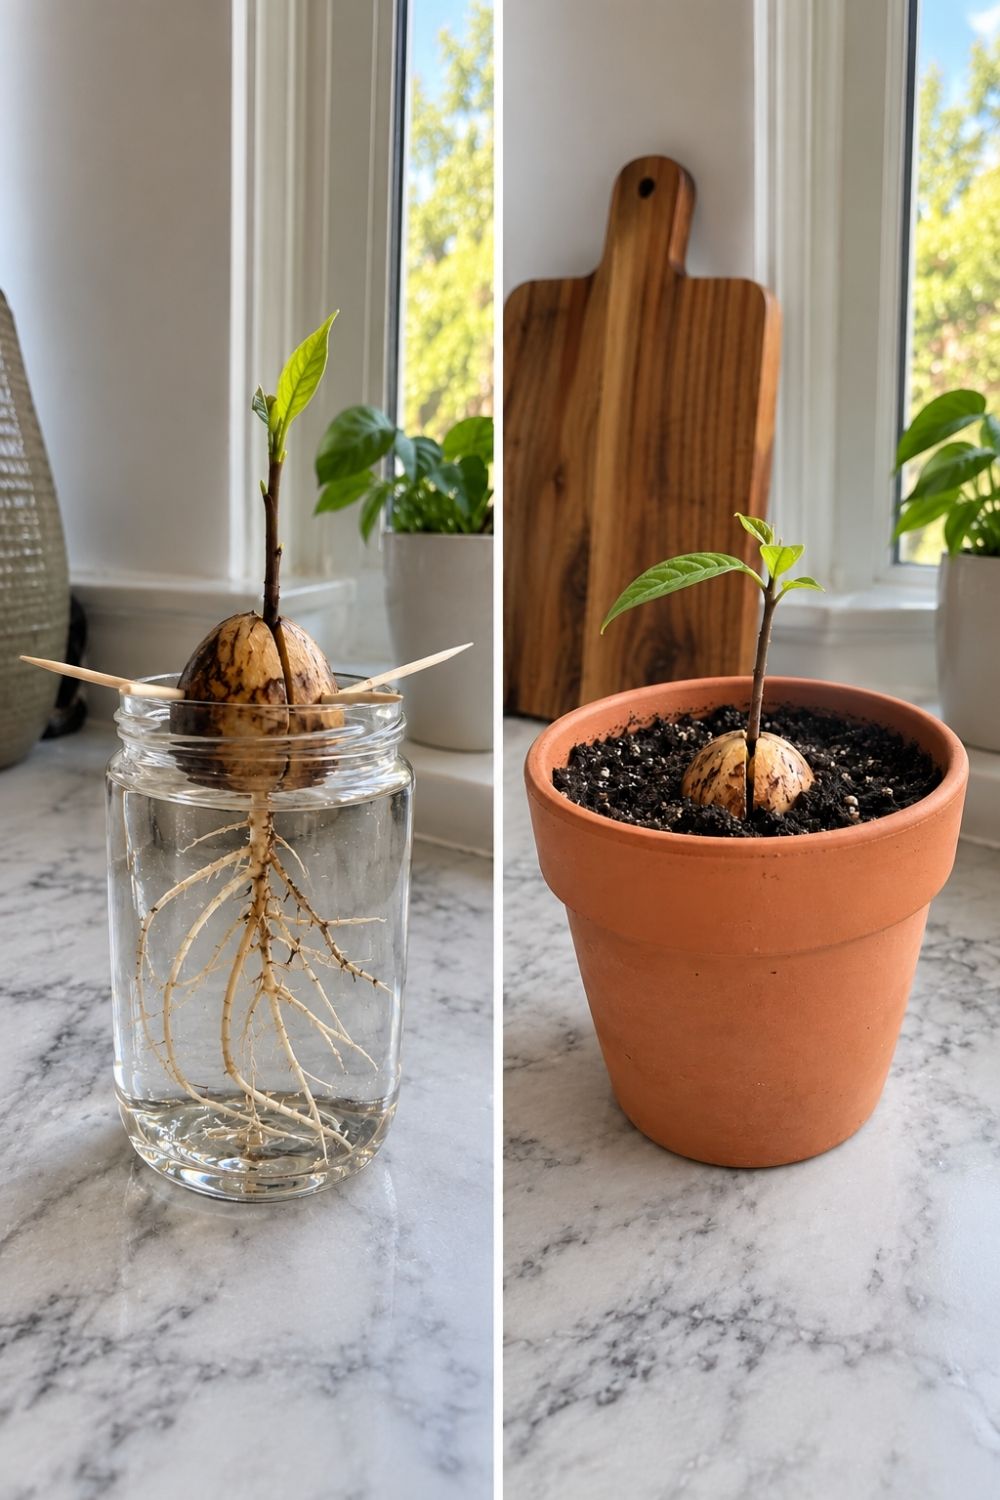
Photo by SassyGarden
The before and after above shows the step: a pit on toothpicks with a long white root system in a jar of water, then the same avocado plant settled into a terracotta pot with only the top half of the pit showing. Use a pot about 8–10 inches across with a drainage hole, and a free-draining mix; a standard potting mix with a couple of handfuls of perlite or bark works well. Avocados hate wet feet more than almost anything, so if you’re not sure whether to water, wait another day.
Pinch it, or it becomes a stick
Left alone, an avocado plant indoors grows straight up toward the light as one long, bare stem with a tuft of leaves at the top. Mine reached two feet in one summer and looked like a green umbrella nobody had opened.
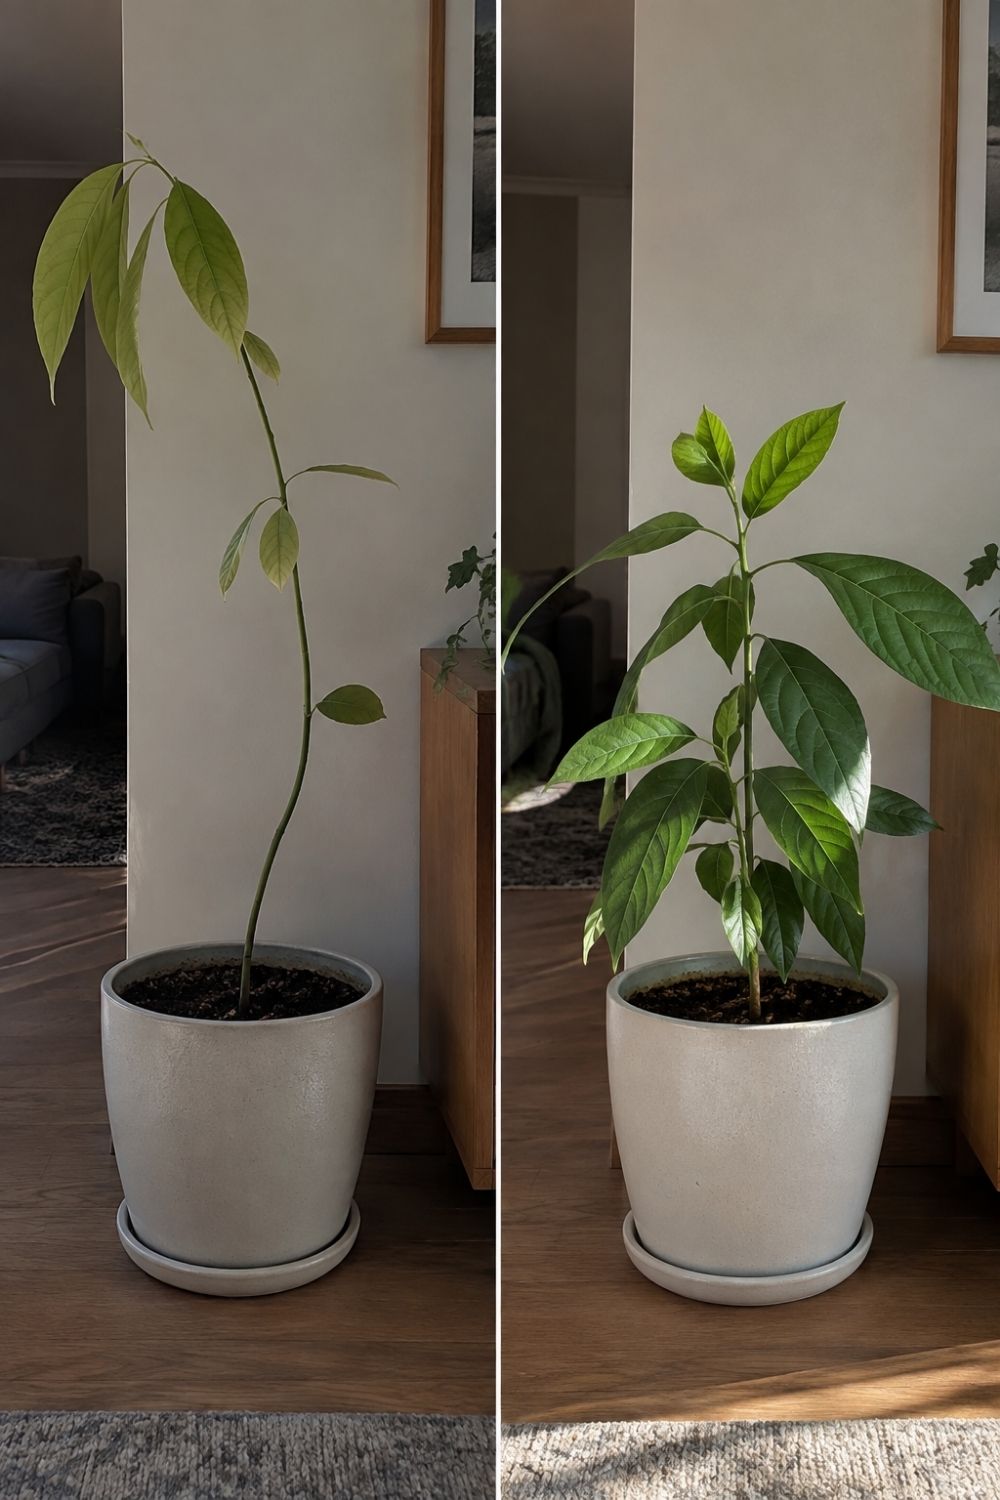
Photo by SassyGarden
The two photos above compare what happens: on the left, a tall, spindly avocado tree with a few drooping leaves; on the right, a shorter, bushy plant with several branches and plenty of leaves, in the same white pot. The difference is pinching. When the stem reaches about 12 inches, pinch or snip off the top two sets of leaves. The plant responds by pushing out side shoots, and each time those reach 6–8 inches, pinch them again. It feels brutal the first time. It’s the one step that decides whether you end up with a houseplant or a stick.
Light and water once it’s in soil
An avocado tree wants as much light as you can give it: a south- or west-facing window is ideal, and a grow light helps through winter. Turn the pot a quarter turn every week so it doesn’t lean.
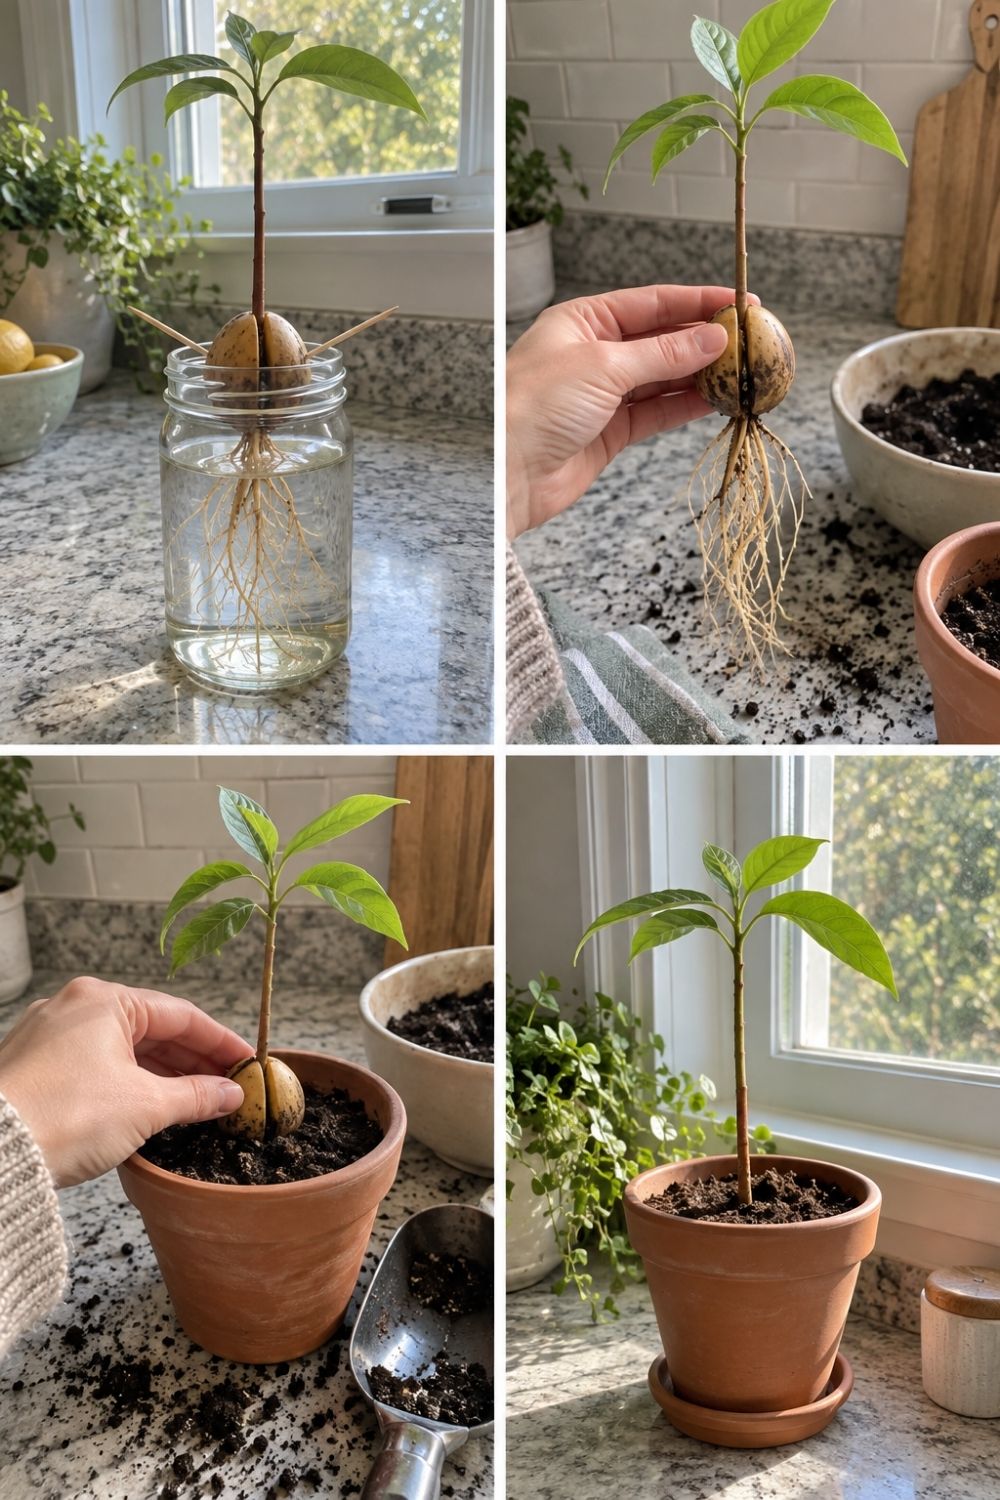
Photo by SassyGarden
The four steps above go from a pit with roots in a jar by the window, to lifting it out, to setting it into a terracotta pot of soil, and finally the potted seedling on the counter. After potting, water deeply whenever the top inch of soil is dry, then let the excess drain away. Brown, crispy leaf tips are the most common complaint, and in my case they came from hard tap water: salts build up in the soil over time. Flushing the pot with plenty of rainwater or filtered water every couple of months fixed it.
If you want to move your avocado outside for summer, do it gradually. I put mine straight onto a sunny patio in June, and the leaves bleached white in two days. A week in shade first, then a few hours of morning sun, then more, avoids that. Bring it back in before nights drop below about 50 °F, since most avocados are only hardy outdoors in USDA zones 9–11. For more on keeping houseplants happy indoors, my monstera care guide covers light, water and repotting in more detail.
Start several pits at once
Not every avocado pit sprouts. Some are too old, some were chilled in the fridge, some simply don’t. Starting three or four at a time means you’ll almost certainly end up with at least one strong seedling.
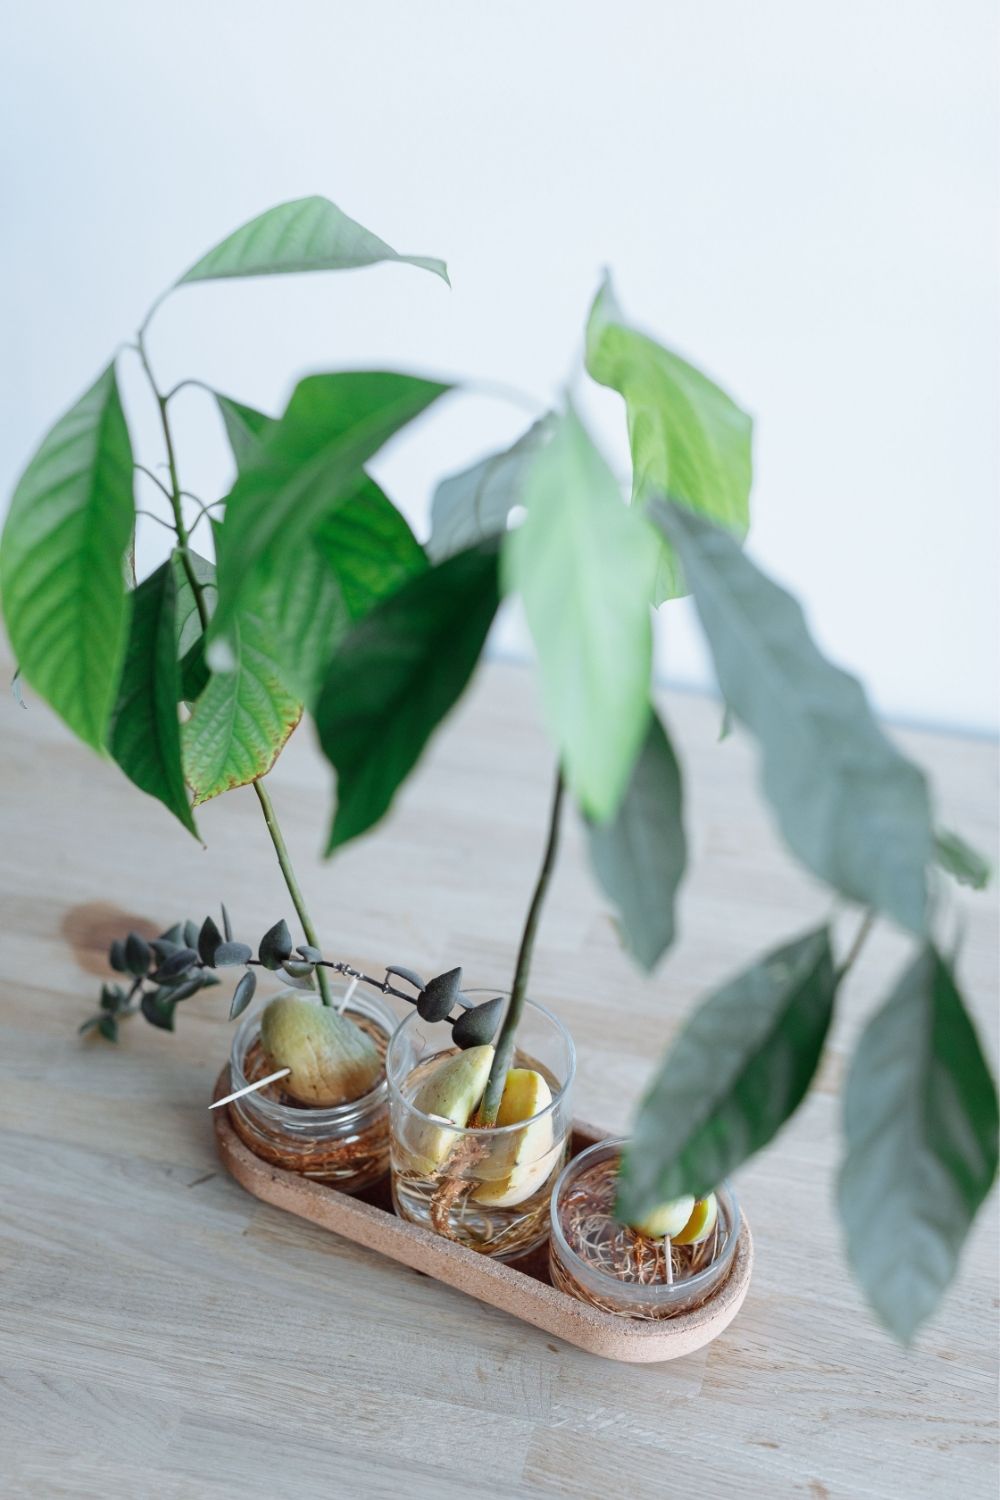
Three pits sit in small glass jars on a wooden tray in the photo, each with its own leafy stem, next to a sprig of eucalyptus. A tray like this keeps the jars together on a windowsill and catches any spills. If the windowsill is getting crowded, my kitchen windowsill post has a few ideas for fitting more plants around a window.
Will it ever grow avocados?
Probably not, and it’s worth knowing that before you start. An avocado tree grown from seed takes anywhere from 5 to 13 years to flower, if it ever does, and indoors it rarely gets the size and light it needs. When seedlings do fruit, the avocados aren’t the same as the one you ate; like apples, avocado seeds don’t grow true to their parent.
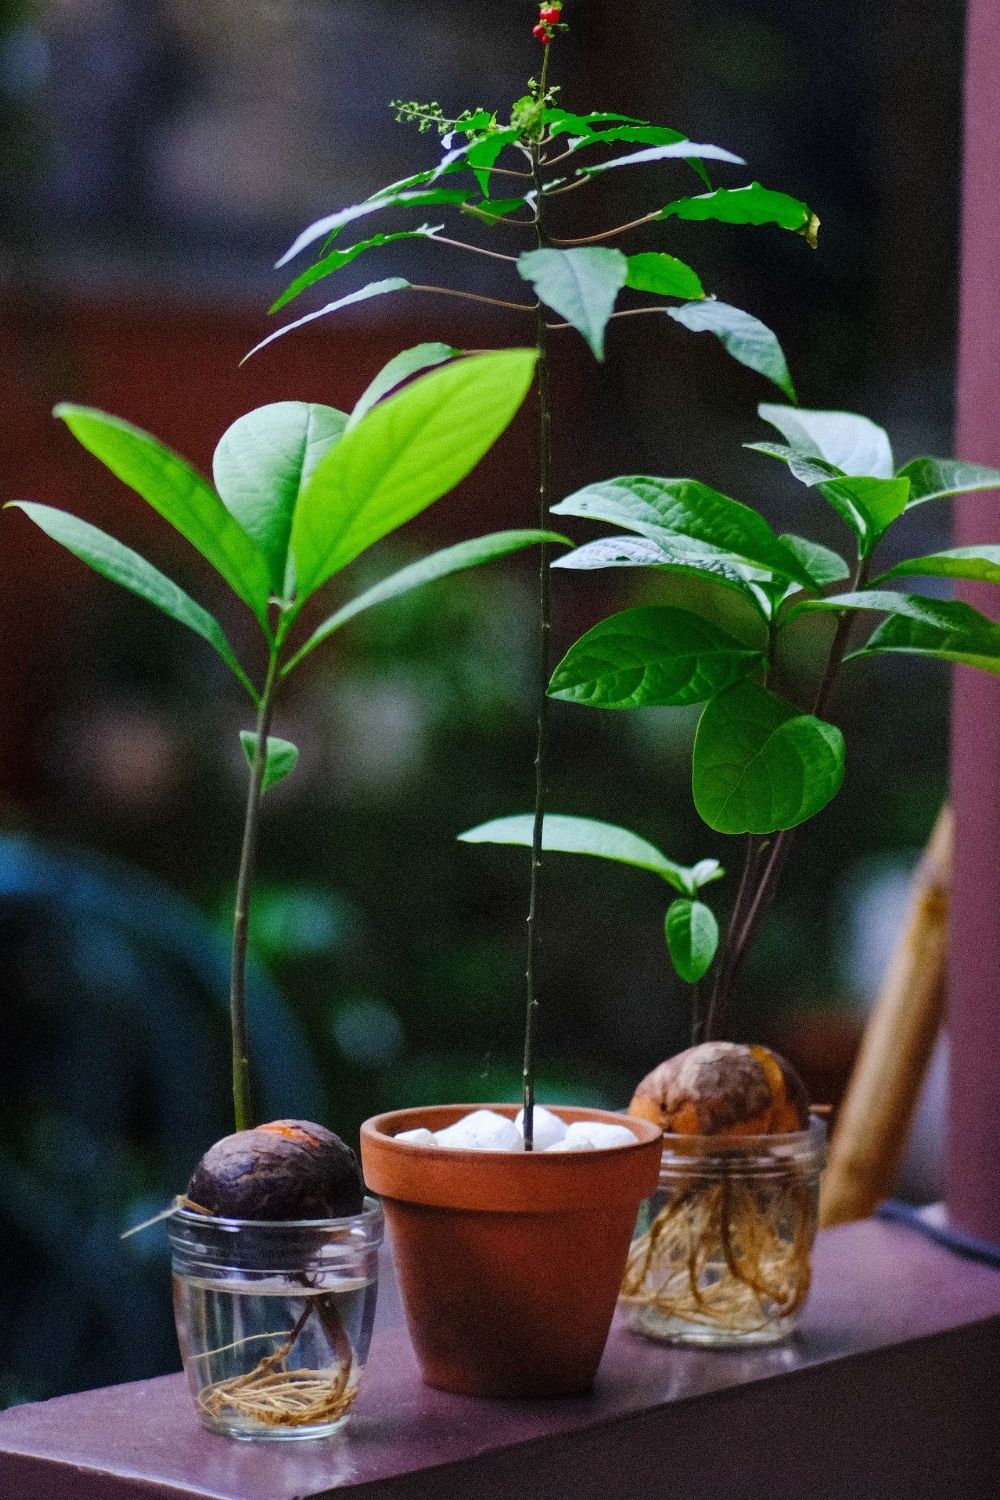
The balcony above shows several young avocado plants at different stages: one pit still sprouting in a jar, a larger seedling in a terracotta pot and a tall, leafy one behind. Nurseries sell grafted avocado trees for anyone in a warm climate who wants fruit within a few years. For everyone else, the seedling is the point: a fast-growing, glossy houseplant that started in your fruit bowl. If you’d like to grow it in a larger container later, my guide to container gardens has tips on choosing pots and mixes.
One safety note: avocado leaves, bark and pits contain persin, which is listed as toxic to cats and dogs. Birds, rabbits and horses are especially sensitive, so keep the plant well away from pet birds.
Quick troubleshooting
- No sign of life after 8 weeks: check the pointed end is up, move it somewhere warmer and wait another month.
- Pit turned soft, dark or smelly: it has rotted. Start a new one and change the water more often.
- Leaves turning yellow and dropping: usually overwatering. Let the soil dry further between waterings.
- Brown, crispy leaf tips: salt buildup or dry air. Flush the soil and keep the plant away from heaters.
- Tall and bare: it needs more light and a pinch at the top.
If I started a new pit tomorrow, I’d plant it straight into soil with the pointed end up, keep it warm, pot it once and pinch it early. The jar method is lovely to watch, but the plant doesn’t care how photogenic its first weeks were; it cares about light, drainage and that first snip.