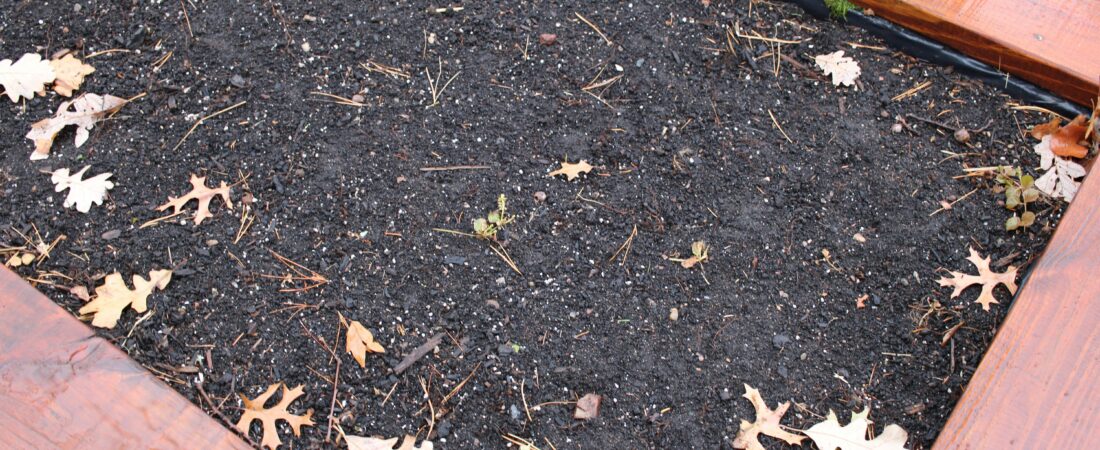
Spread your compost in fall, not spring. A layer laid on the beds in October or November spends the winter being pulled down into the soil by earthworms and broken apart by freezing and thawing, so by planting time it’s already part of the bed rather than a pile sitting on top. That one switch takes care of half of what it means to prep garden beds for winter.
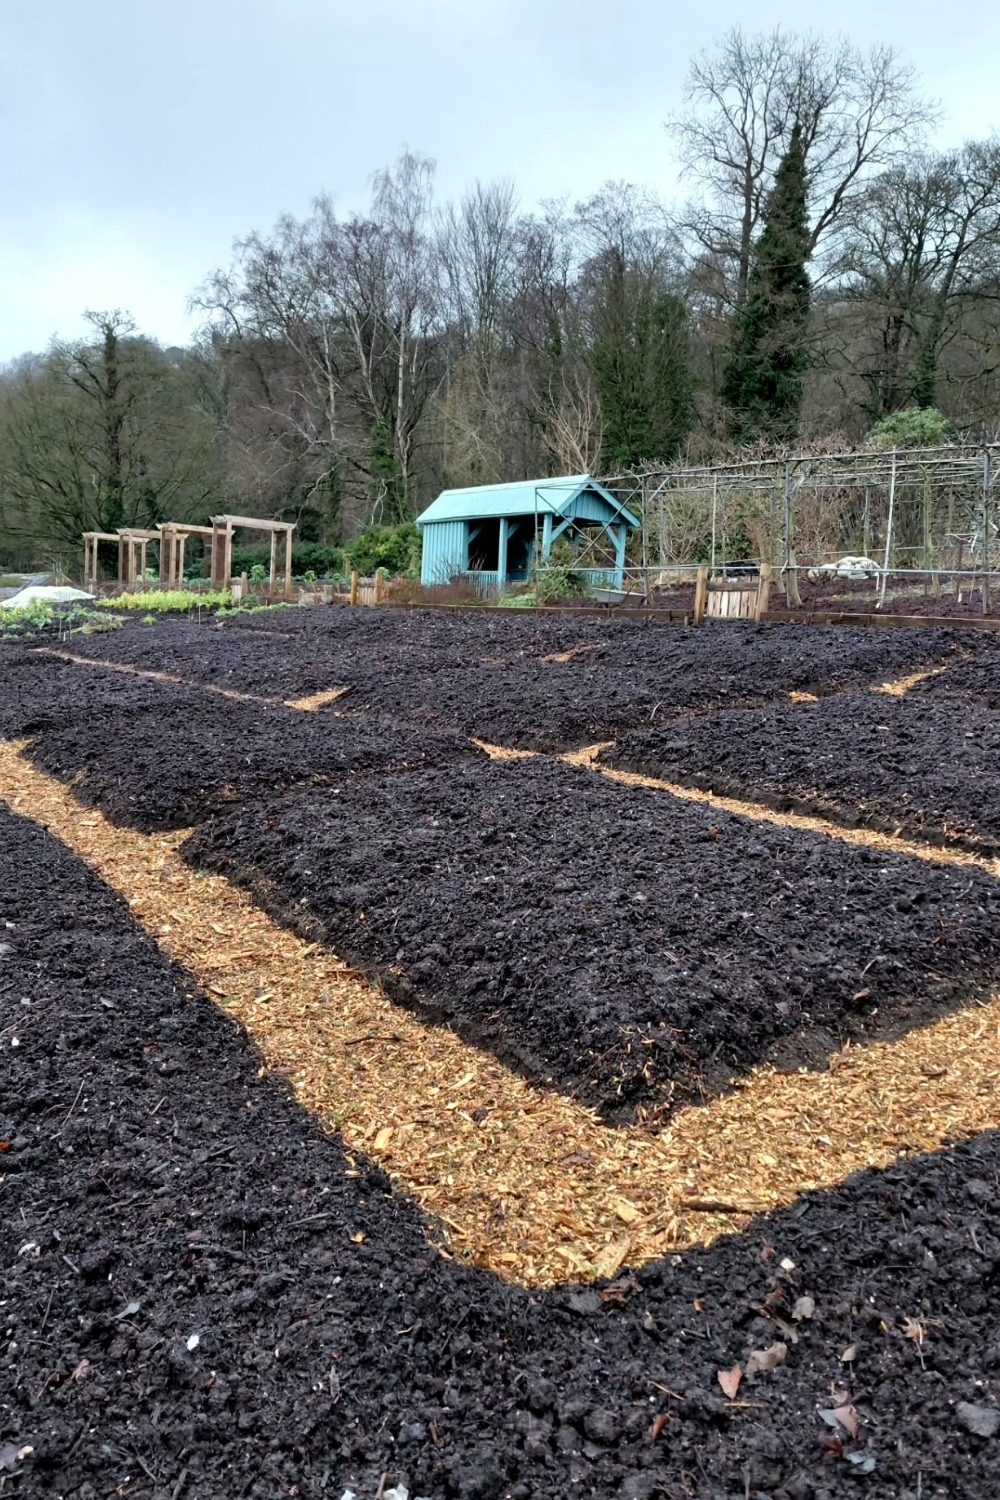
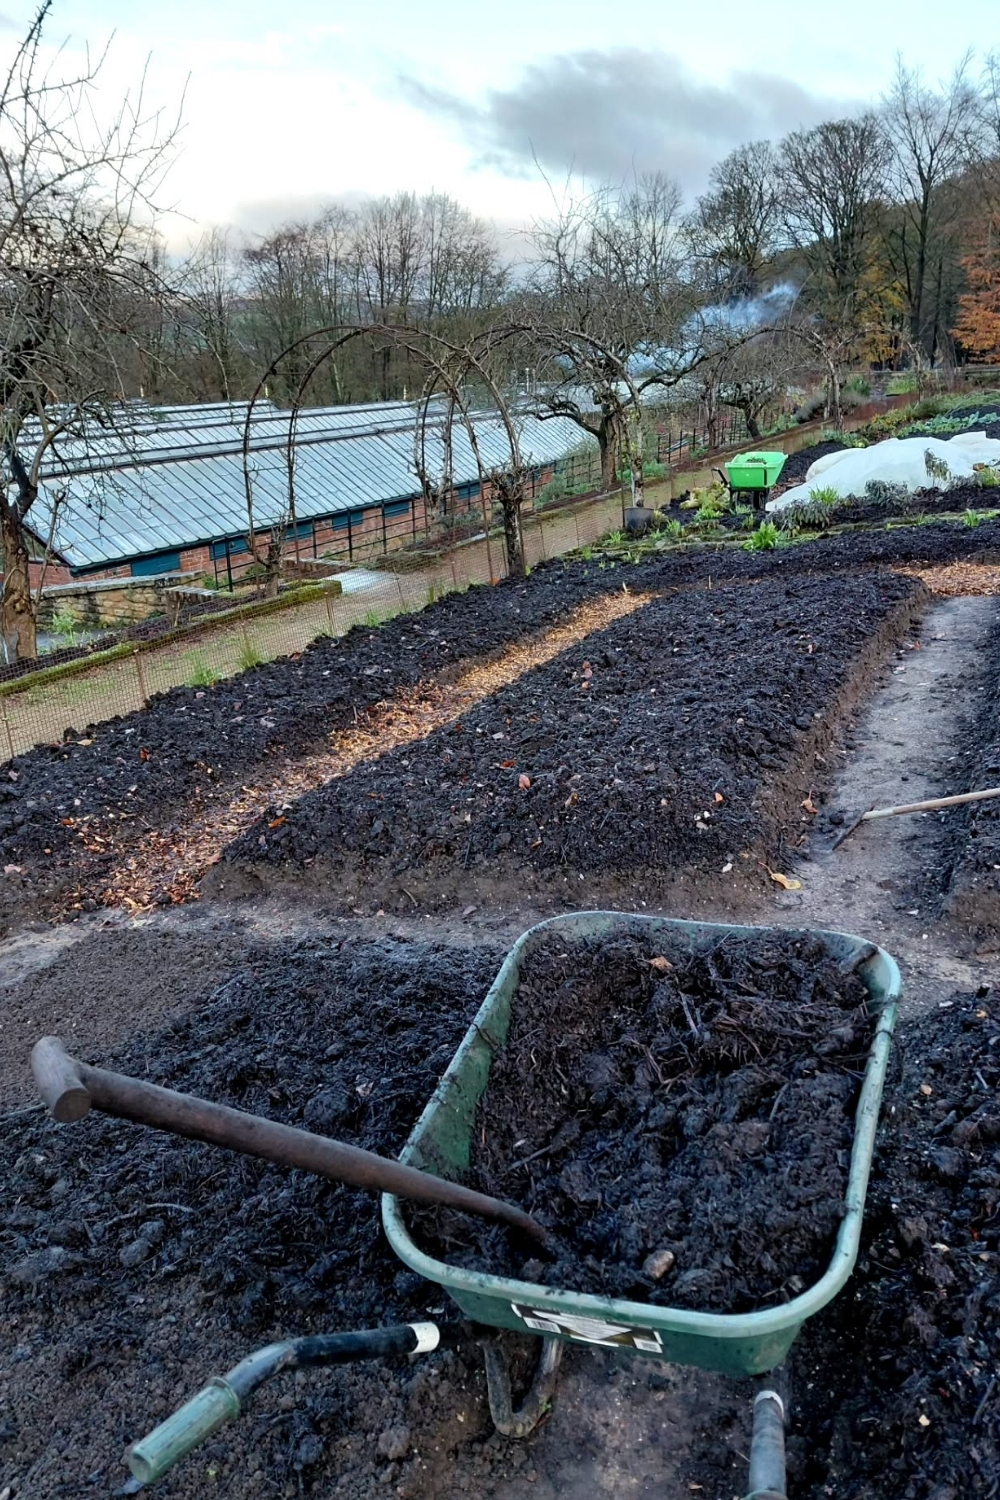
The rest of fall garden prep depends on the bed. A bed you’ve finished with needs something different from a weedy one, a bed you still want to harvest from, or a raised bed whose soil has sunk since spring.
The short version: pull diseased plants, leave healthy roots in the ground, spread compost, and cover the soil with something, whether mulch, cardboard, a tarp or a cover crop. Bare garden beds over winter are the one thing to avoid. Everything below is just choosing the right cover for each bed.
What to pull and what to leave
To prep garden beds for winter, start by walking them. Pull anything that was sick this year, like tomatoes with leaf spot, squash with powdery mildew or potatoes with blight, and put it in the trash or a municipal yard waste bin. Diseases overwinter on old leaves and stems, and a home compost pile rarely gets hot enough to kill them.
When you prep garden beds, healthy plants are a different story. For spent beans, peas, lettuce and most annual flowers, cut the stems at soil level and leave the roots in the ground. They break down over winter, feed the soil and leave behind little channels that let air and water in. Pulling them out by the roots tears up the soil structure and brings weed seeds to the surface. Beans and peas are worth leaving for another reason: their roots carry small nodules of bacteria that store nitrogen, and leaving them in puts that nitrogen back where the next crop can use it.
Seed heads of sunflowers, coneflowers, rudbeckias and ornamental grasses can stay standing too. Finches and other seed-eating birds pick at them all winter, and the hollow stems shelter native bees. Tidy them in spring.
Garden beds you’ve finished with
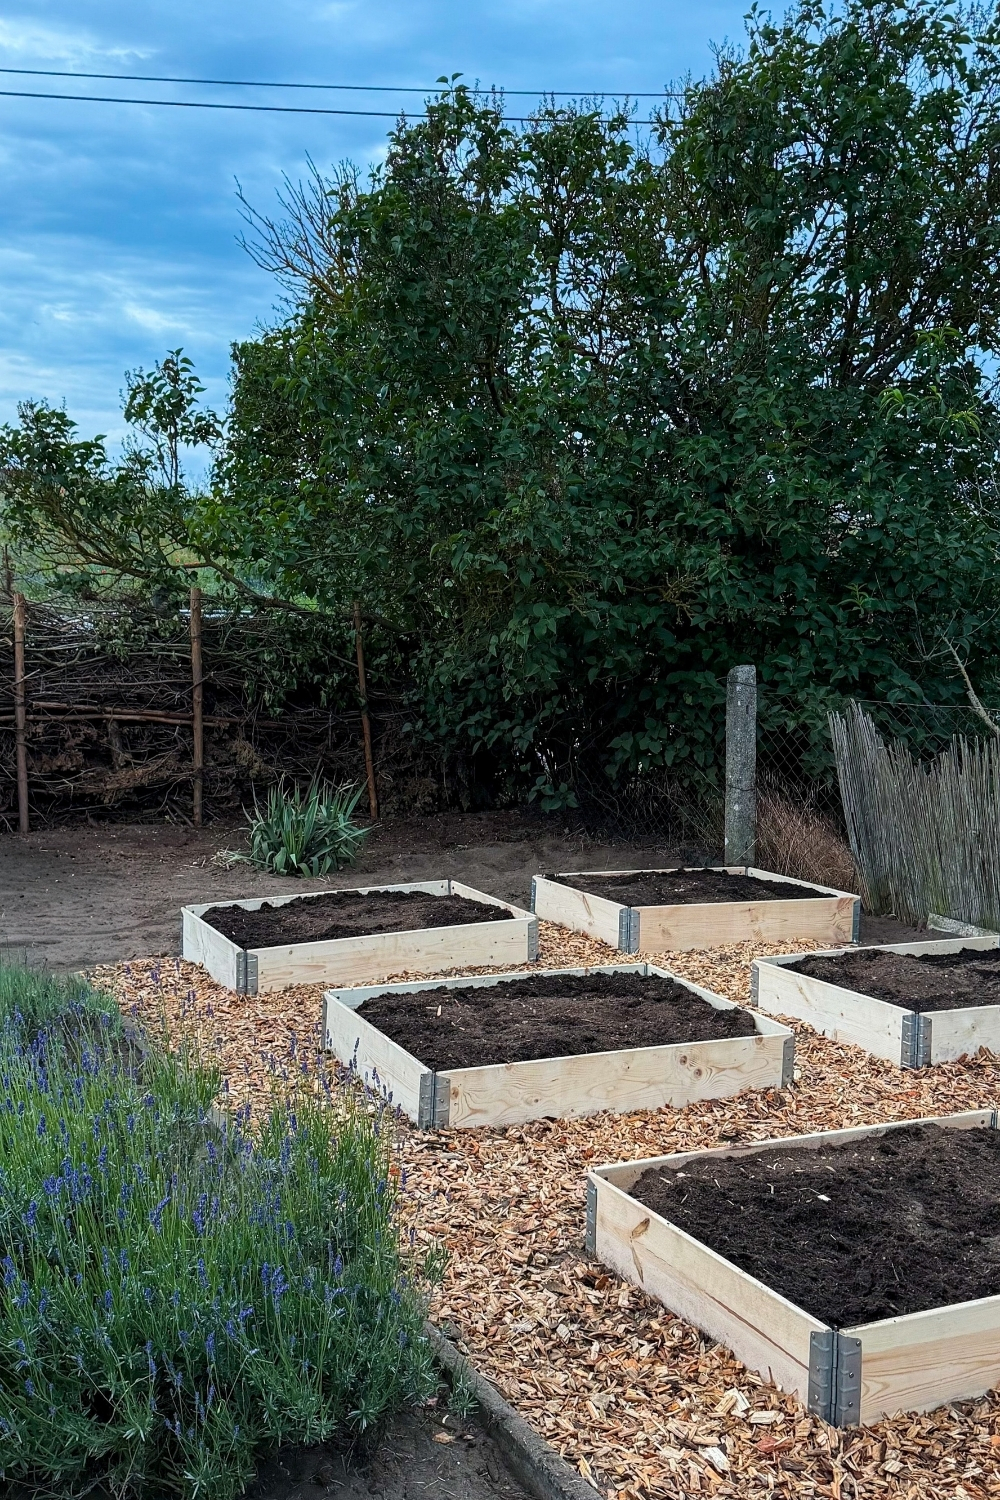
Most beds you winterize fall into this group: the summer crops are done and nothing new is going in until spring. To winterize garden beds like these, give them two layers, food and a blanket.
First, the food. Spread 1 to 2 inches of finished compost or well-rotted manure over the surface. No need to dig it in. Leave it on top and let the worms do the mixing. Fresh manure is fine at this time of year, too, since it has months to mellow before anything gets planted, while fresh manure in spring can burn young roots.
Second, the blanket. Cover the compost with a mulch: shredded leaves, straw or wood chips, 2 to 4 inches deep. Mulch matters most in any garden prep for winter. It stops heavy rain from washing the soil away, keeps the ground from freezing and thawing over and over, and slows down the weed seeds that would otherwise sprout in the first warm week of March. Shredded fall leaves are free and break down by spring. Straw is easy to rake aside at planting time. Wood chips last longer and suit paths and perennial beds better than vegetable rows, since they can tie up some nitrogen at the surface as they break down.
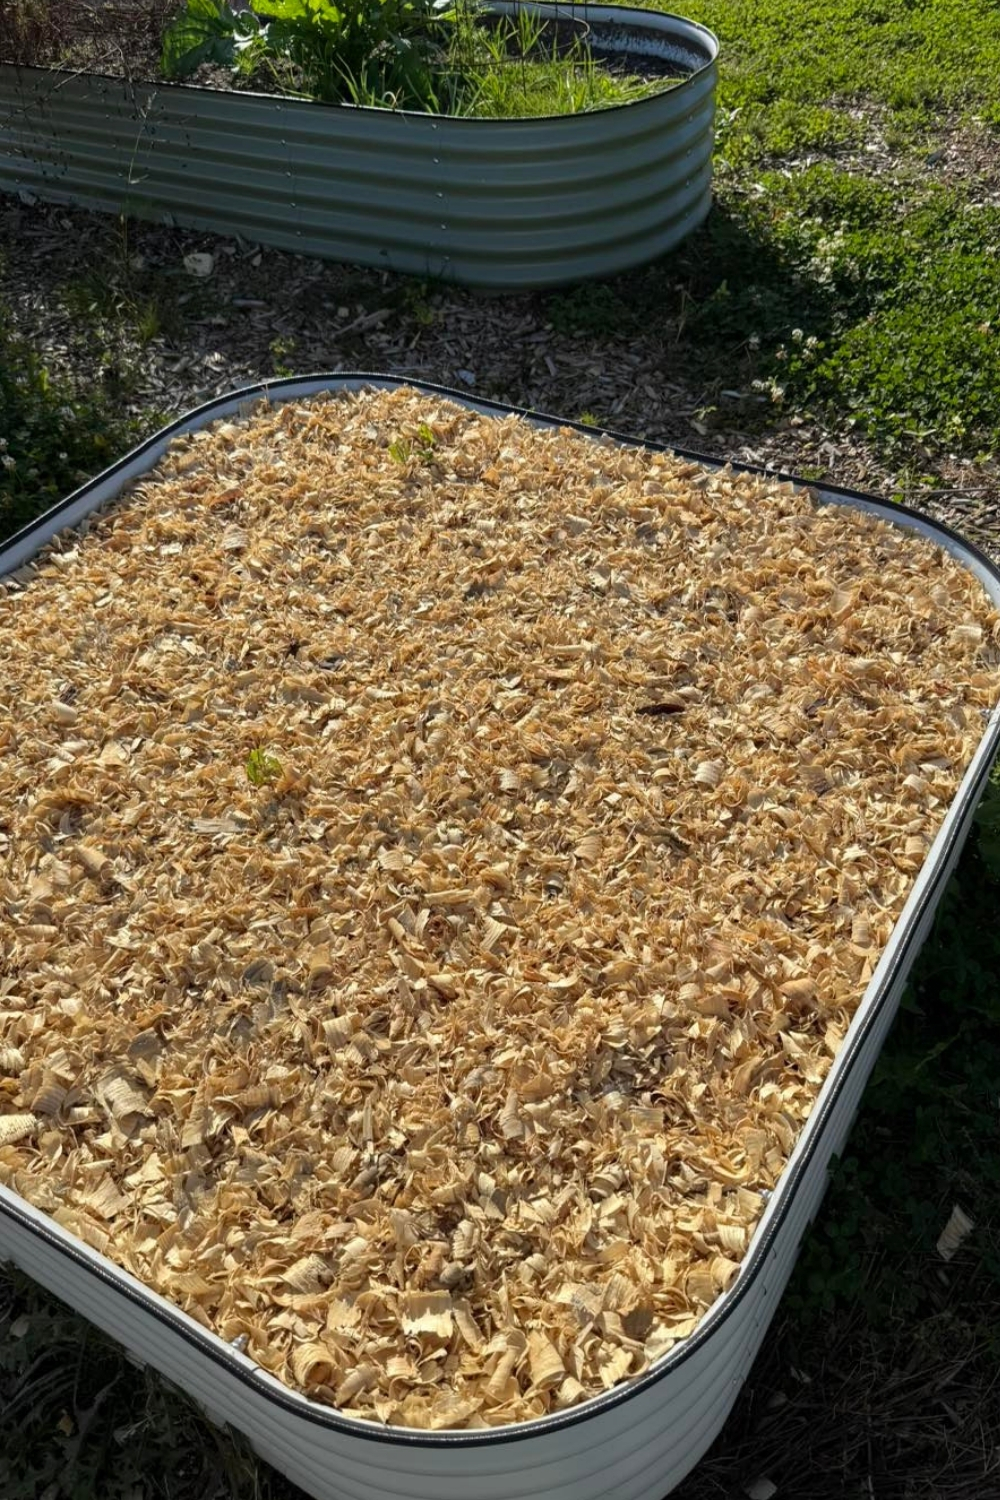
A metal raised bed filled to the rim with straw or chopped leaves looks a bit bare, but by April, the bottom of that layer has already started turning into soil.
Weedy or neglected garden beds
Weeds that went to seed this summer, or perennial weeds like bindweed and quackgrass that crept in from the edges, need something heavier than mulch. The answer is to block the light. A weed that can’t photosynthesize, meaning turn sunlight into food, slowly starves.
Cardboard and compost
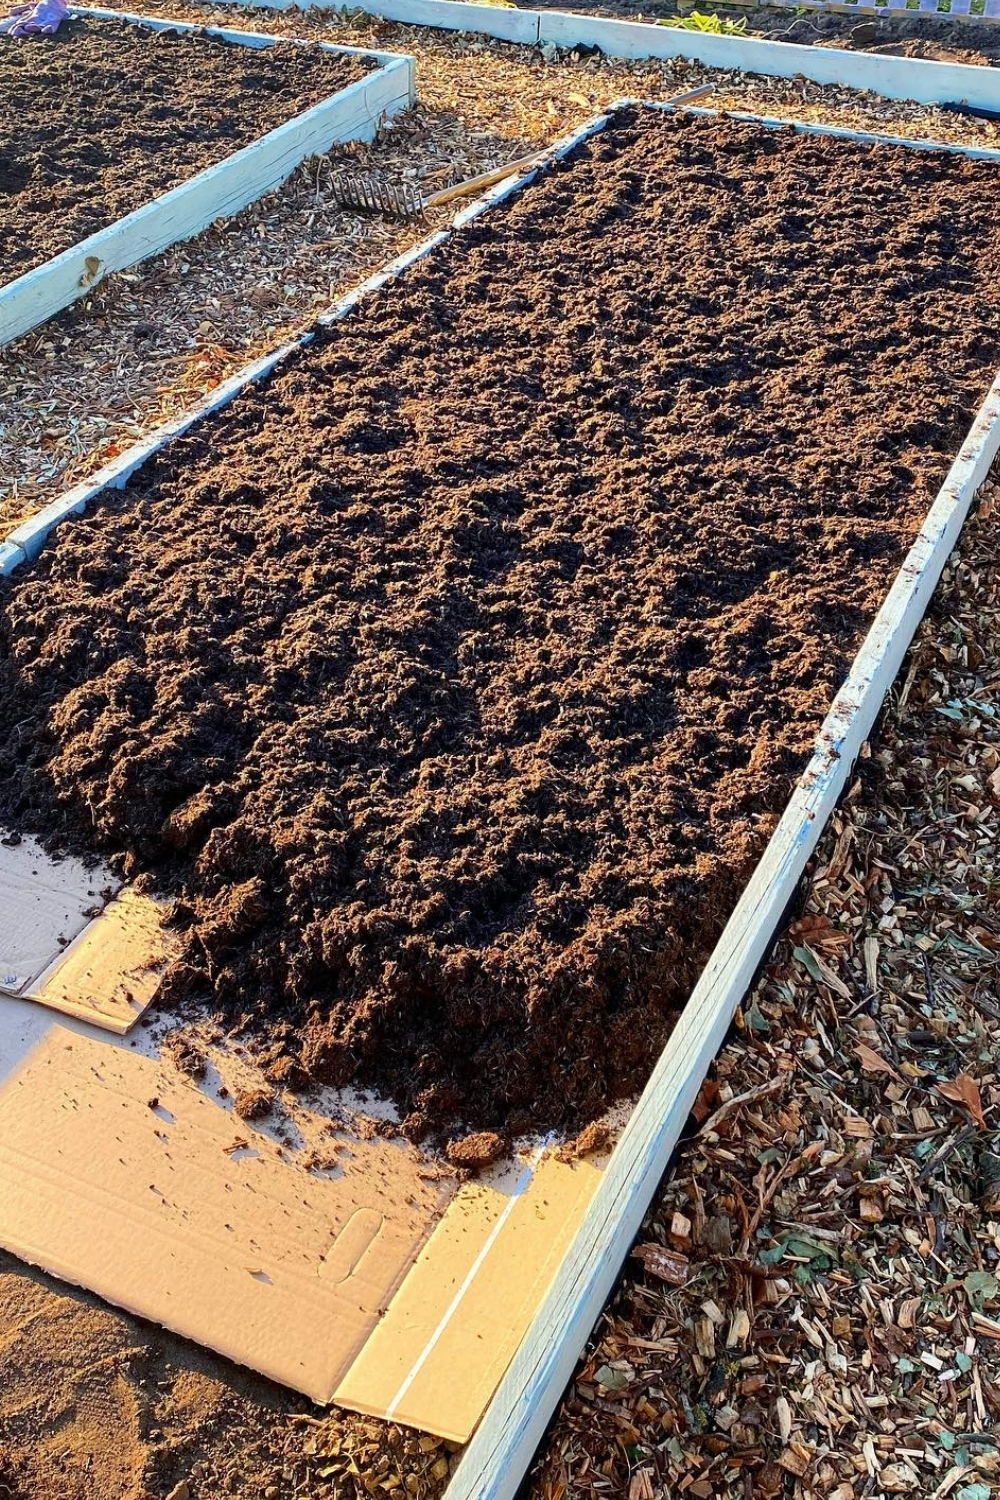
This method, often called sheet mulching, is the most useful garden prep in fall for a bed that got away from you. Cut the weeds down to the ground, water the soil, then lay plain brown cardboard over the whole bed, overlapping the edges by several inches so no light gets through the gaps. According to Savvy Gardening’s guide to sheet mulching, the tape, staples and stickers should come off first, and the cardboard should be topped with at least an inch of compost to get the breakdown started. A layer of leaves or straw over that holds everything down.
Over winter, the cardboard under the beds softens and rots, the weeds underneath die back, and worms move up into the compost. Savvy Gardening’s rule of thumb is three to six months for the layers to break down, which is why fall is the right moment for it: by spring, a test hole should show dark soil with only scraps of cardboard left. Tough perennial weeds may need a second round, I suppose, but most give up.
Tarps and landscape fabric
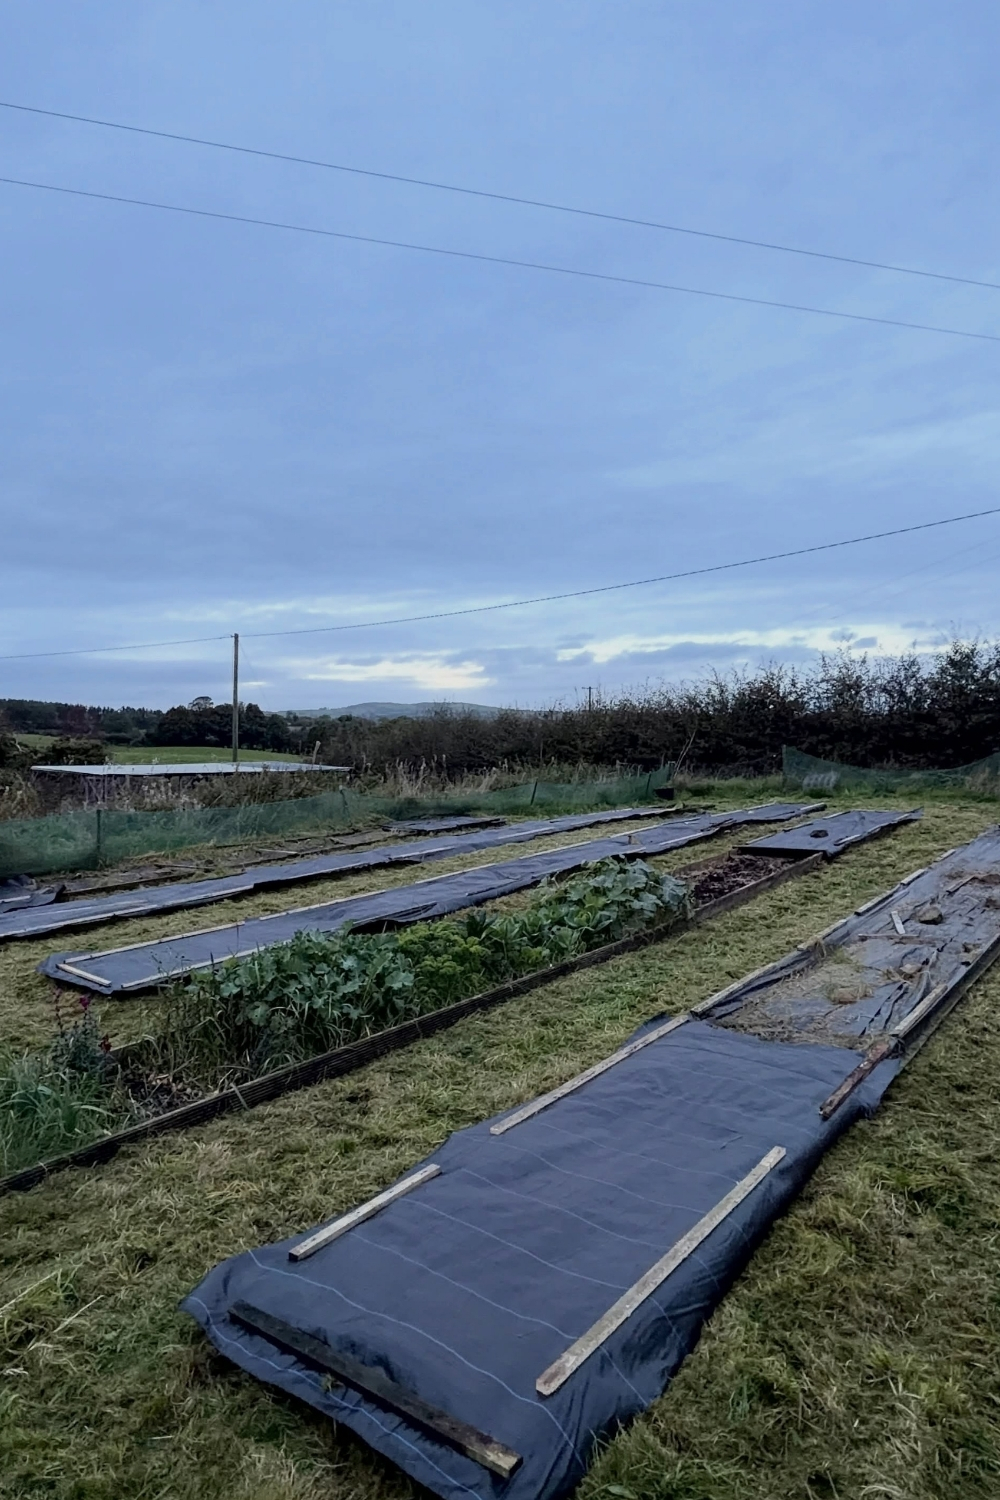
On a big plot, heavy black tarps or woven landscape fabric do the same job with less material. Lay them over the cleared beds and weigh the edges with boards, bricks or sandbags so the wind can’t get under them. Gardeners call this occultation, a fancy word for covering soil to kill weeds and old crop residue. Under the tarp, the soil stays moist and dark, weeds sprout and die, and earthworms keep working.
Tarps are a quick way to winterize garden beds, but plastic doesn’t feed the soil the way compost and cardboard do, so spread compost on top of the bed after you lift it in spring. Lift it two or three weeks before planting so the soil has a chance to warm and dry out.
Garden beds for winter harvests
Not every bed needs a full winterize treatment. Lettuce, spinach, arugula, kale and other cool-weather greens keep going for weeks into winter under a simple cover.
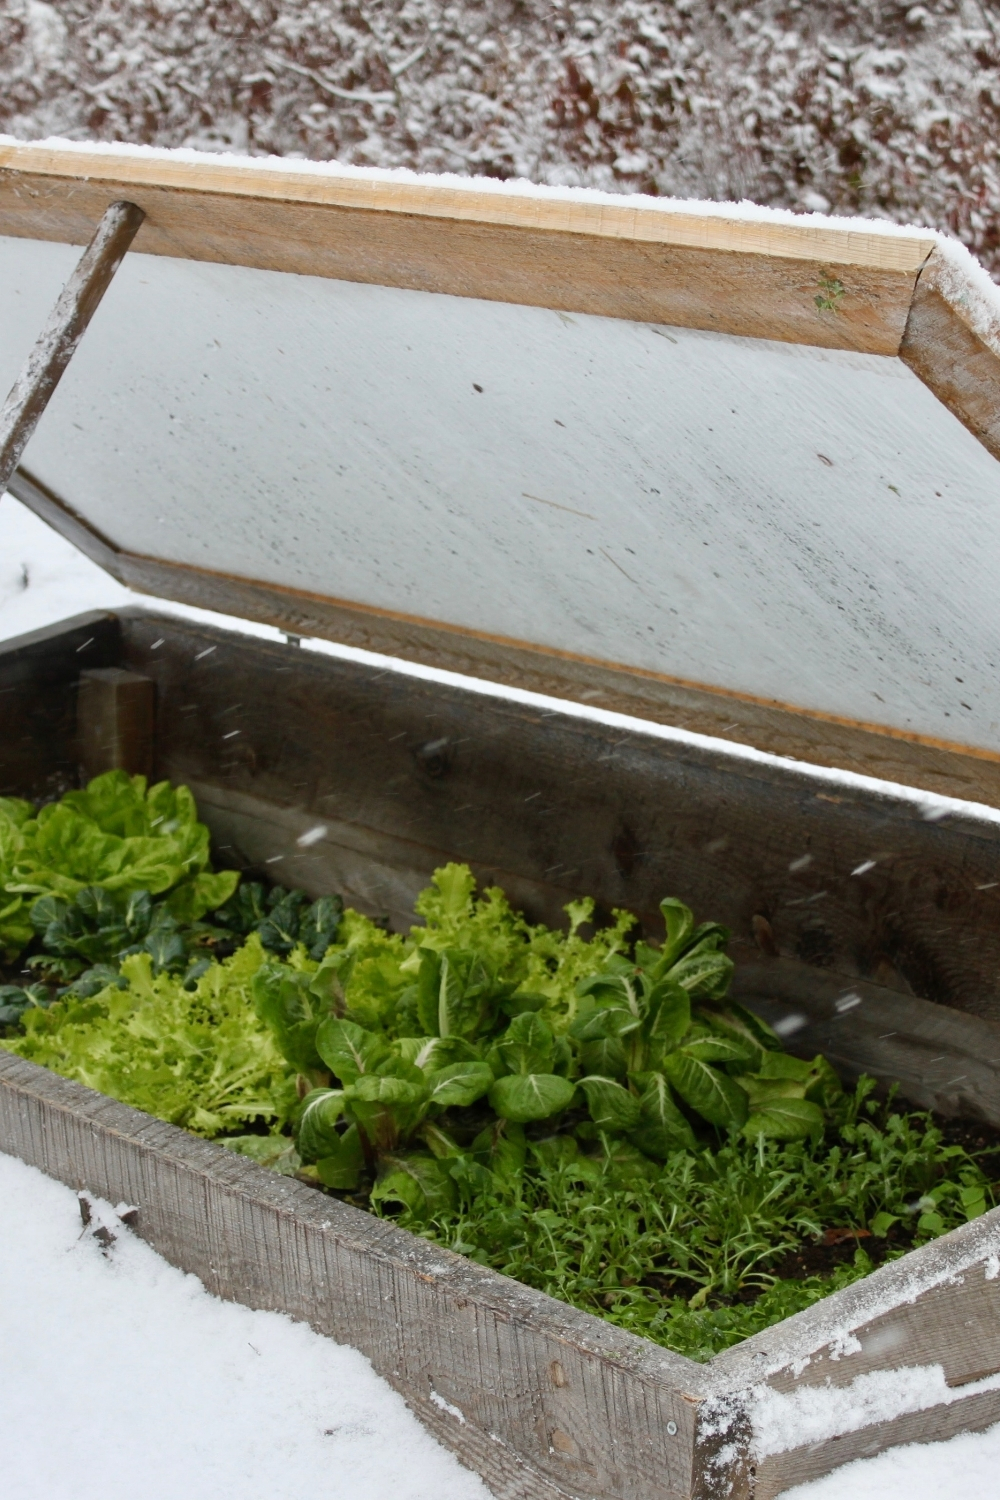
A cold frame is a bottomless wooden box with a clear lid, set right on the soil or on top of a raised bed. Sunlight warms the air inside during the day, and the soil releases that heat at night. The difference is only a few degrees, but it’s often enough to keep greens alive and growing slowly through the coldest stretch of fall.
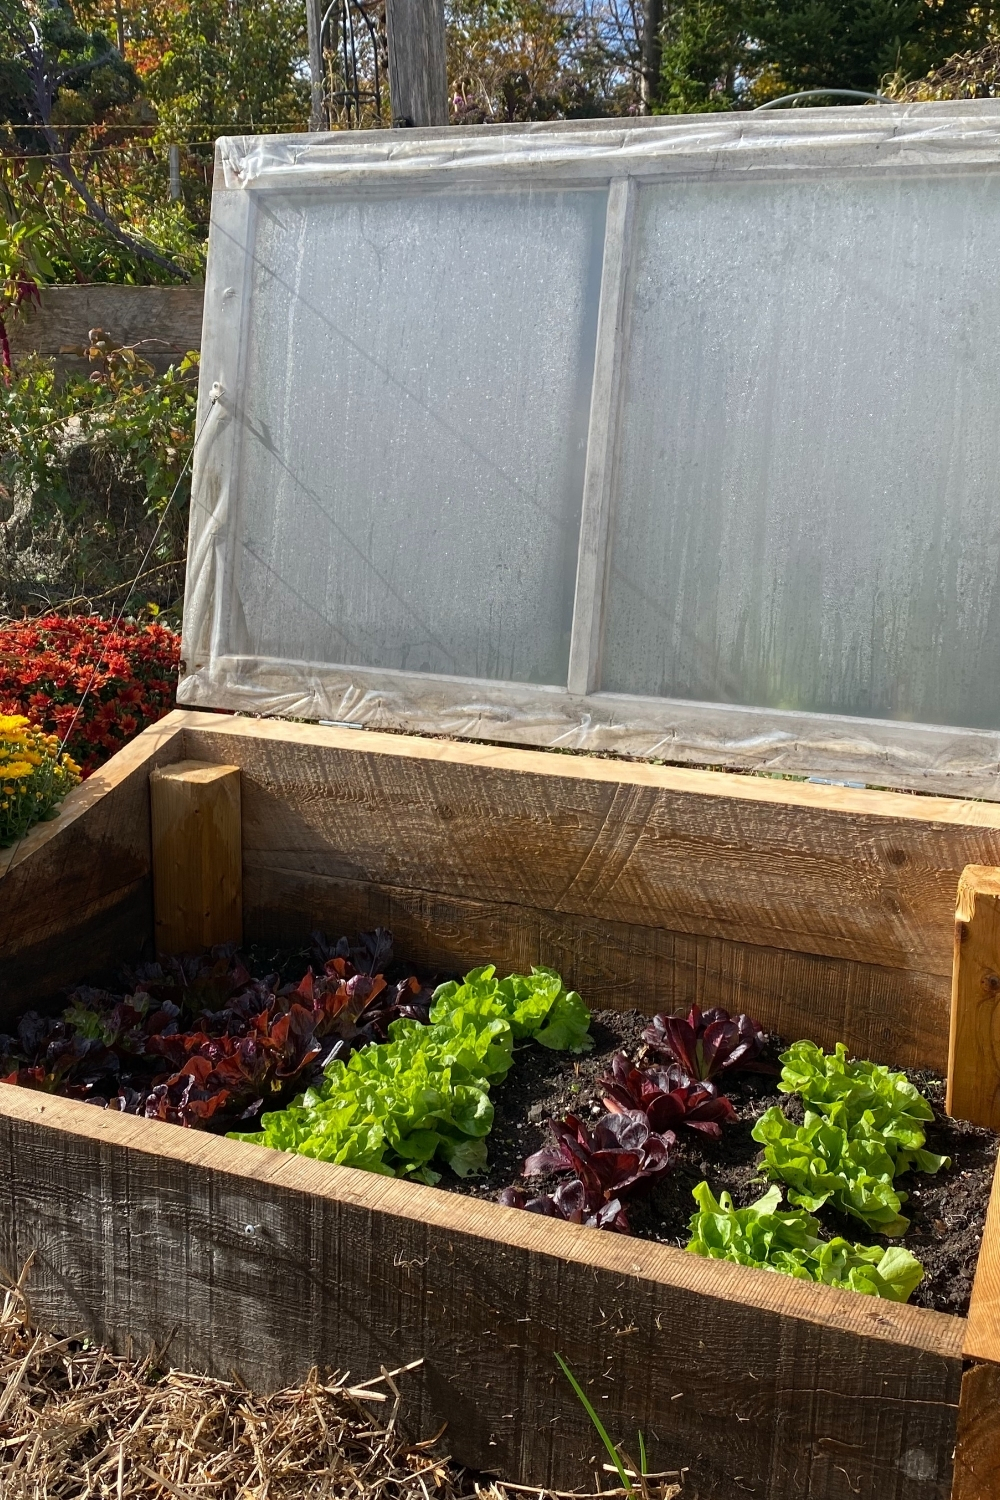
The one job a cold frame demands is opening the lid on sunny days. Even in December, a closed frame in full sun can heat up past 80 °F and cook the plants inside, so prop the lid open on bright afternoons and close it again before sunset.
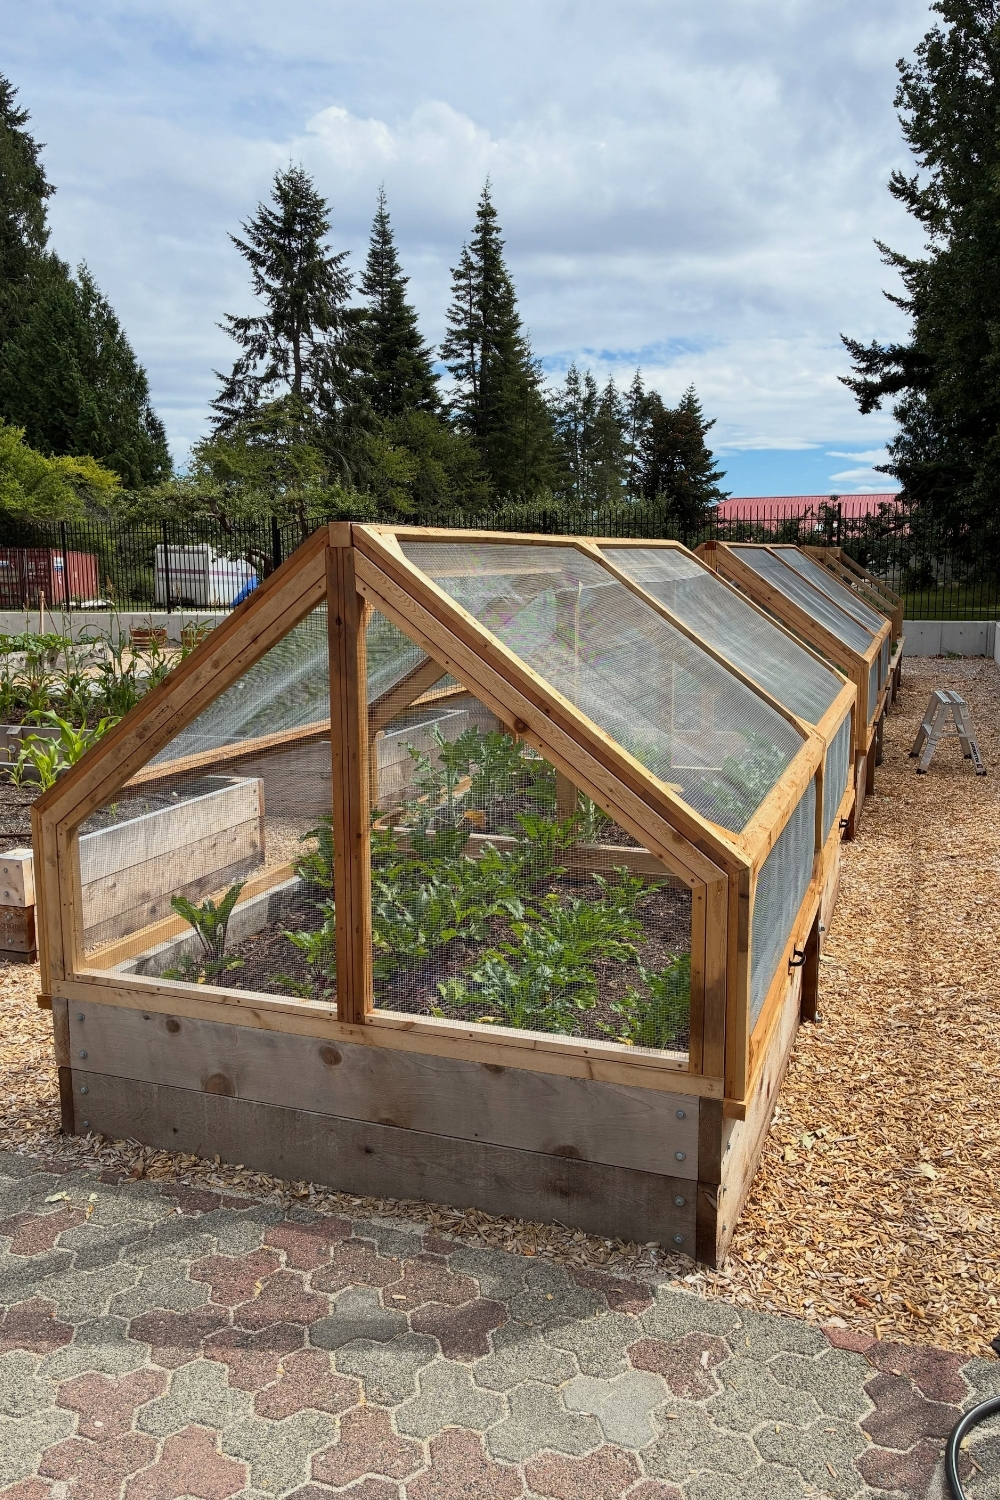
A cold frame built as a hinged greenhouse lid over a whole raised bed gives even more room, enough for a few rows of kale and chard alongside the salad greens.
Beds resting under cover crops for winter
A cover crop is a crop you grow for the soil, not for eating. Its roots hold the soil in place, its leaves shade out weeds, and when it’s cut down in spring, it all turns into organic matter. Some kinds also add nitrogen. Old-time gardeners called it green manure, which is about right.
Timing matters most, just like with the crops you plant in October. According to Epic Gardening’s roundup of fall cover crops, cover crops need to go in a month or more before the first frost, and in zones 7 and colder that usually means sowing by early October. Oats, for example, need about 4 to 6 weeks before frost to get established.
Two kinds of cover crops for winter suit a home garden. The first kind dies on its own in winter: oats, and in cold zones, crimson clover and field peas. They grow through fall, freeze and flop over, and by spring they’ve become a ready-made mulch you can plant straight through. Let me rephrase that: this is the easiest kind, because you don’t have to do anything to get rid of it.
The second kind survives the winter: winter rye, winter wheat and hairy vetch. They start growing again in early spring and pile up much more organic matter, but they have to be cut down and left to break down for two or three weeks before you plant. Winter rye is the toughest, sprouting in cold soil and holding even bare, windy beds in place. It’s also the hardest to get rid of, so it suits a bed that won’t be planted until late spring.
For most beds, a mix is the sweet spot: oats with peas or crimson clover, which gives a grass for bulk and a legume for nitrogen, and all that.
Broadcast the seed over cleared, raked soil, rake it in lightly and water it. Sowing after summer crops come out, rather than waiting until every bed is empty, gives the cover crop the head start it needs.
Raised beds need some extra care
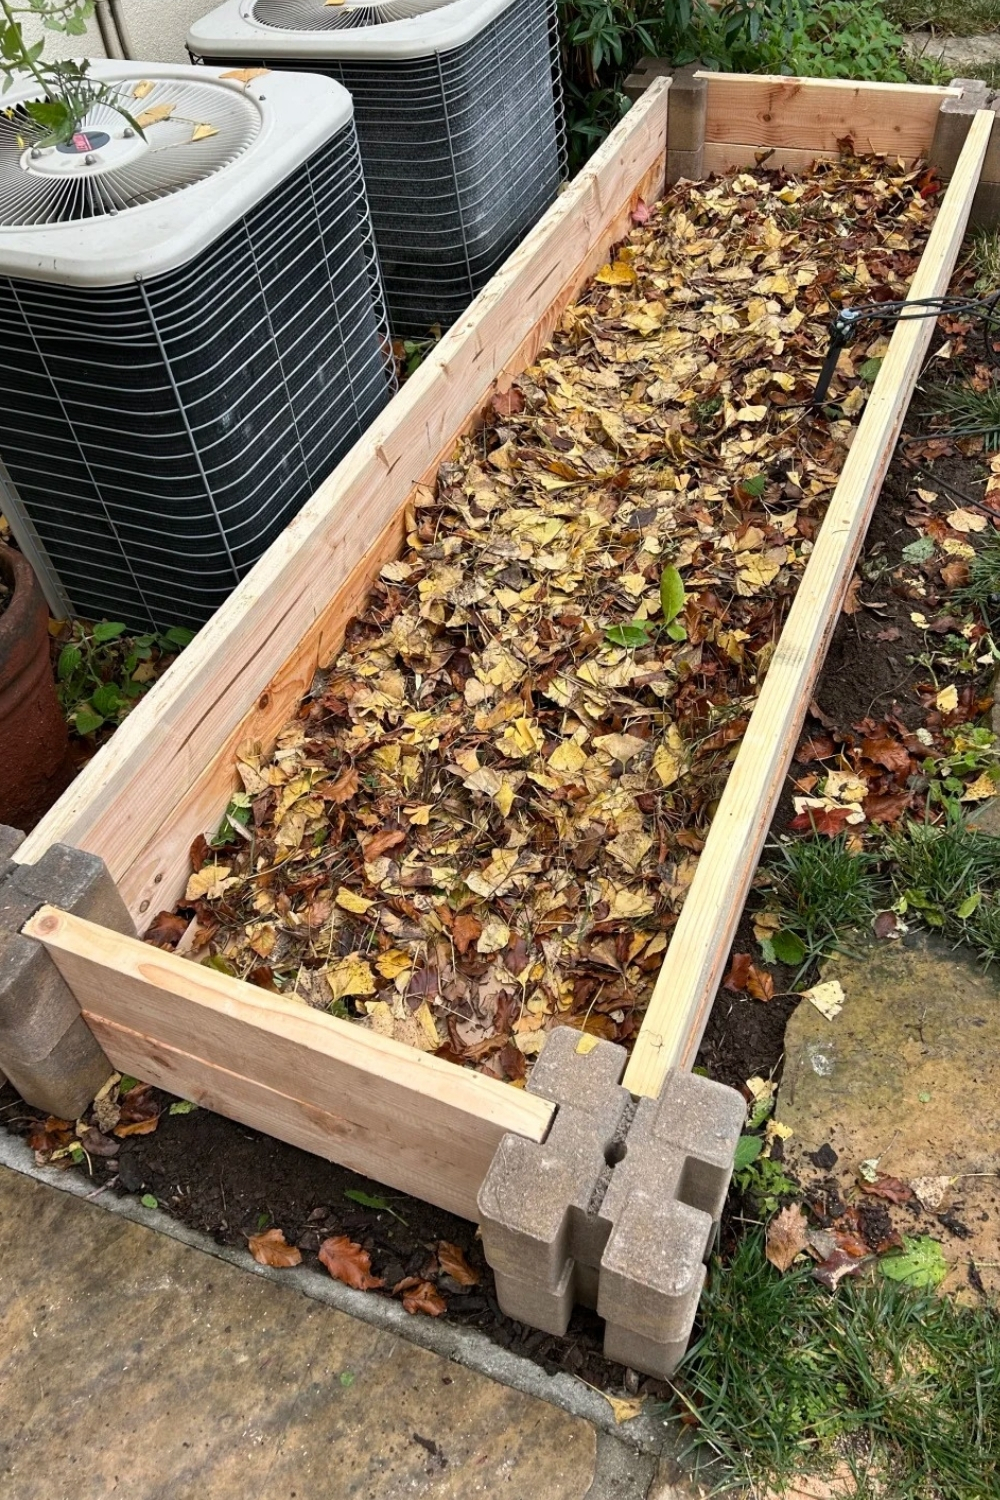
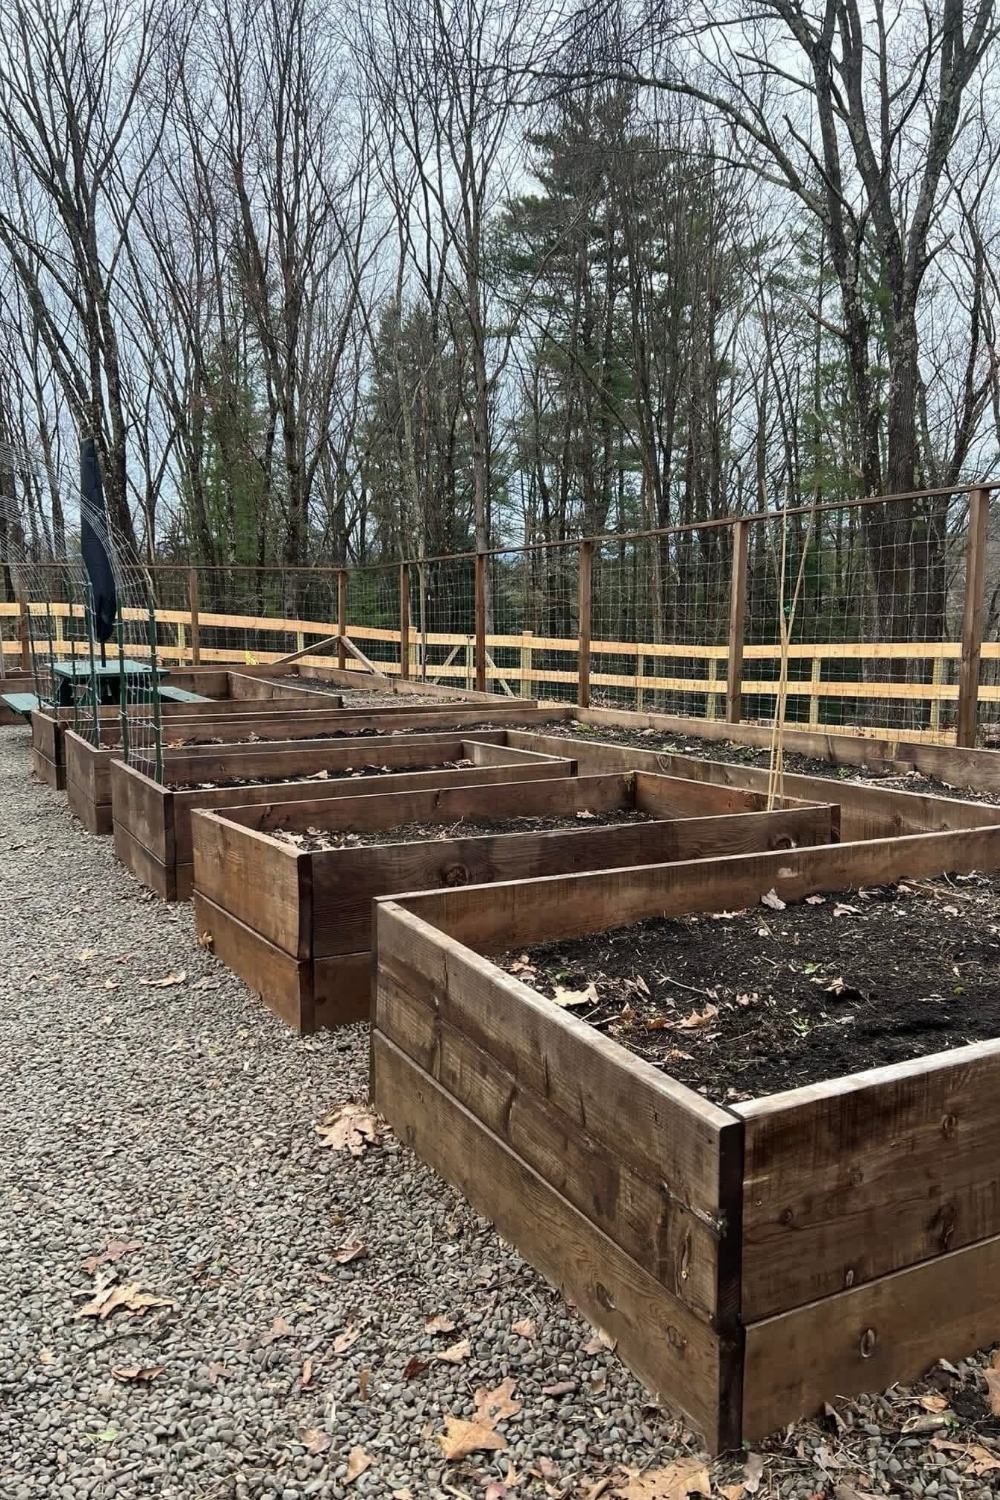
Raised beds need their own garden prep for winter. Soil in raised beds sinks over a season, often by a few inches, as organic matter breaks down. Fall is the time to top it back up. Fill the gap with leaves, compost and a bit of garden soil, and let it settle over winter, so the bed is full again by spring. A layer of whole leaves straight into a sunken raised bed, like this one, is a cheap way to start. Why raised garden beds are worth it goes into what goes inside them in more detail.
Check the frames while you prep the beds for winter. Bed prep is one of the jobs on this November garden checklist, so it’s easy to do both in one weekend. Wooden sides bow out under the weight of wet soil, corner screws rust, and boards that touch the ground start to soften. A loose corner is a 5-minute fix in November and a collapsed bed by July. It really is what it is with wood; it doesn’t last forever, and fall is the easiest time to spot the weak boards because the beds are empty.
Paths are part of garden prep, too. Clear and weed the paths between the beds, and top up the mulch or wood chips there. Clean paths in fall mean fewer weeds creeping into the beds from the edges in spring. For a kitchen garden layout, these kitchen garden ideas show how paths and beds work together.
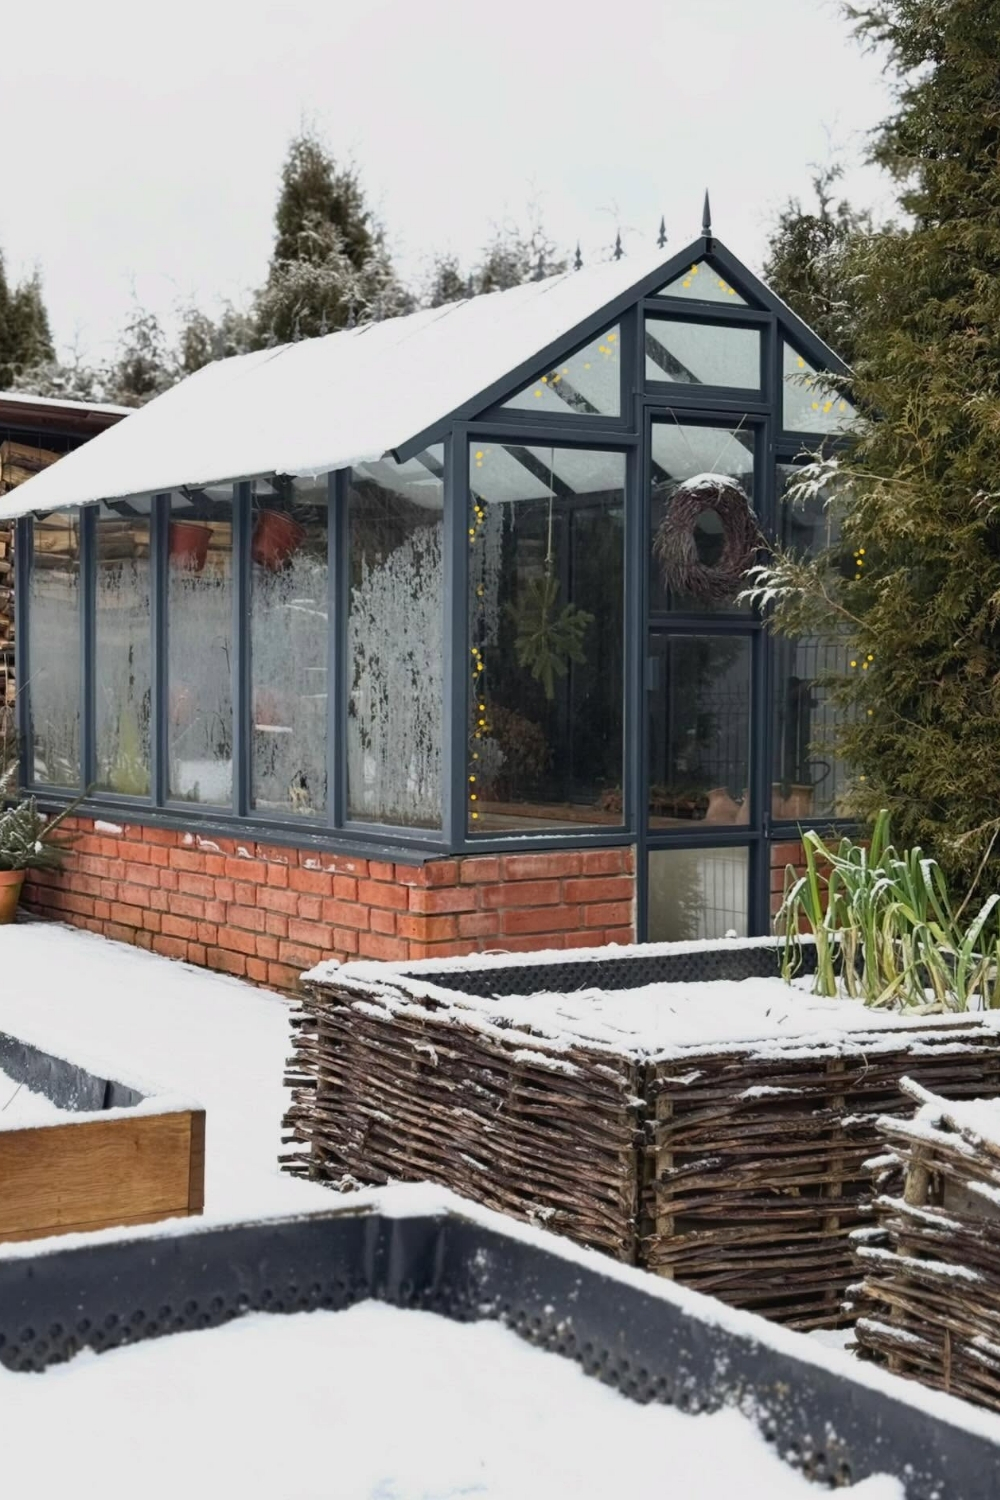
The order of jobs, start to finish
Doing it in the right order saves work. Sow cover crops first, as soon as summer crops come out, since they need the most time before frost. Next, set up cold frames over the garden beds for winter harvests, while the soil still holds some summer warmth. Then clear the remaining beds, pulling sick plants and cutting healthy ones at soil level. Spread compost on everything that isn’t growing a cover crop. Lay cardboard or tarps on the weedy beds. Finish with mulch over the rest, ideally after the first hard frost, when the ground has cooled and mice have already picked other places to spend the winter.
None of it has to happen in one weekend. Spreading the work to prep garden beds for winter over four or five weeks, a bed or two at a time, is easier on your back and usually lines up with when each crop finishes anyway. The beds you prep for winter first are simply the ones that empty first.
By the time snow covers the beds, the work is done: fed, covered and quiet until the soil thaws. The garden prep for winter you do now is the spring prep you won’t have to do later. So which bed will be ready first in March?