
Most garden retaining walls that lean, bulge or tip over didn’t fail because of the blocks. They failed because of what’s missing underneath and behind them: no firm base, no gravel, no way for rainwater to get out. Soil soaked with water is heavy, and it pushes on a wall from behind all winter. Get those hidden parts right and almost any material holds a slope for decades.
That’s why the retaining wall ideas below start with the choice of material and then go step by step through the part nobody photographs, the trench, the gravel and the drain. The steps are written for short garden walls, the kind that turn a slope into a level lawn or a flat planting bed.
Do you need a wall at all?
A gentle slope often doesn’t need a retaining wall at all. Planting it with deep-rooted ground covers, shrubs and ornamental grasses holds the soil in place, and a few wide, shallow steps cut into the hill make it easy to walk on. A slope that’s too steep to mow, keeps washing out after storms, or leaves you with no flat spot for a table or a vegetable bed is where retaining walls earn their keep.
Several low retaining walls stepped up the hill, called terracing, usually look better and are easier to build than one tall wall. Each wall holds back less soil, and each level gives you a flat bed to plant.
Retaining wall ideas by material
Interlocking concrete blocks
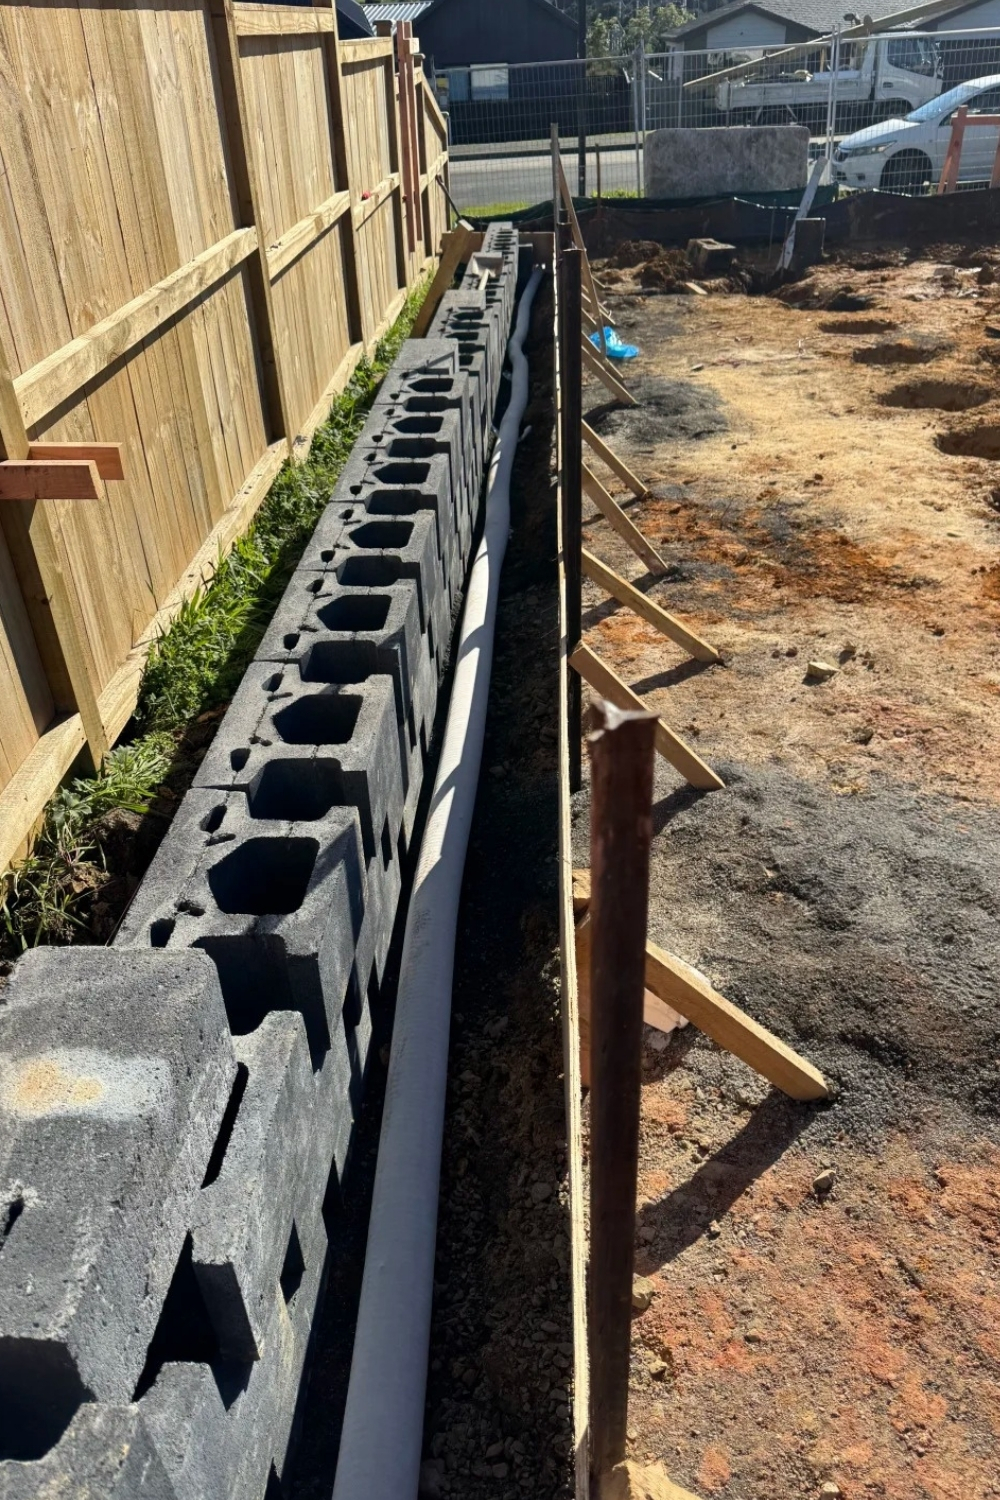
Retaining wall blocks are the easiest choice for a first project. They’re made for the job: most have a lip or pins on the back edge that hooks each row onto the one below, so the wall steps back slightly as it rises and leans into the hill. No mortar is needed. Some blocks are hollow and get filled with gravel as you build, like the gray ones in the photo above.
They come in many colors and faces, from smooth, plain gray to a rough, split-stone look, and they curve easily for a rounded bed.
Timber sleepers
Timber retaining walls are quick to build and suit a relaxed, natural yard, and they’re the easiest to cut and fit on site with ordinary tools. Use thick timbers pressure-treated for ground contact, meaning wood treated to sit in damp soil without rotting fast. The usual method stacks them like logs, with joints staggered, and holds them with long steel spikes or rebar driven down through the layers.
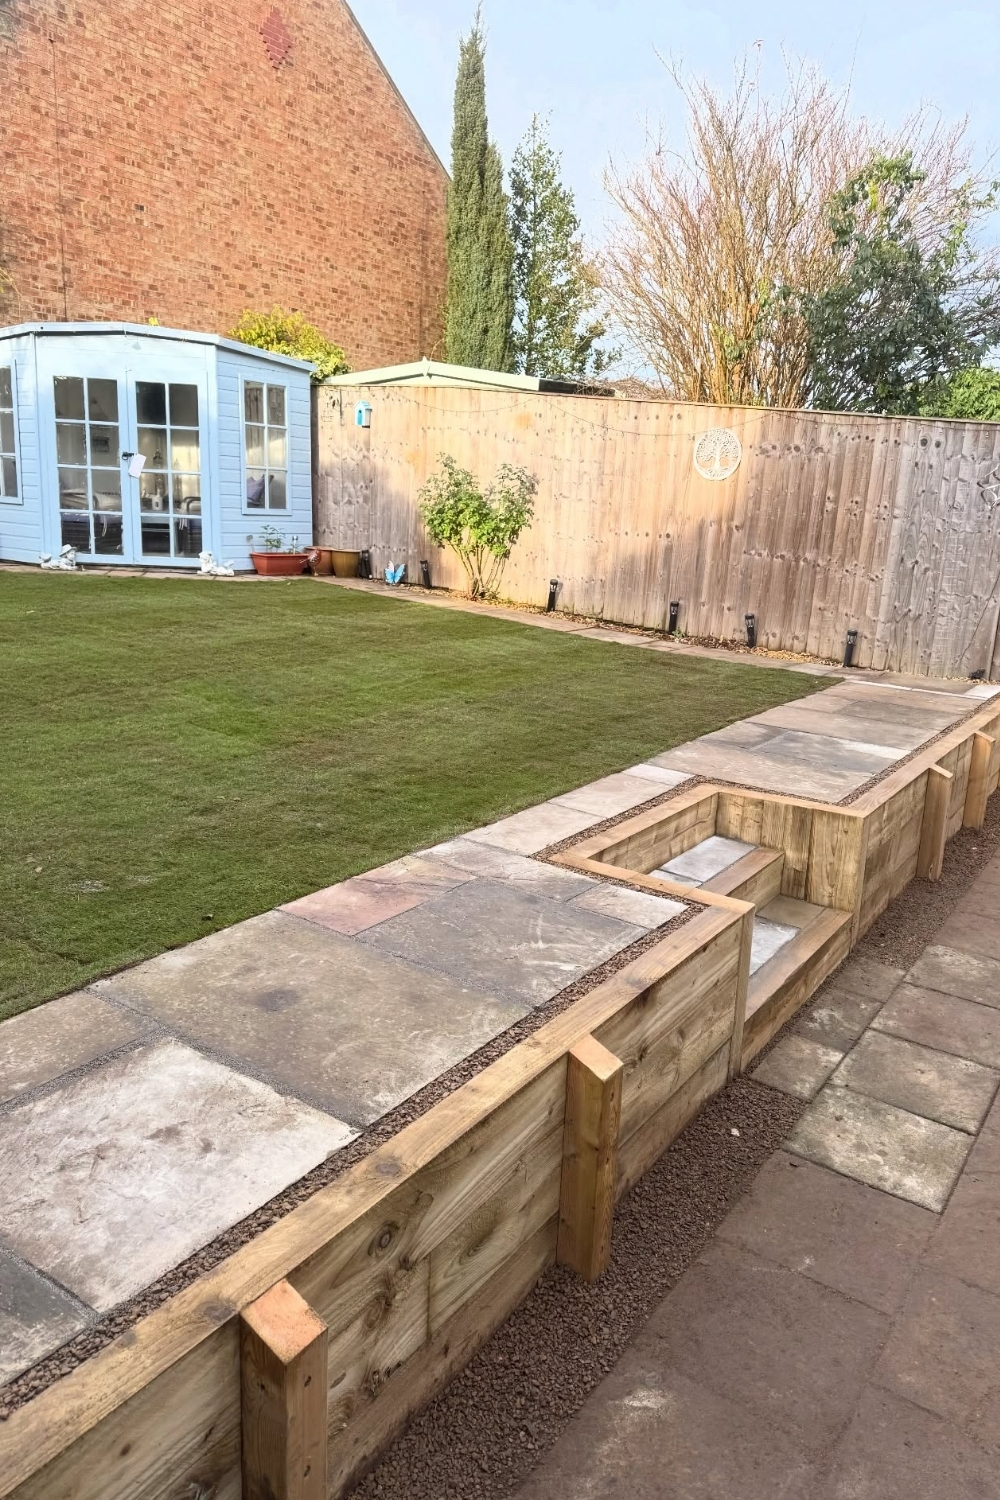
Low timber walls double as edging for a lawn or a patio, and a step cut into the wall is easy to add.
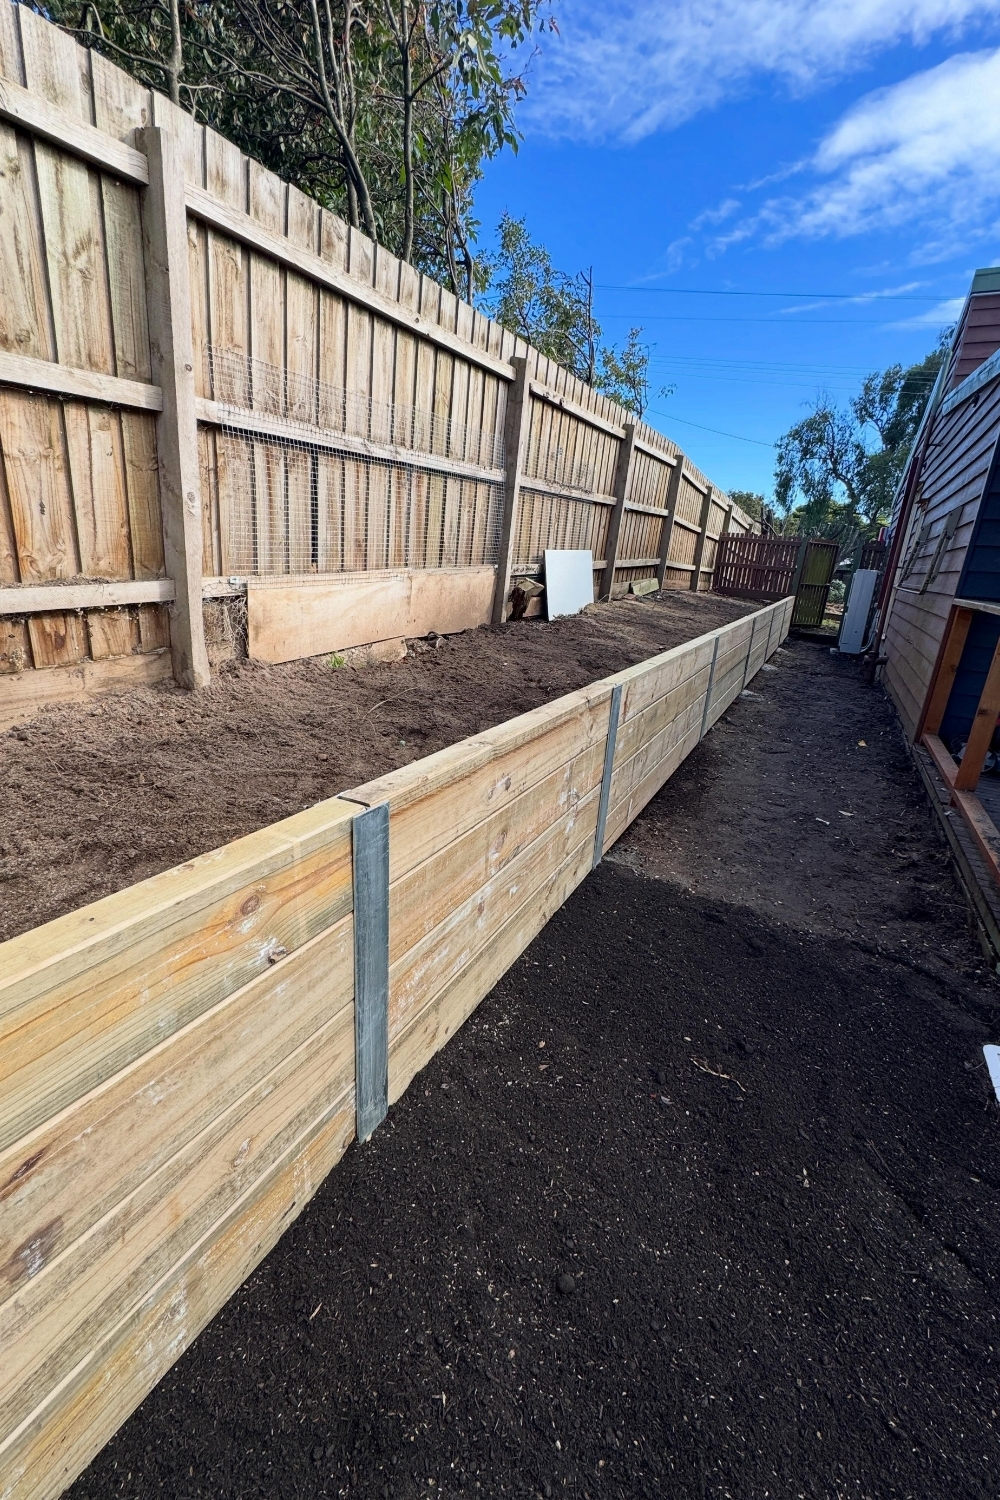
Another style sets horizontal boards between steel posts concreted into the ground, which gives a long, clean line along a fence or a side path. Even treated wood won’t last as long as block or stone, so plan on replacing a timber wall someday.
Brick
A brick retaining wall is a proper masonry job: a concrete footing under it, mortar between the bricks, and small gaps left open along the bottom rows, called weep holes, to let water drain through. Reclaimed brick brings an old, warm color that’s hard to fake with new materials, and it pairs well with brick paths and edging, like the ones in these brick landscaping ideas.
Dry-stacked stone
A stone retaining wall built without mortar is the oldest version of the idea, and in the right yard, the prettiest. The weight of the stones holds it together. The wall leans back into the slope as it rises, the biggest, flattest stones go at the bottom, and long stones laid deep into the wall every so often tie the face to the back.
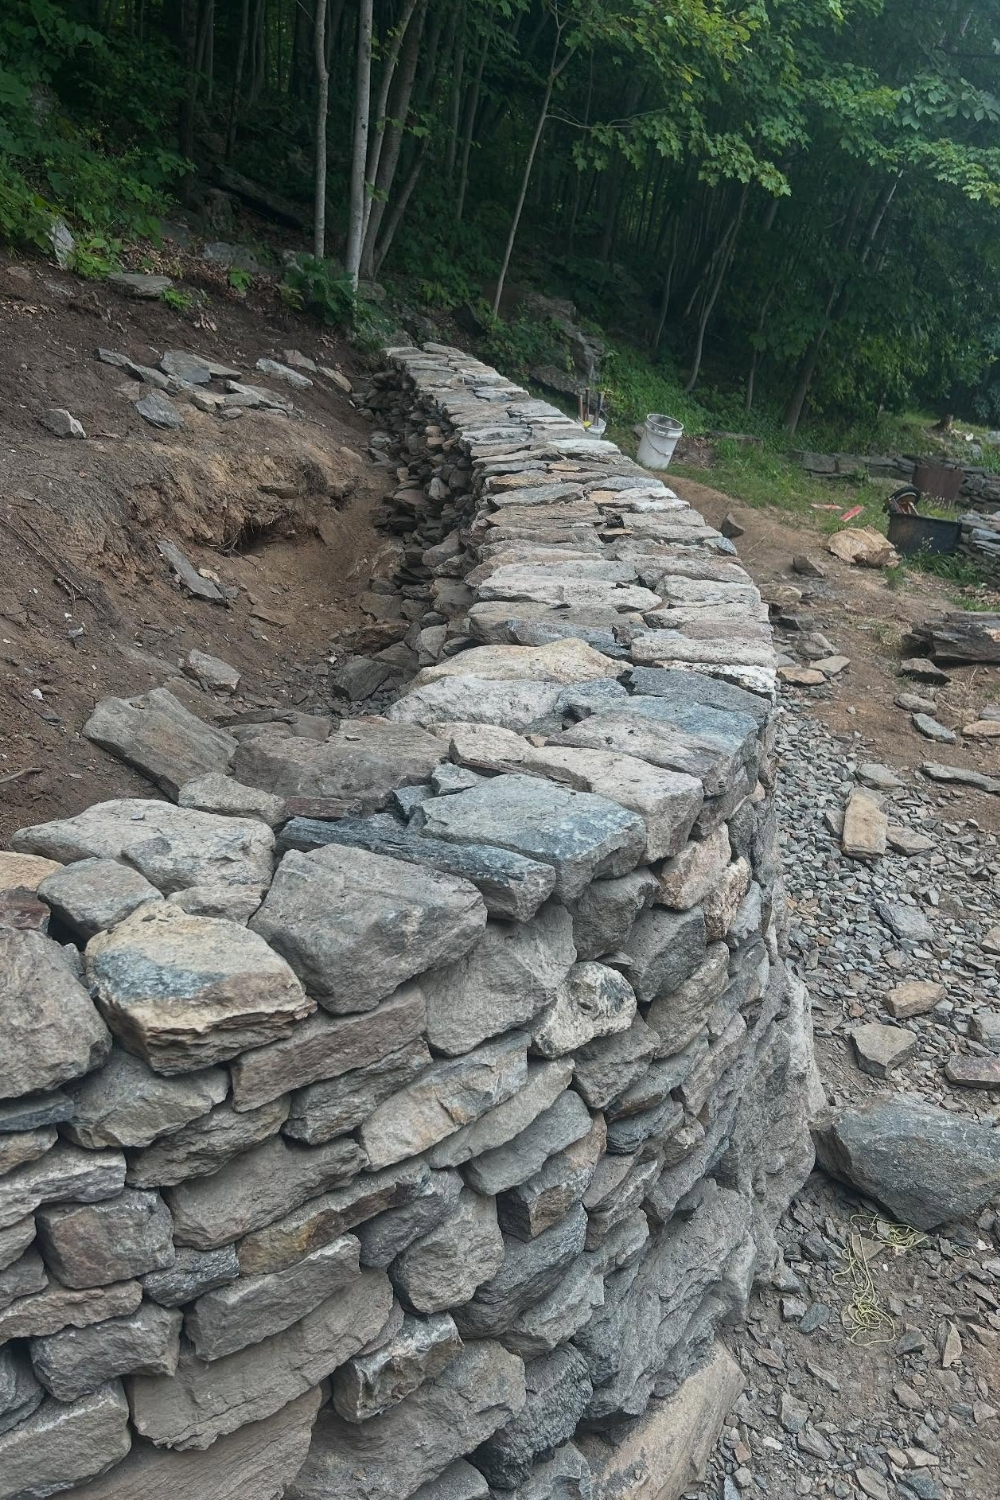
It’s slow work, a bit like a heavy jigsaw puzzle with no picture on the box. The upside is that water drains straight through the gaps, and small plants can grow in them.
Corten steel
Corten steel is a steel that rusts on the surface into a stable, orange-brown layer that protects the metal underneath. Sheets or edging strips of it make thin, sharp-edged retaining walls for low terraces and crisp, contemporary beds. It works best for short walls, and it looks great with grasses and stone.
Building a short block wall, step by step
Step 1: Dig the trench
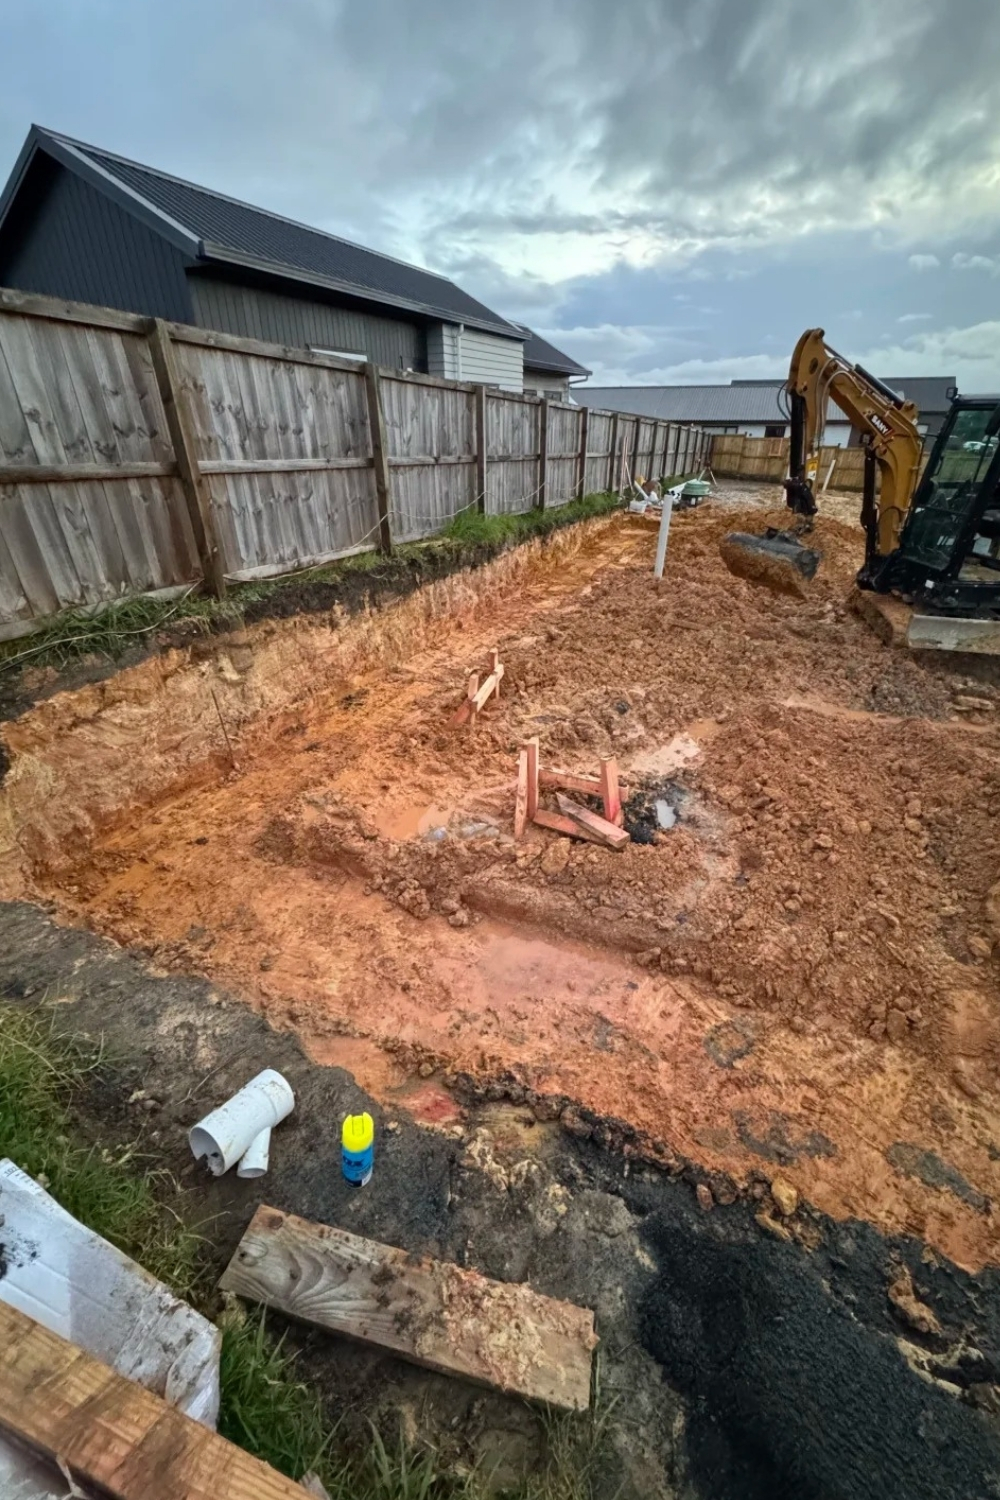
Mark the line of the wall with string, then dig out the slope behind it so you have room to work and room for gravel. According to Ware Landscaping’s guide to laying retaining wall blocks, the trench should be about twice as wide as a block, and deep enough for about 6 inches of gravel plus half the height of the first block, since that whole first row sits partly underground.
Step 2: Plan where the water goes
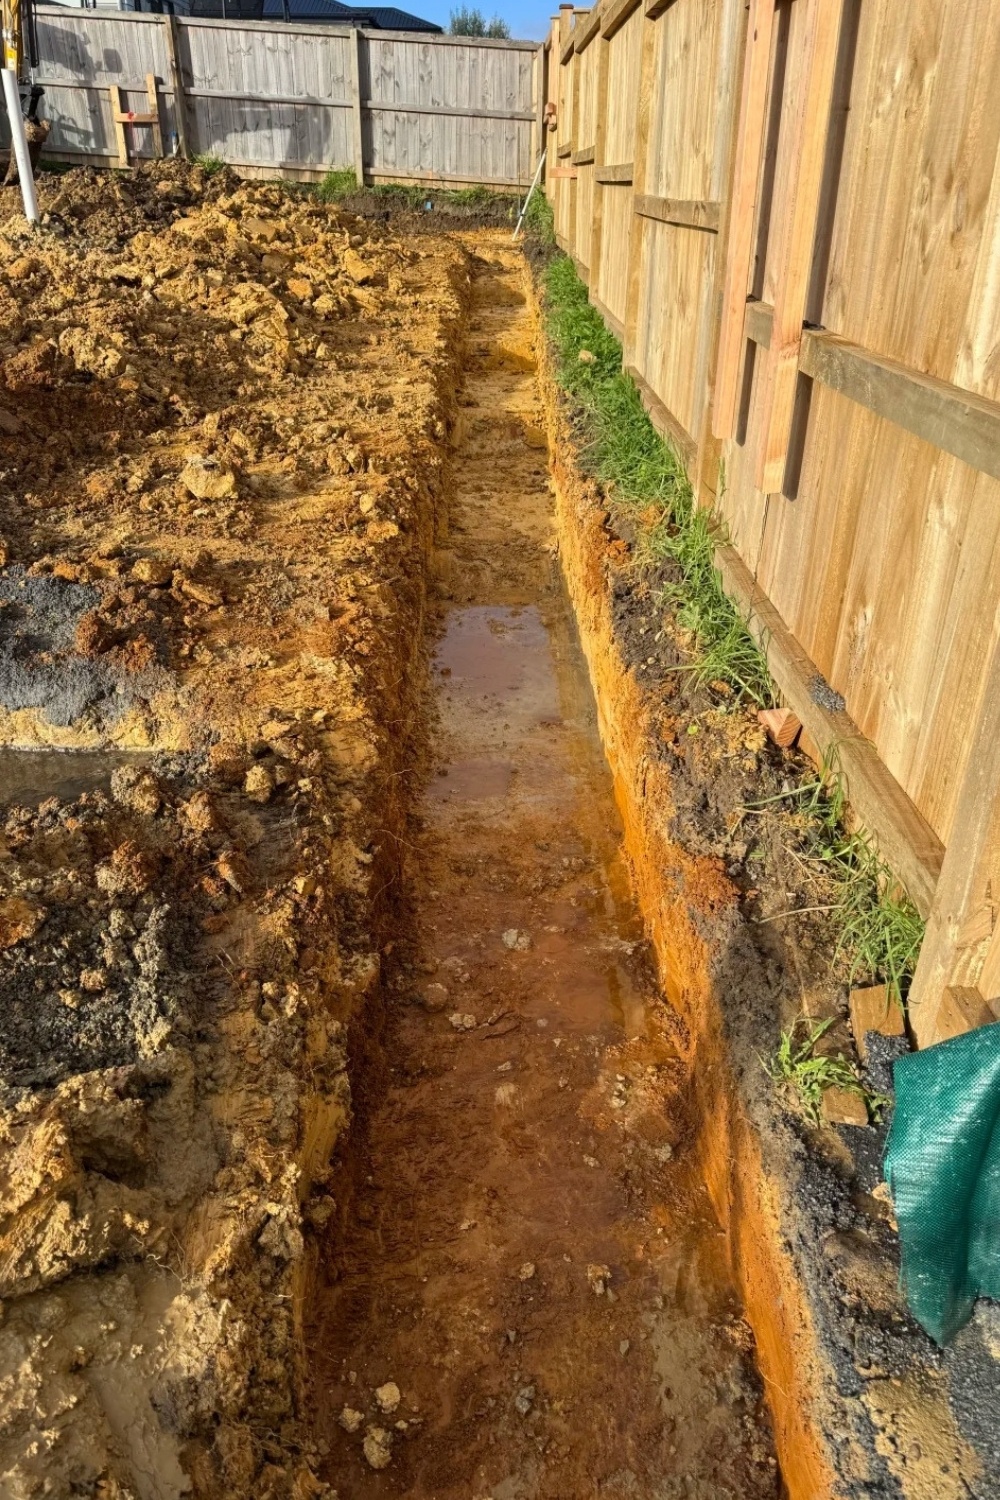
This is the step that keeps a retaining wall standing for decades, not just a few winters. A perforated drain pipe, a flexible plastic pipe full of small holes, runs along the back of the wall at the bottom. Water soaking down through the soil drops into the pipe and runs out one end, away from the wall. The pipe needs a slight downhill slope and somewhere to empty, like a lower part of the yard or a gravel pit. For a slope that’s already soggy, these backyard drainage fixes are worth sorting out before the wall goes in.
Step 3: Build and compact the base
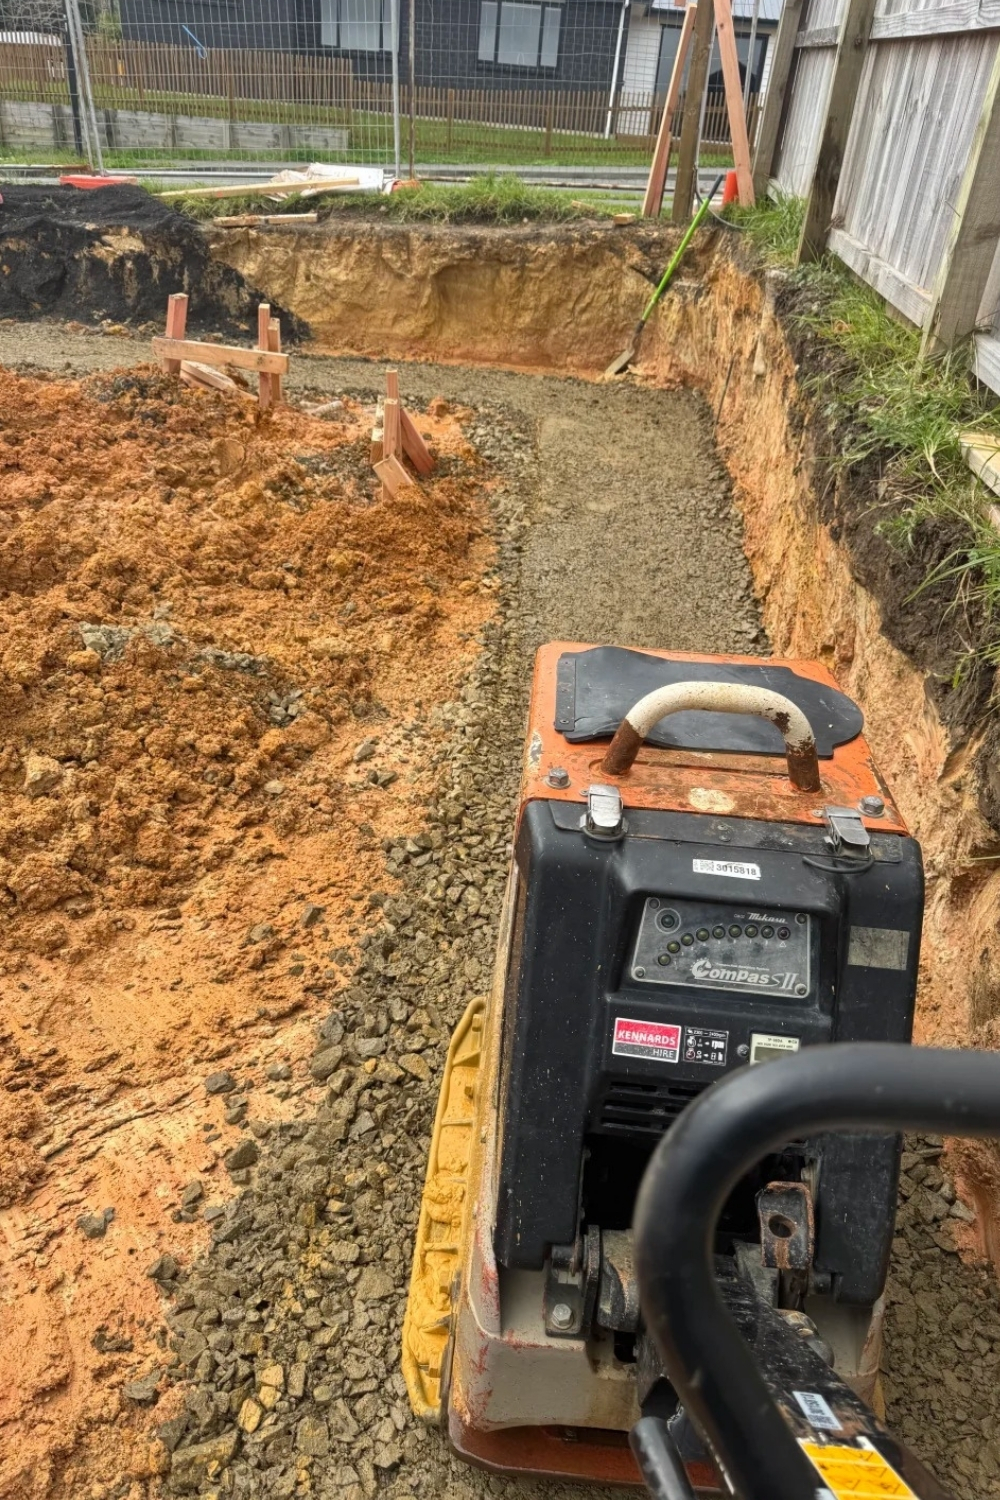
Fill the trench with crushed gravel, the angular kind with sharp edges that lock together, not round pea gravel that rolls. Spread it in layers and pack each one down with a plate compactor, a heavy vibrating machine you can rent by the day. A hand tamper works for a short wall, it just takes longer. The base has to be firm and dead level, front to back and along its length.
Step 4: Set the first row
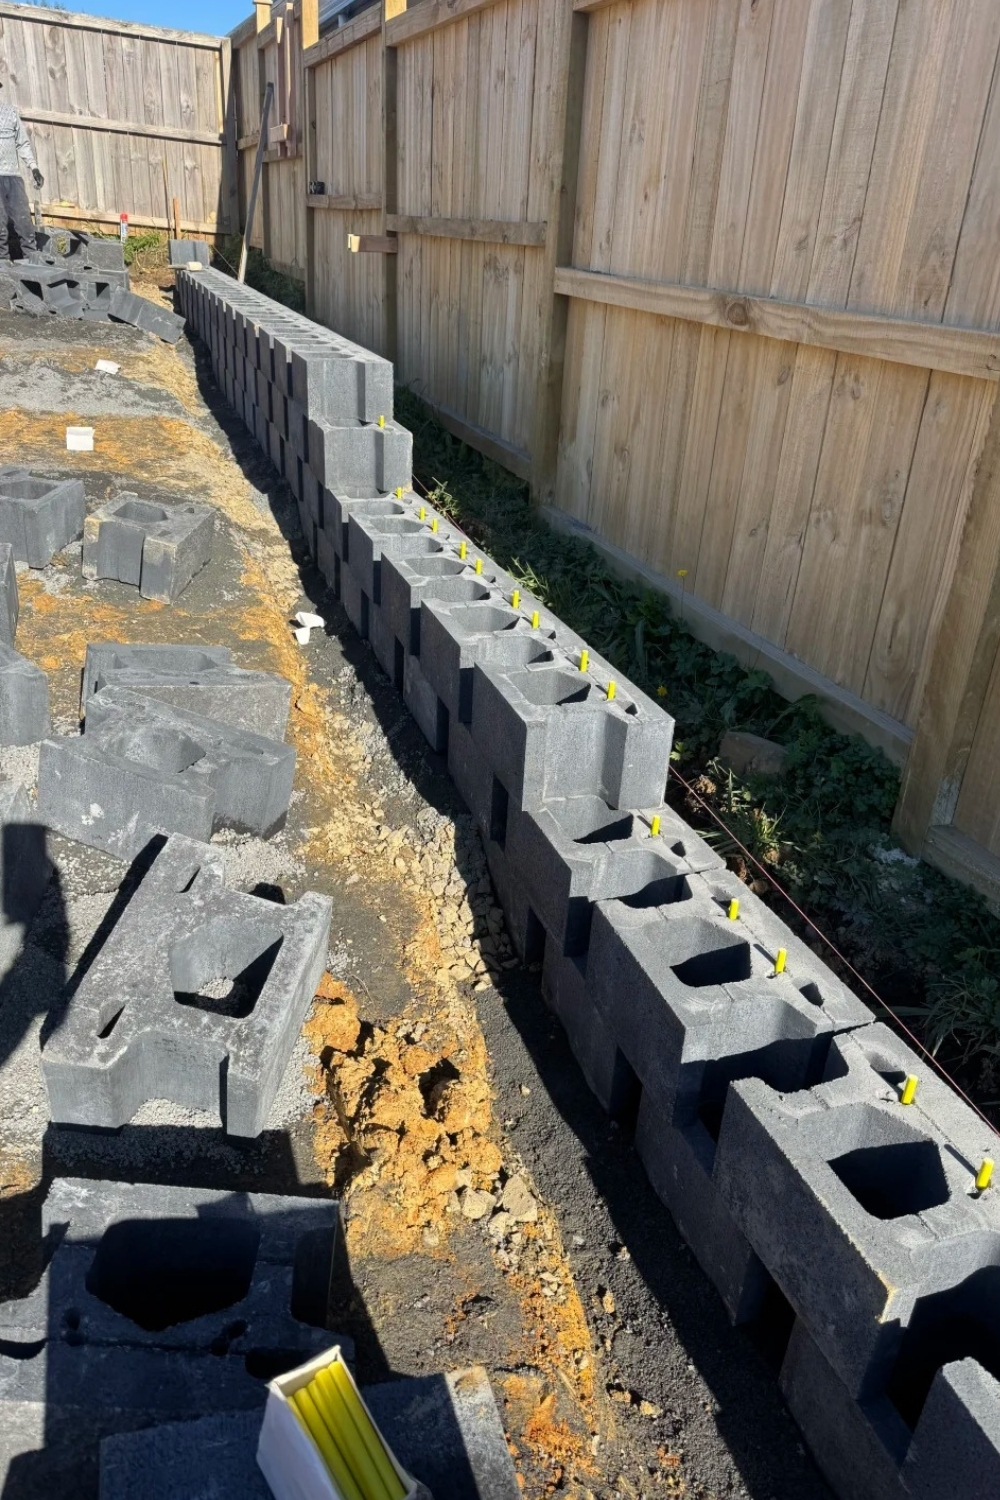
The first row, or course, decides how straight the whole wall turns out. Set each block on the gravel, check it with a level in both directions, and tap it down with a rubber mallet until it sits right. Take your time here; a block that’s slightly off on the bottom row is a lot more off by the top. Pros often spend as long on this row as on the rest of the wall.
Step 5: Stack, stagger and backfill
Lay the next rows so each block covers the joint between two blocks below, like brickwork. If the blocks are hollow, fill the cores with gravel as you go. After every row or two, fill the space behind the wall with gravel too and pack it down. House Digest’s explainer on gravel behind retaining walls suggests keeping at least 12 inches of gravel behind the wall and laying a sheet of fabric between the gravel and the soil, so dirt doesn’t wash in and clog it.
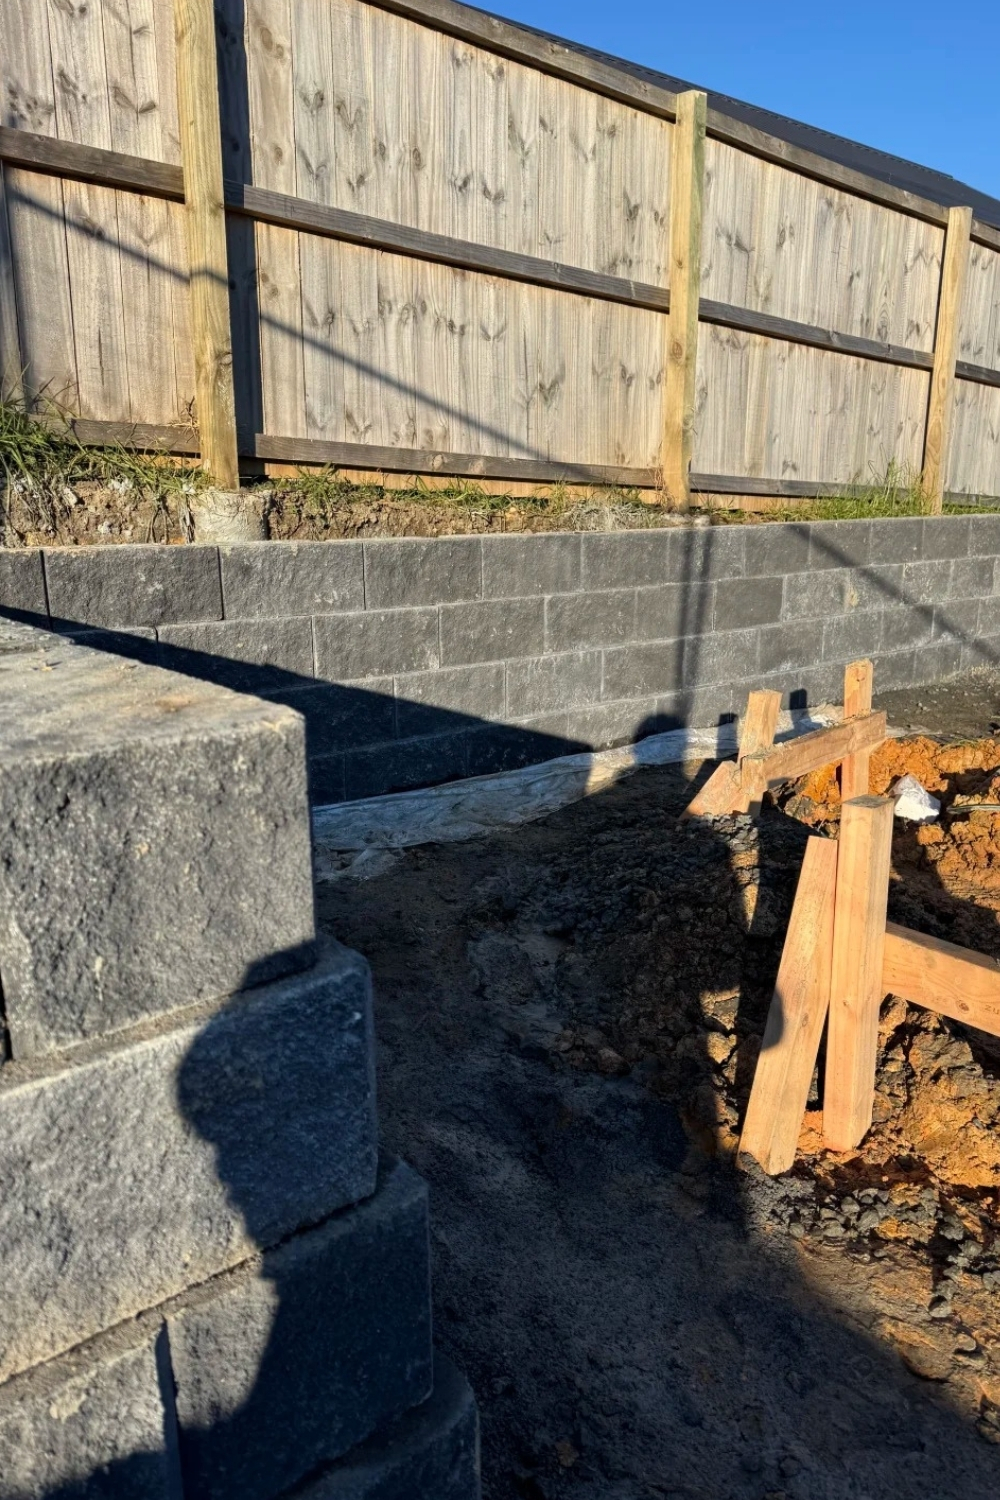
Finish with flat cap blocks glued down with outdoor concrete adhesive, then top the last few inches behind the wall with soil instead of gravel so you can plant right up to the edge. When all is said and done, the finished wall looks simple, and the work that holds it up is all out of sight.
A tall wall, or one holding up a driveway, a shed or the house, is a job for a professional, so keep the DIY version to short garden walls.
Turning a retaining wall into a seat or a bed
A retaining wall at sitting height, around 18 inches, is basically a bench that came free with the project. Widen the cap, or top a brick wall with a deep row of bricks laid flat, and the wall becomes seating around a lawn or a fire pit.
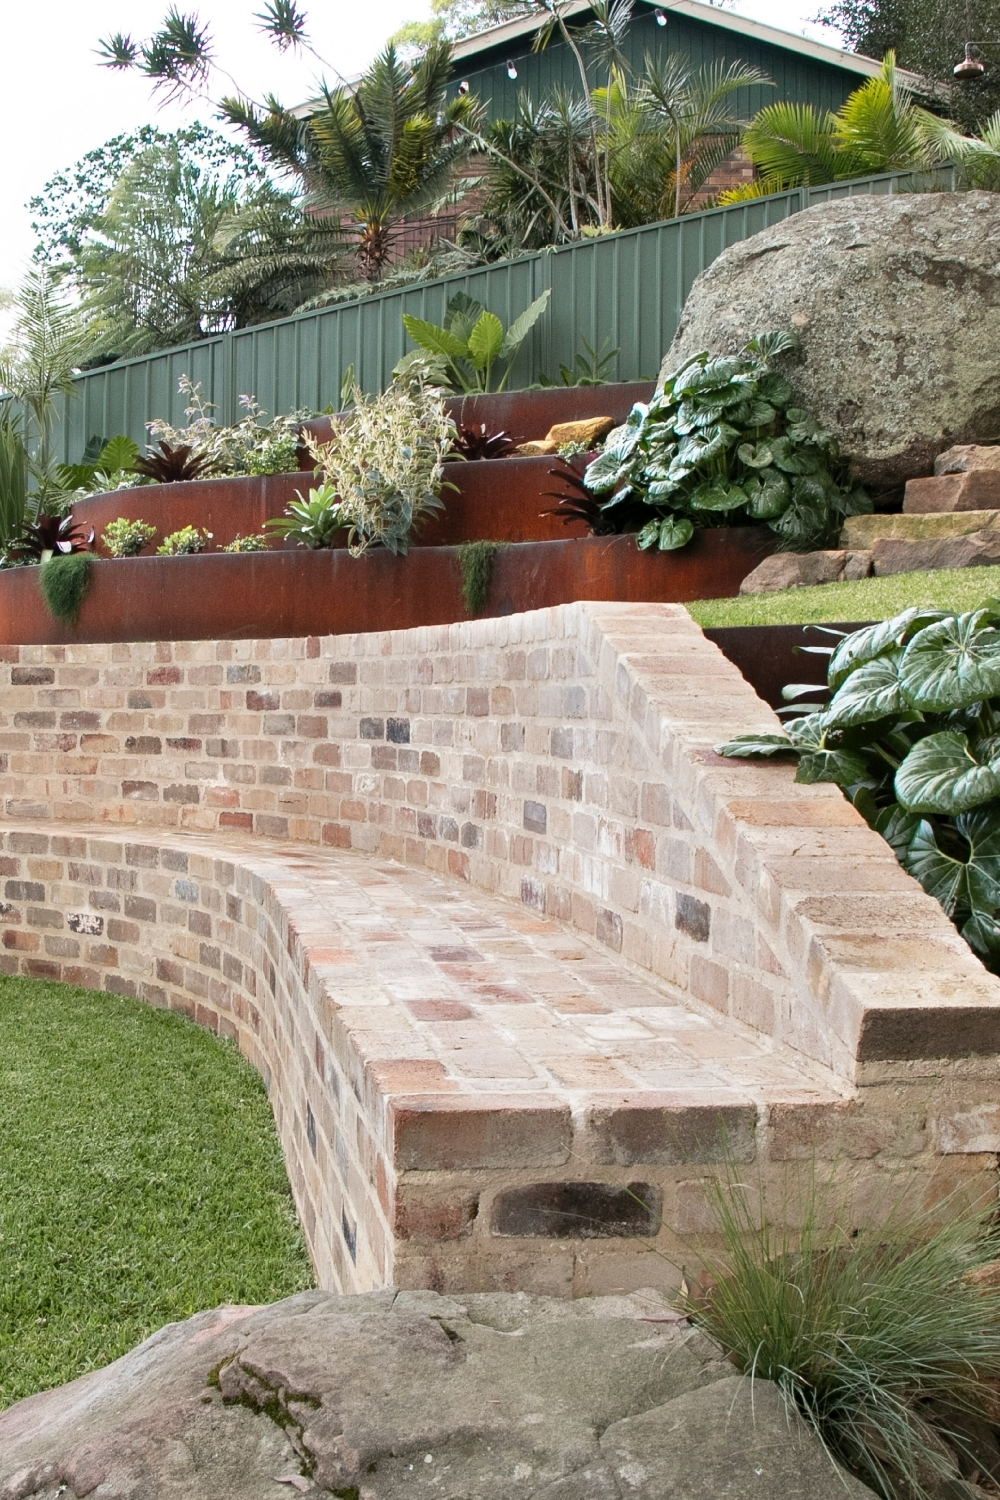
A curved wall feels even more like a seat, since it wraps around the people sitting in it. In this garden, the curved brick bench sits at the bottom of a slope already terraced with steel beds and boulders above it.
The space behind a low wall can also become a raised bed, with deep soil, good drainage and no bending down, the same perks that make raised garden beds worth it on flat ground. Fill it with good garden soil and compost, not leftover subsoil from the dig.
Planting on and above the wall
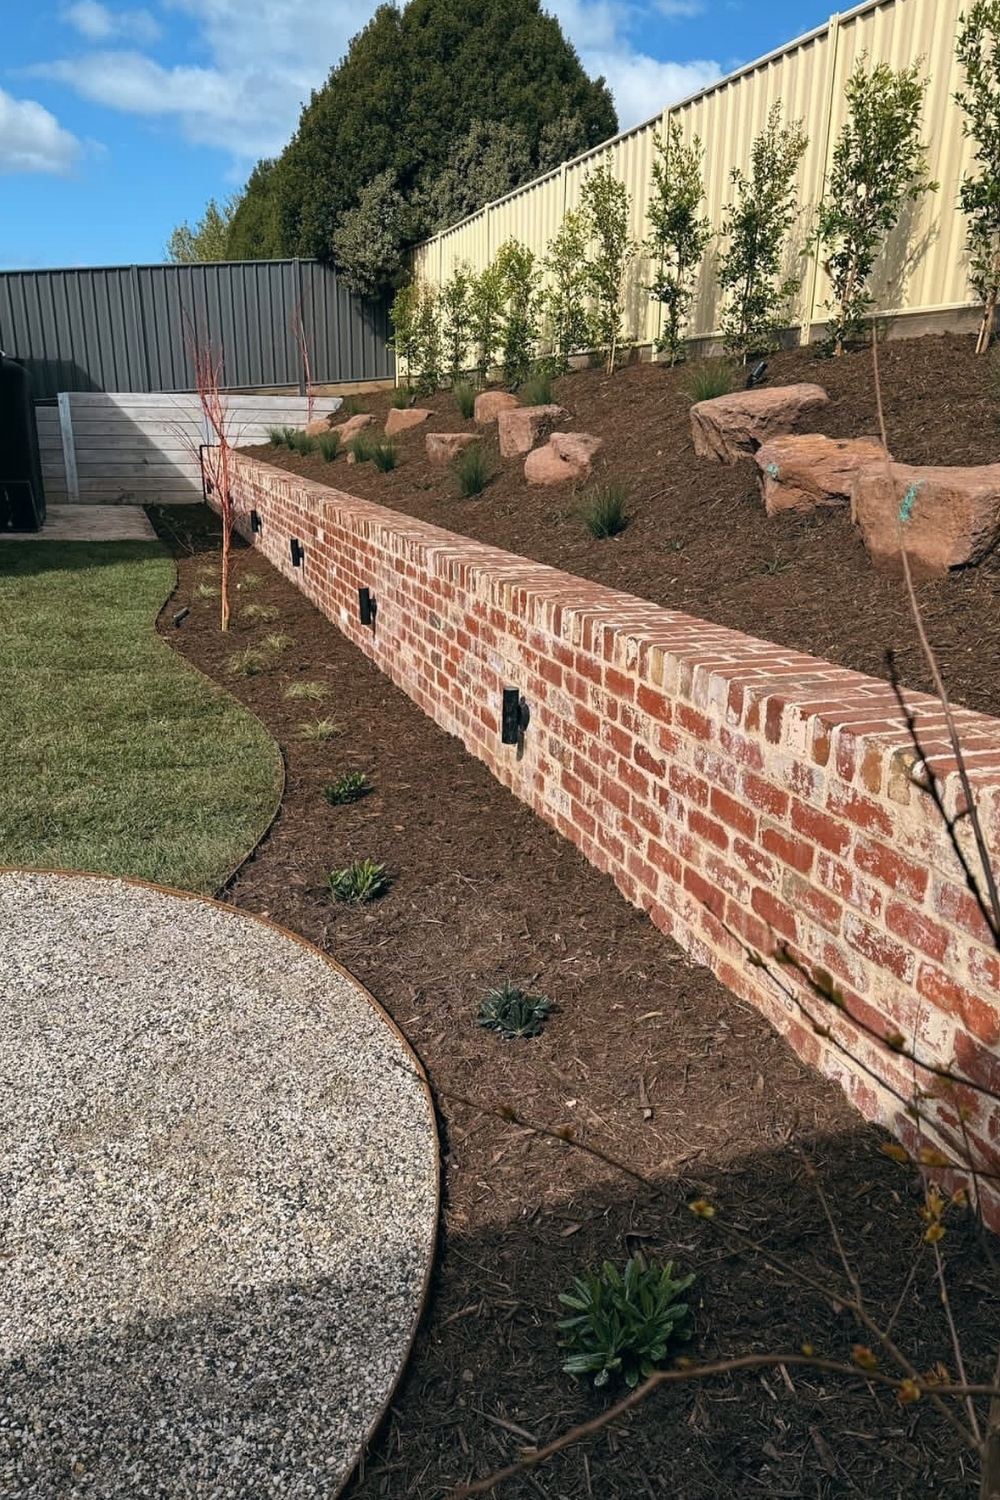
A retaining wall looks most at home once plants soften it, and planting is where a plain block wall picks up some personality. Above the wall, trailing plants like creeping thyme, creeping phlox, aubrieta and trailing rosemary spill over the edge. Along the top, a row of small shrubs or grasses gives the wall a finished line. Keep large trees well back from it, since their roots can push a short wall out of line over the years.
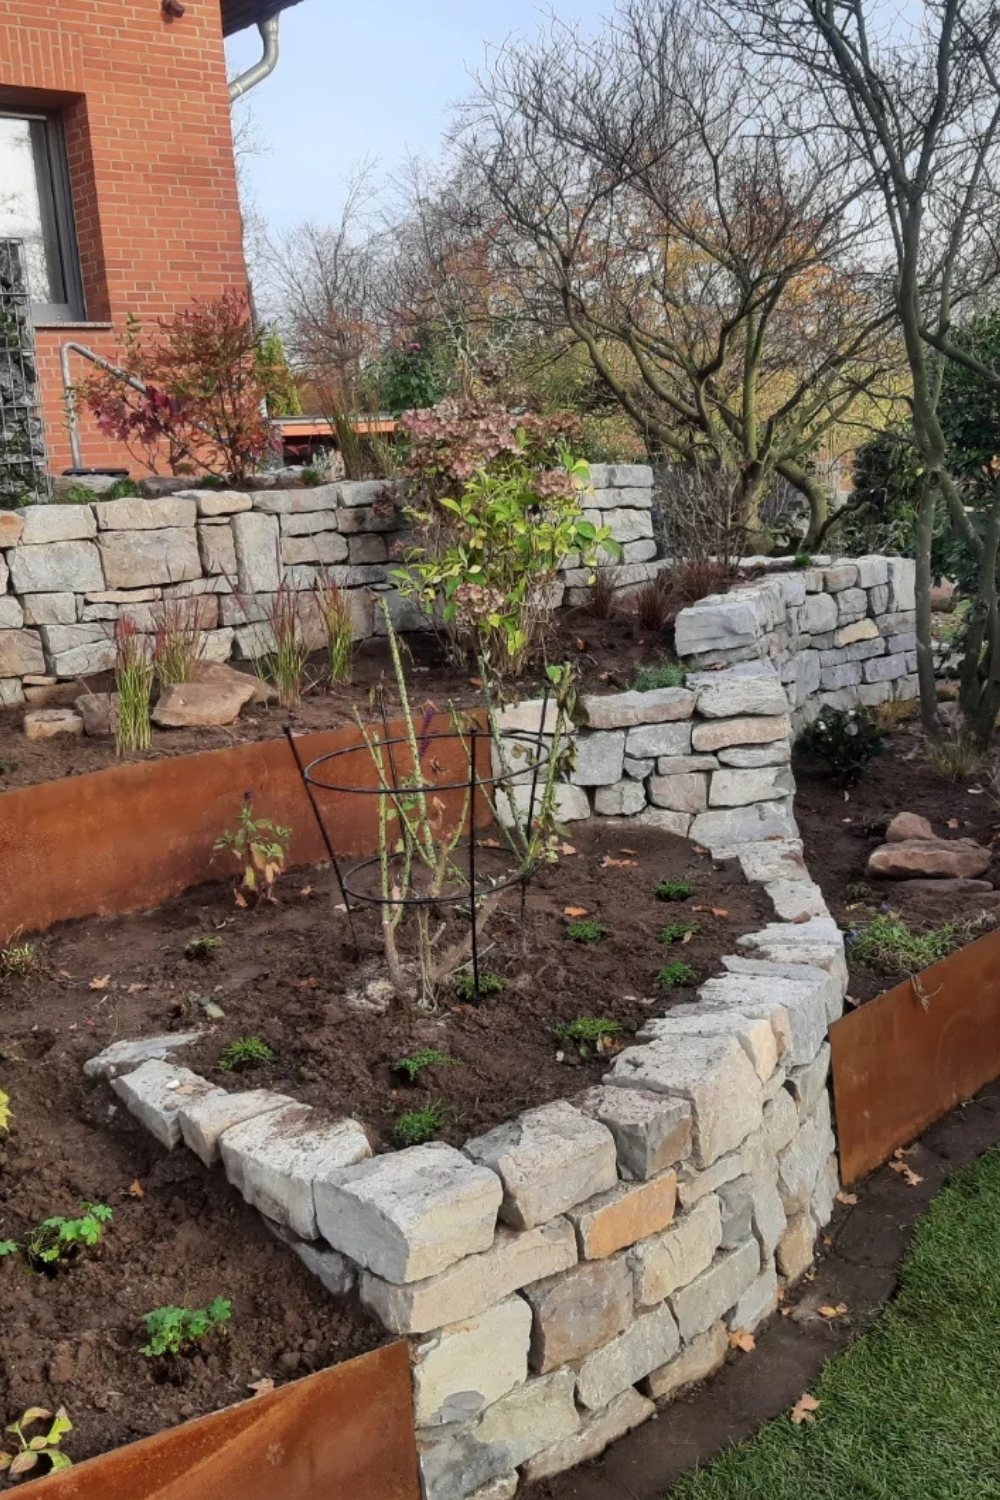
Dry-stacked stone retaining walls can hold plants in the wall itself, which no block or timber version can. Small sedums, hens and chicks, and other little alpine plants tuck into gaps between stones with a pinch of gritty soil and send their roots back into the slope. However you wanna put it, a stone wall full of plants looks like it grew there. Terraced beds of stone and steel, like these, let each level hold its own mix of shrubs, perennials and bulbs.
Low walls also frame a river rock bed nicely, especially at the bottom of a slope where water collects; these river rock landscaping ideas show how gravel and stone fill the ground in front of a wall.
Which retaining wall suits which yard
Blocks suit most beginners and most budgets, and they forgive a few mistakes. Timber is the cheapest and fastest, but it’s the one you’ll rebuild someday. Brick suits older houses and gardens with brick paths already. Stone gives the most natural look and drains on its own, and it rewards patience more than skill. Steel is the sleek, thin-edged choice for low terraces. It looks a bit odd on a cottage-style slope, so save it for clean, contemporary gardens.
Mixing them works, too. A block retaining wall for the tall, hard-working part of the slope and a low stone or timber edge higher up often costs less and looks less like a construction project.
Before buying anything, push a stake in at the top and bottom of the slope, run a string between them with a line level, and measure the drop. That one number tells you how many low retaining walls the hill needs, and where the first one goes.