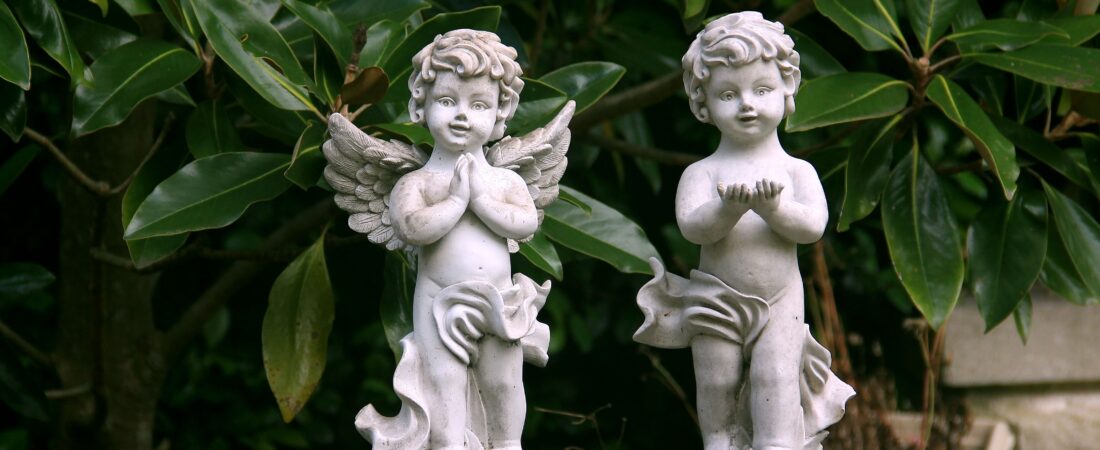
One well-placed garden statue gives the eye a place to land. Five statues scattered wherever there happened to be a gap turn it into a garden center clearance aisle. The difference has less to do with taste than with a handful of simple rules: one piece per view, the right size for the space, a material that survives your winters, and plants that frame it instead of hiding it. Here they are, one by one.
Give each statue one job
Garden statues work best as focal points, and a focal point only works if it’s the only one in view. Decide what each piece is for: the end of a path, the view from the kitchen window, a reason to walk around a corner. Then make sure nothing else competes with it from that spot.
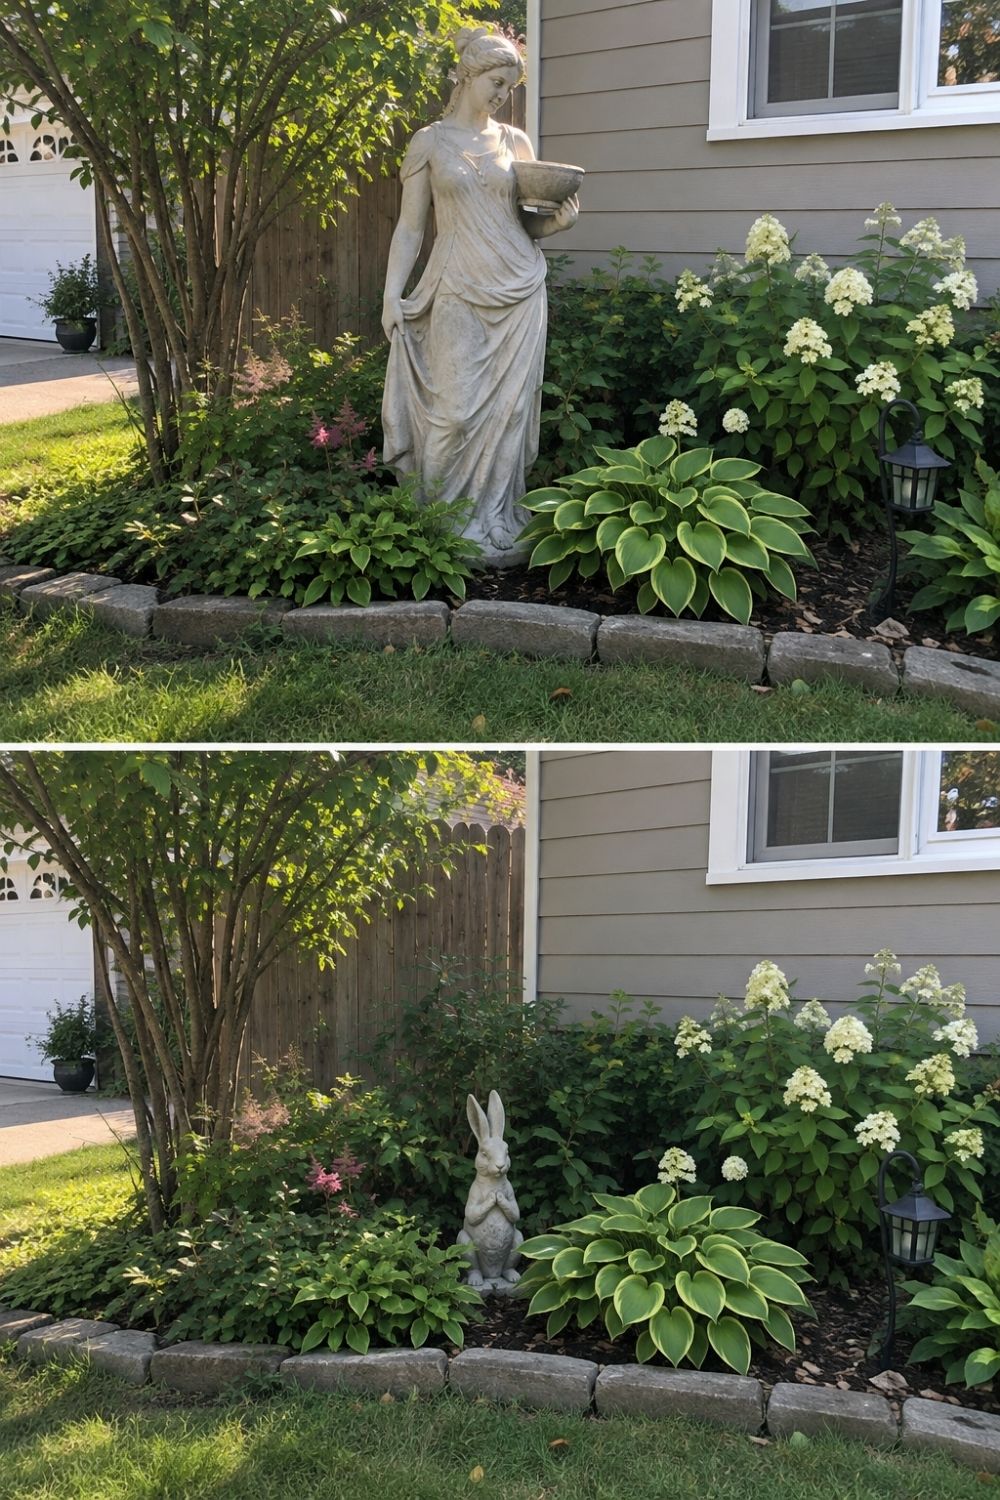
Photo by SassyGarden
The before and after above shows the same corner bed by a house with two different pieces. A tall classical figure holding a bowl stands among the hydrangeas and hostas in the first photo; a small stone rabbit sits in the same spot in the second. Both work, but they create very different moods. The tall figure turns the corner into a formal, slightly grand moment; the rabbit makes it playful and lets the planting take the lead. Pick one. Putting both in the same bed would make each look like an afterthought.
A quick test: stand where you usually look at the garden from, like the patio, the back door or the path, and count how many garden sculptures you can see at once. More than one or two, and the eye starts bouncing instead of resting.
Match the scale to the space
Scale is where most garden statues go wrong. A small figure in a big open lawn looks lost, like someone left it there by accident. A large statue in a tiny courtyard feels like it’s about to step on you.
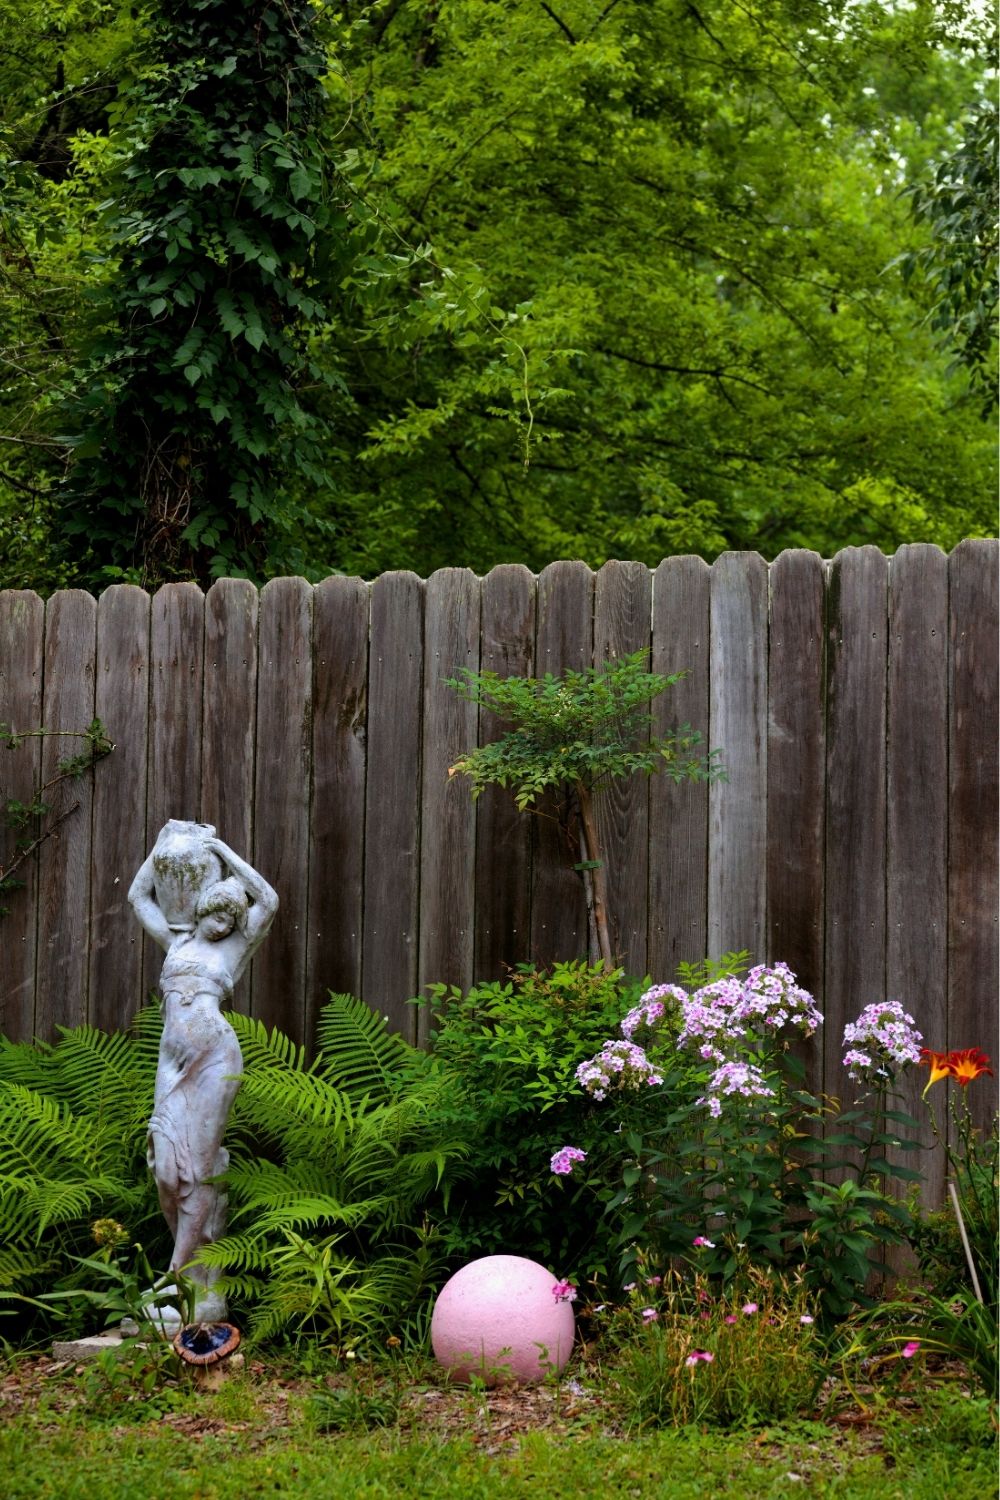
Photo by Keith Johnson on Unsplash
This classical garden statue against a weathered wooden fence is about the right size for its bed: tall enough to read against the boards, small enough that the ferns and pink phlox still frame it. The pink gazing ball on the ground adds a bit of cheek without competing. As a rough guide, a statue should be visible from where you’ll usually see it without reading as the biggest thing in the bed. Put a bucket or a stack of pots in the spot first and look at it from the house for a day or two. Cheap trick for sizing garden sculptures, very reliable.
Height can be borrowed: a small piece on a plinth or low wall holds its own in a larger space.
Pick a style that fits the house and the planting
Classical figures, Buddha statues, contemporary abstract shapes, animals, angels, whimsical characters: every style can look good. The trick is matching it to what’s already there, so the piece feels like it belongs rather than like a souvenir.
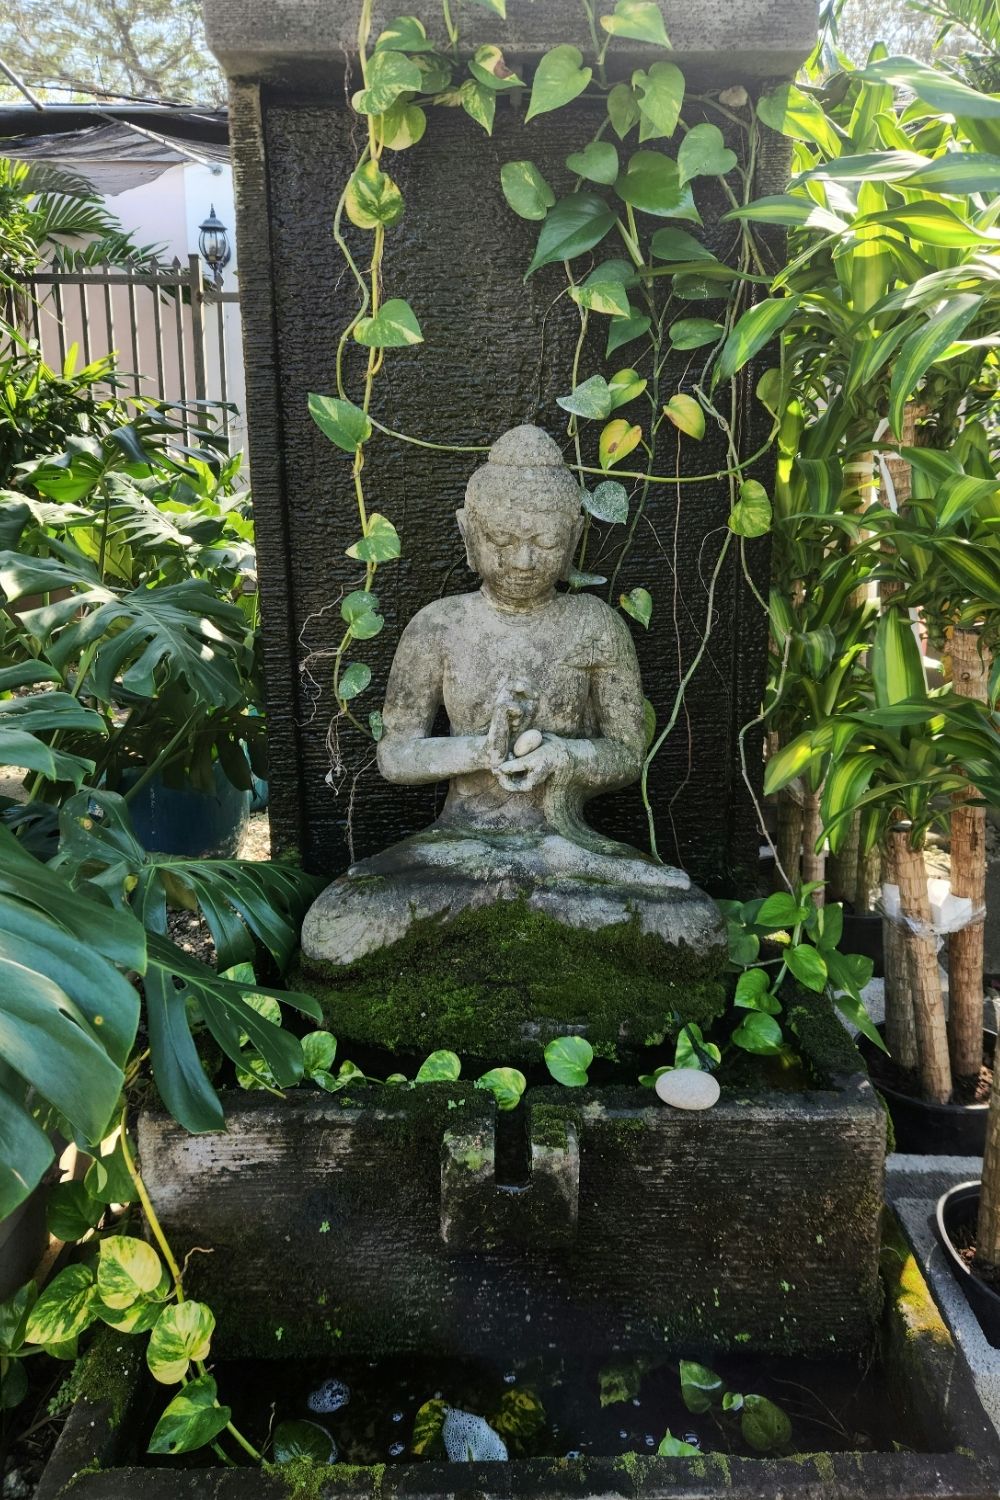
Photo by Zoshua Colah on Unsplash
The seated Buddha above works because everything around it agrees: a mossy stone fountain, trailing pothos, big tropical leaves and plenty of green. A few pairings that tend to work:
| Style | Suits | Planting that helps |
|---|---|---|
| Classical figures, urns | Formal gardens, older houses, cottage borders | Clipped boxwood, roses, hydrangeas |
| Buddha and Asian-inspired pieces | Shady, green, calm spaces | Ferns, moss, bamboo, Japanese maples |
| Contemporary or abstract | Clean-lined houses, gravel, concrete | Grasses, sedum, one repeated plant |
| Animals and wildlife | Informal and family gardens | Loose perennials, meadow planting |
| Whimsical and handmade | Cottage and kitchen gardens | Herbs, annuals, containers |
If you can’t decide, pick garden statues in natural stone or a weathered finish; they fit more styles than anything glossy.
Let plants frame it, not bury it
Every garden sculpture needs a backdrop. Against a plain fence, a hedge or a mass of dark foliage, it stands out; against a busy mix of flowers, it disappears.
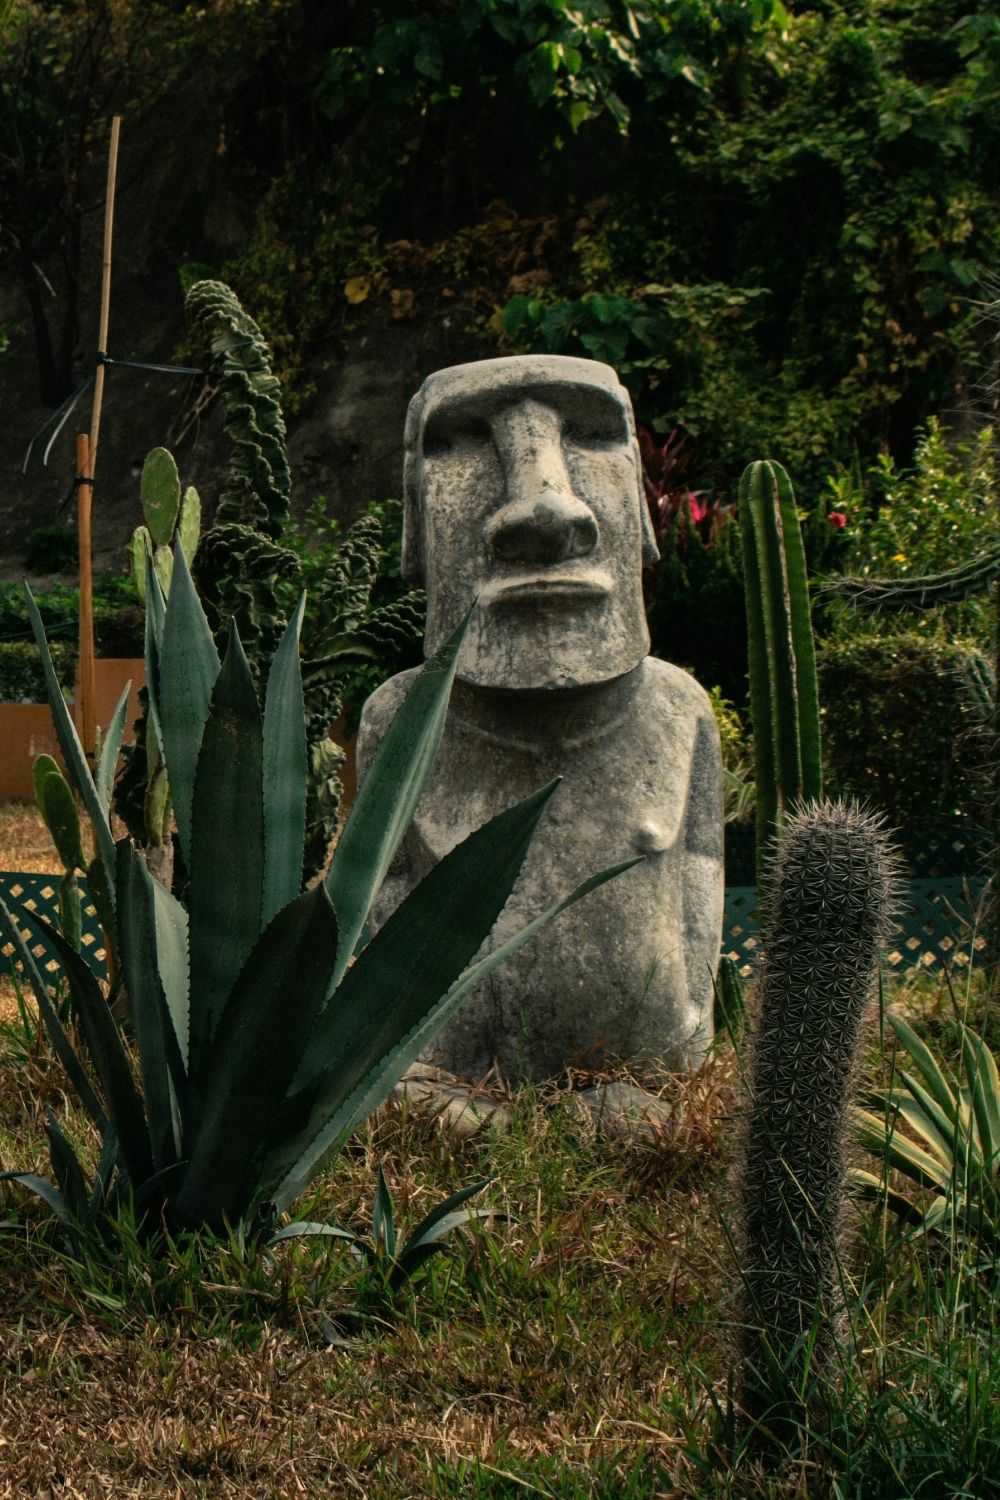
Photo by Zoshua Colah on Unsplash
This stone head is surrounded by bold shapes: spiky agave leaves in front, a tall column cactus beside it, dark greenery behind. The plants are as sculptural as the statue, so the whole scene reads as one composition. That’s the principle for any garden sculpture: pick plants whose form matches the piece. Chunky, simple statues look good with bold leaves; delicate figures pair better with ferns, grasses and soft perennials.
Leave some breathing room around the base, and keep plants trimmed so they frame the statue rather than swallow it by August. For shady corners where statues often end up, my post on what plants grow well in shade has a long list of good backdrops.
Place it where people actually look
A garden statue in the middle of the lawn usually looks stranded. The same statue at the end of a path, at a bend, beside a bench or half-hidden among plants looks like it was planned.
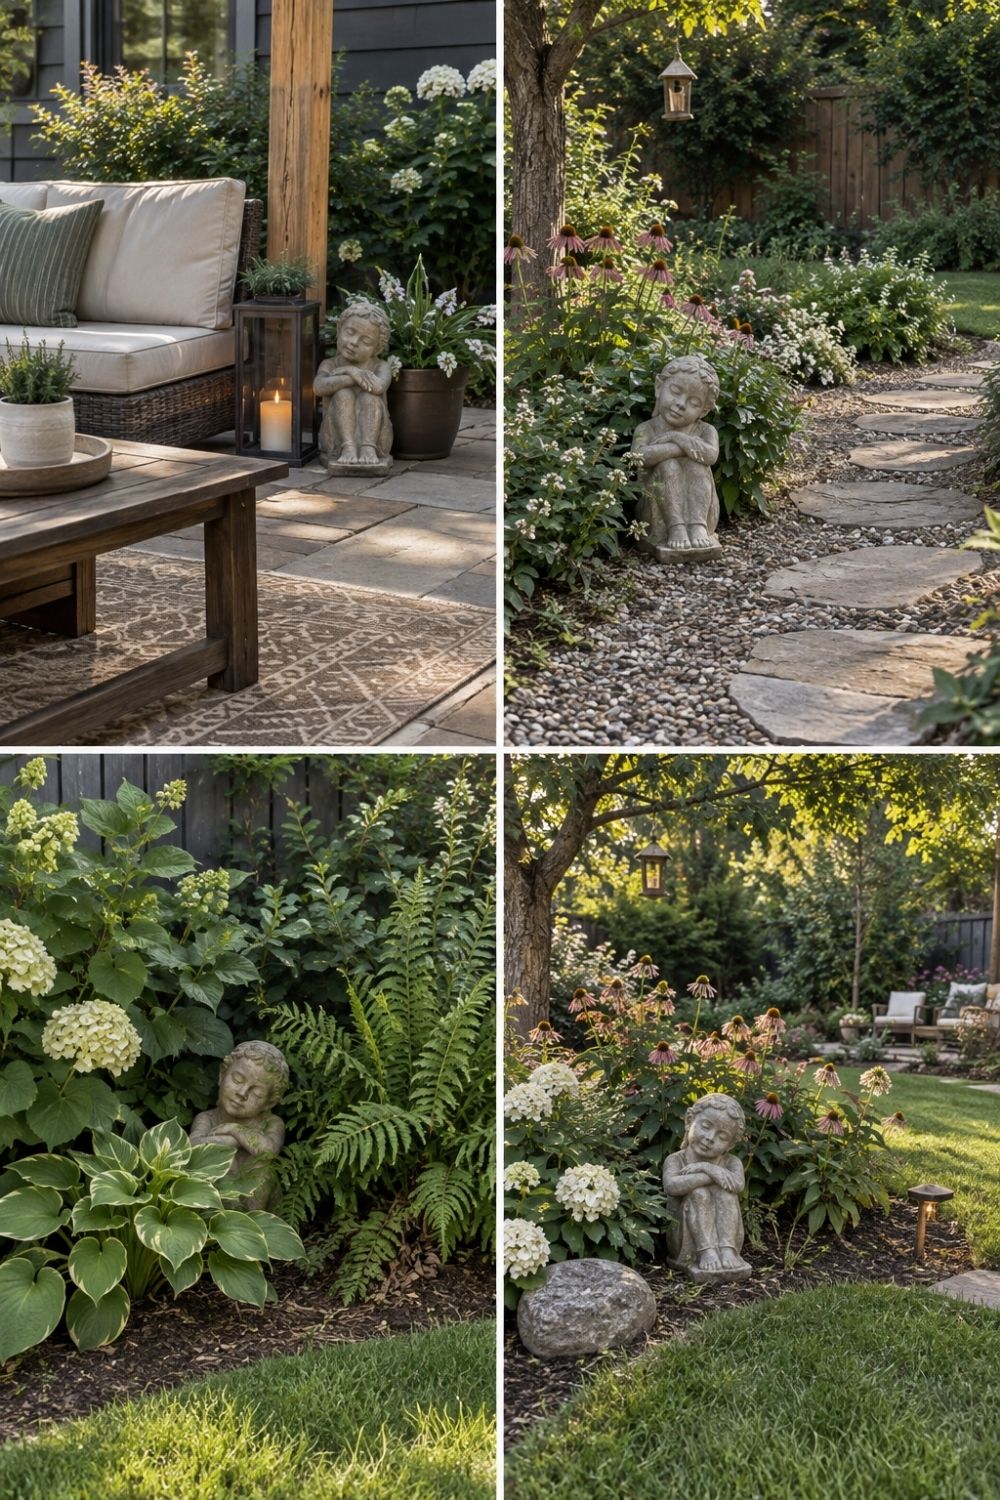
Photo by SassyGarden
The four photos above show one small angel figure tried in four places: beside the patio sofa, on the edge of a stepping-stone path, tucked among hydrangeas and ferns, and at the bend of a lawn path. Each spot tells a different story. By the sofa it’s decor; along the path it’s a small surprise; among the plants it reads like it’s been there for years. For more placement ideas, Garden Design’s tips for placing garden sculptures are worth a look.
Good spots, roughly in order of how often they work:
- At the end of a straight path or view, where the eye naturally travels.
- At a bend, so the statue pulls you around the corner.
- Partly hidden in planting, discovered rather than announced.
- Beside a bench or doorway, at eye level from where people sit.
If you’re still working out the layout itself, my guide to planning a garden that feels designed covers views and paths first.
Choose the material for your winters
A garden statue that cracks after one winter is an expensive lesson. Material decides both the look and how long it lasts outdoors.
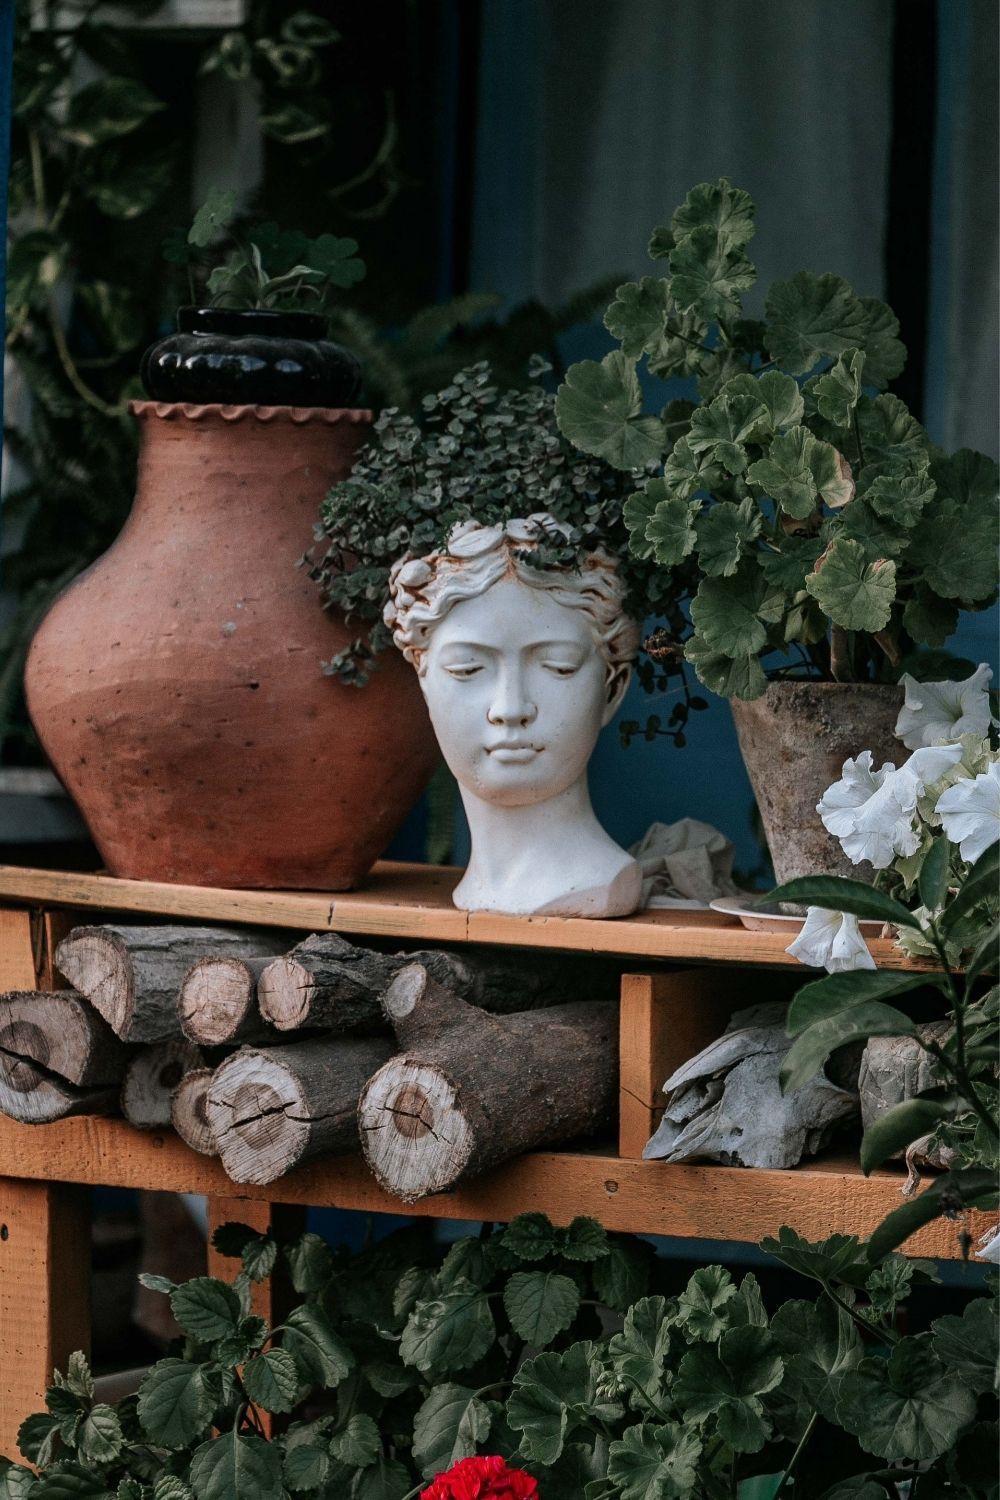
This head planter on a potting shelf, with a trailing plant for hair, is typical of the lighter decorative pieces: charming, but made of material that won’t like a hard freeze. In cold zones, bring cast concrete, terracotta and ceramic pieces into a shed for winter or at least lift them off wet ground. Natural stone, bronze, iron and good-quality resin handle cold much better. Resin is also the lightest, which makes it easy to move but also easy to knock over, so anchor tall pieces with a stake or a heavy base.
Whatever the material, set the statue on something firm and level: a paver, a flat stone or a small gravel pad. A figure sinking at an angle into the lawn looks less “ancient ruin” and more “someone forgot about this.”
Light it for the evening
A single low light turns garden statues into the evening’s focal point. Without it, the statue simply disappears at dusk.
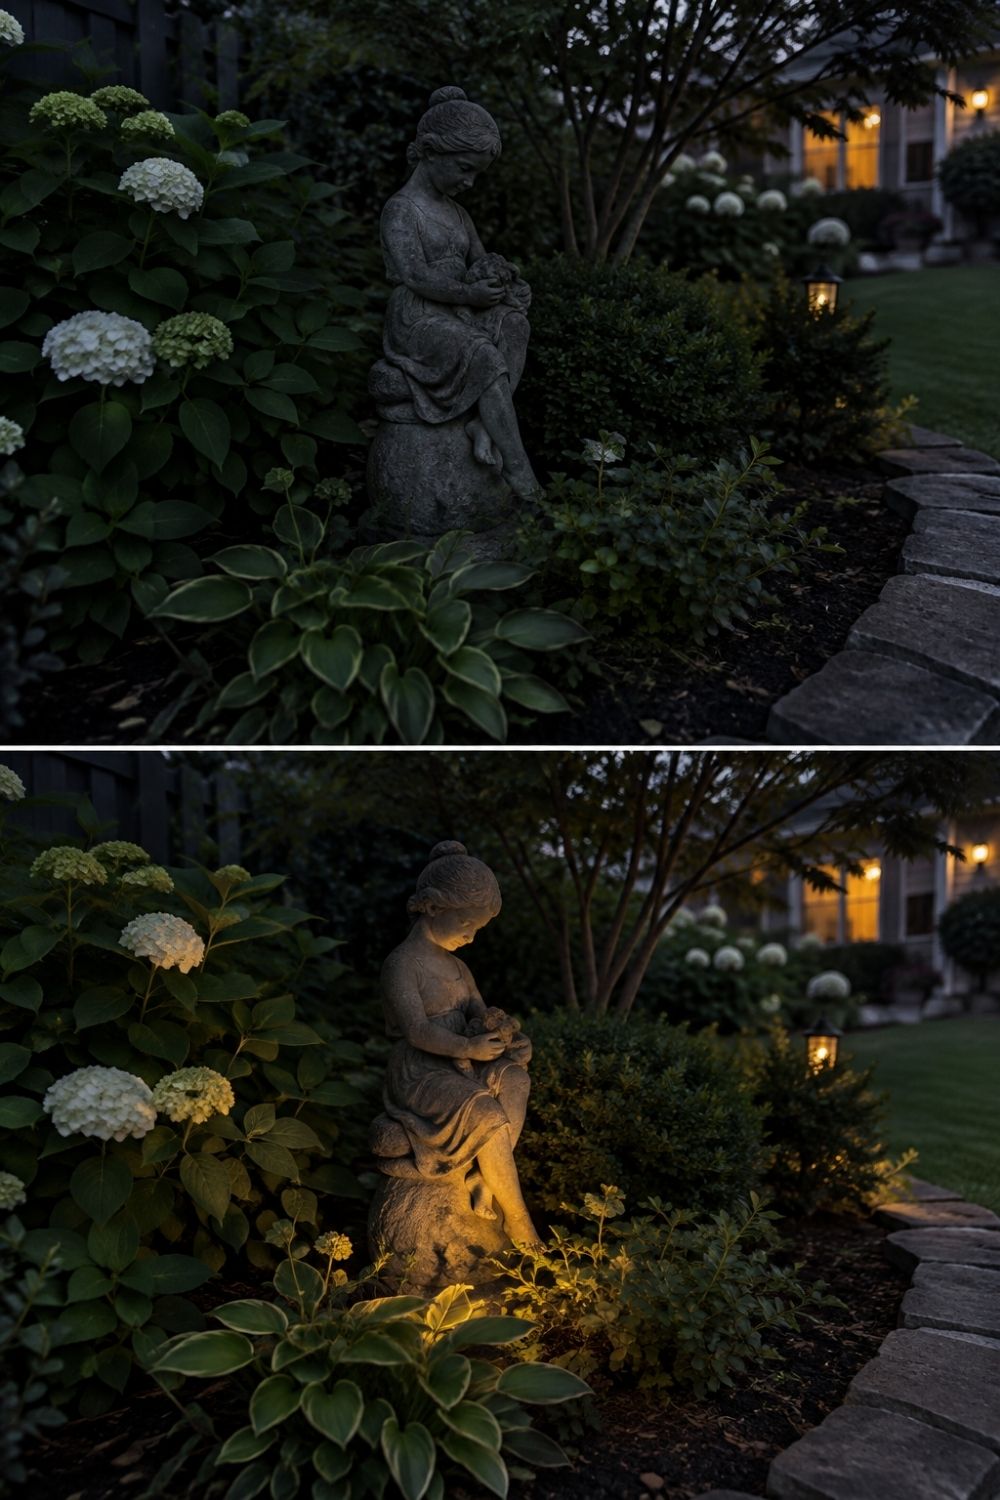
Photo by SassyGarden
In the photos above, the same seated figure among hydrangeas and hostas is nearly invisible in the dark, then lit from below by one warm spotlight. Light from below and slightly to the side shows the texture of the stone and throws soft shadows behind it. Use warm white, keep it to one light per piece, and hide the fixture in the planting. Solar spotlights make this easy without any wiring; I covered placement in my favorite solar garden lighting ideas.
Bonus: make one yourself
Not every garden statue has to come from a store. Clay pot figures cost a few dollars, take an afternoon, and bring the kind of humor that suits a cottage or kitchen garden.
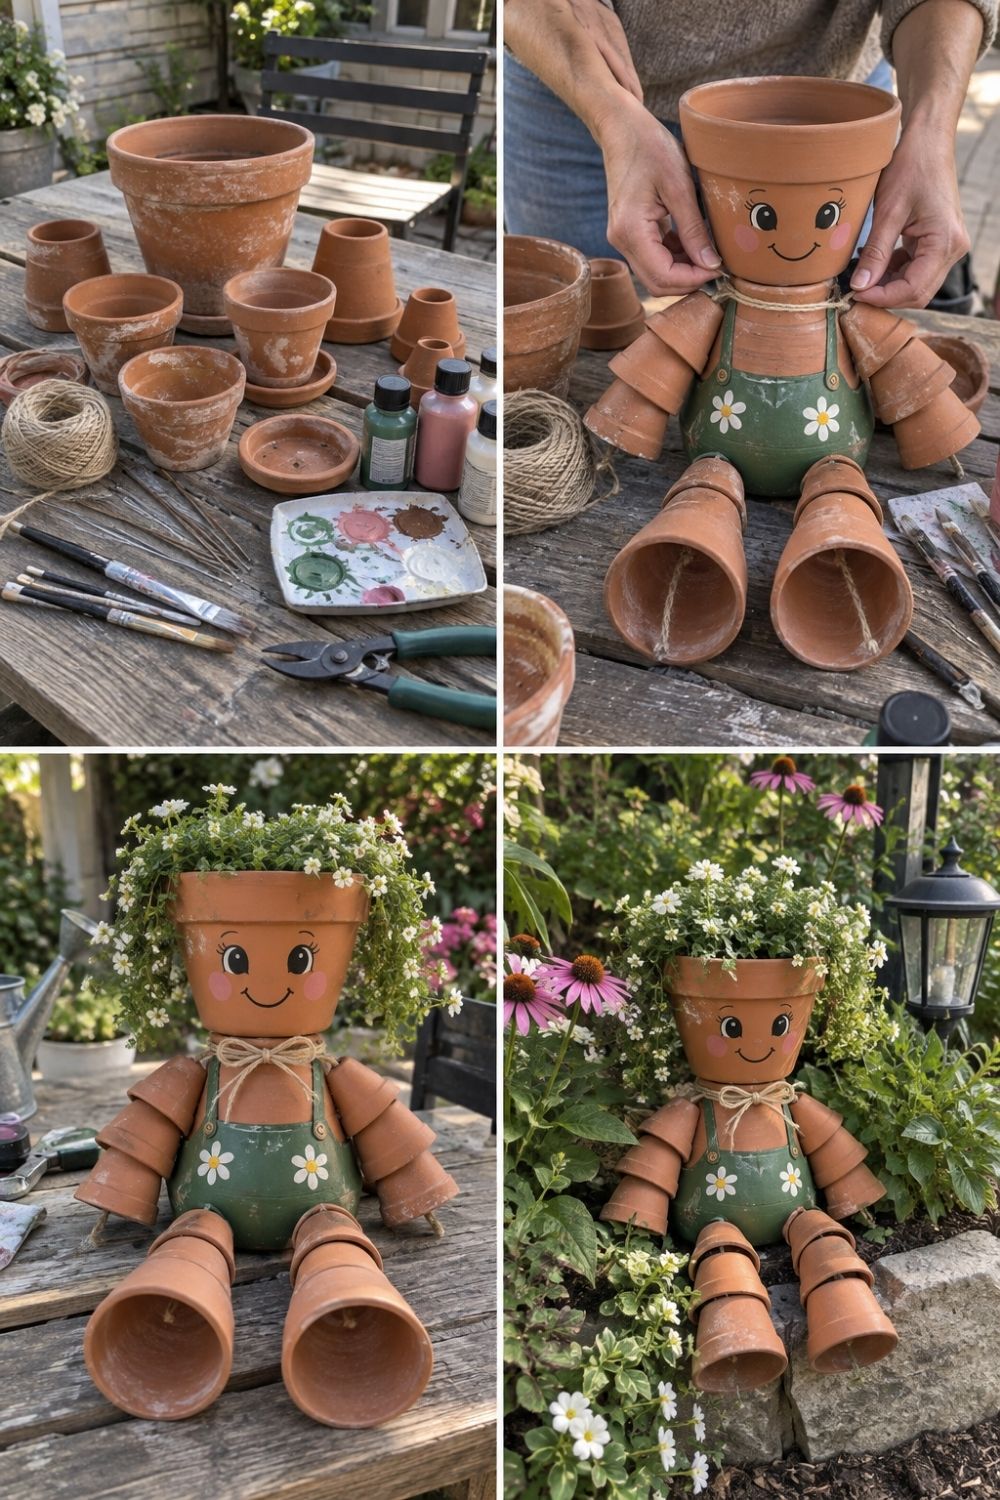
Photo by SassyGarden
The four steps above go from a table of small terracotta pots, twine and outdoor paint to a little figure with a painted smile and flowers growing out of its head, sitting on the edge of a bed. Thread the pots onto twine for arms and legs, glue the body together, and seal the paint with an outdoor varnish so it survives rain. It’s a good rainy-day project with kids and breaks the “one statue per view” rule far more gracefully than a store-bought gnome army.
That’s pretty much it: one piece per view, sized to the space, in a style that fits the house, framed by plants, set on firm ground and lit at night. A single garden statue placed with that much thought does more than a whole collection.