
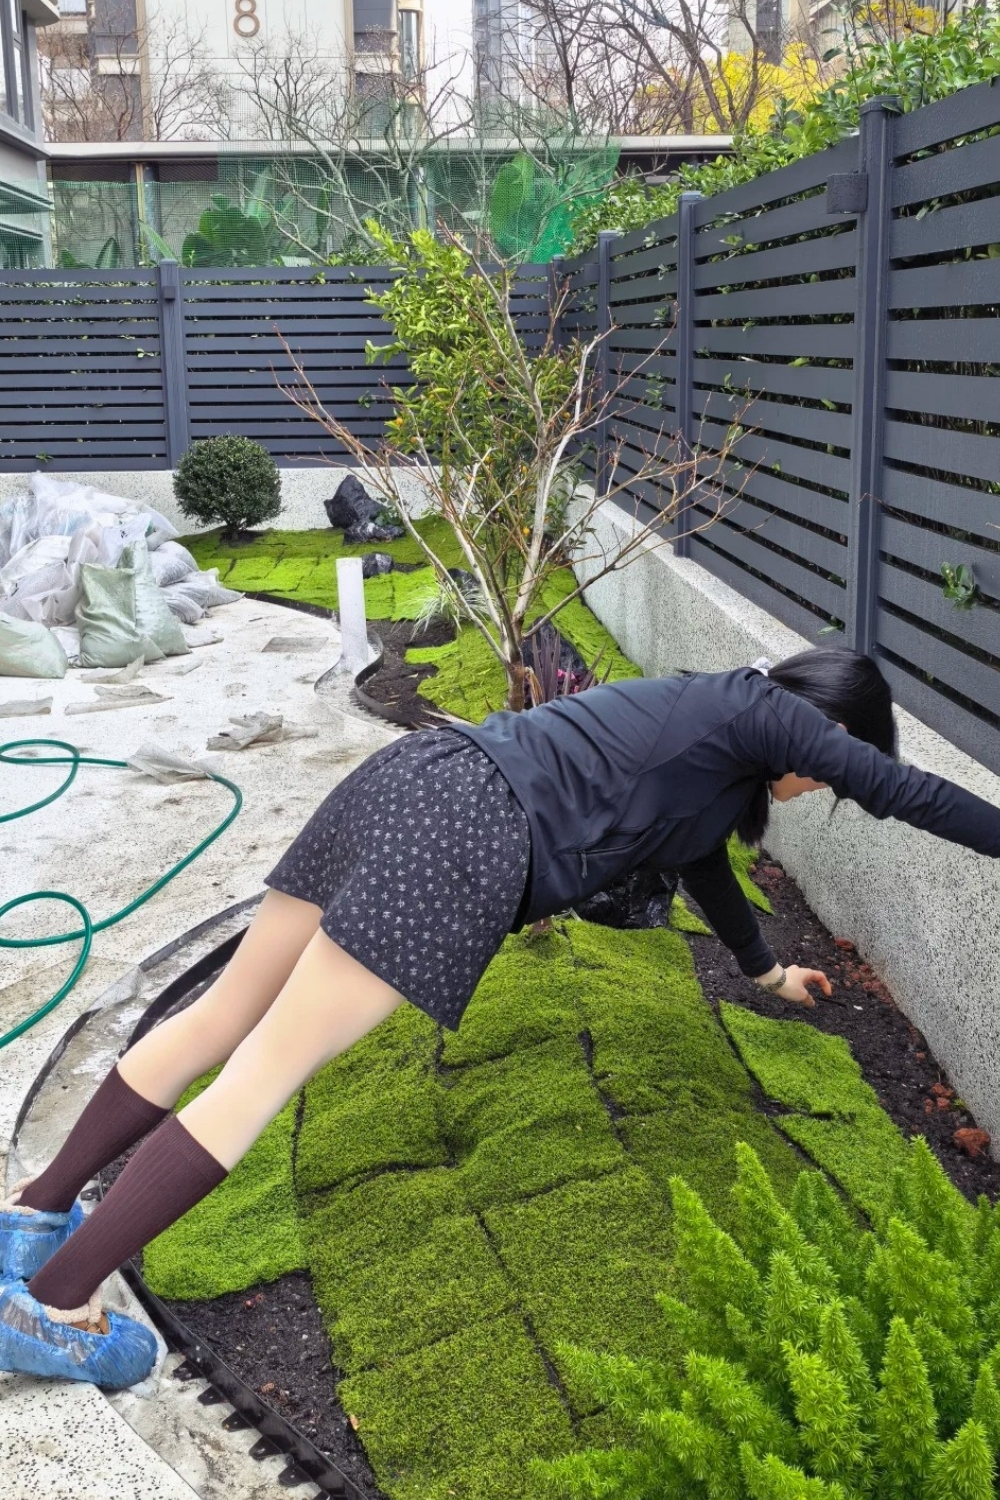
A lot of gardeners spend years reseeding the same shady corner, raking out moss every spring and watching thin grass give up again by July. Actually, though, that corner is telling you what it wants to grow. A moss garden turns the spot grass hates into the softest, greenest part of the yard, and it asks for less work than the lawn ever did.
Why moss grows where grass gives up
Grass wants sun, loose soil and regular feeding. Moss wants nearly the opposite: shade, damp air, and soil that’s compacted and acidic, meaning on the sour side of the scale gardeners measure with pH, roughly 5.0 to 6.0. Under trees, on the north side of a house and along a fence that blocks the afternoon sun, those conditions show up on their own.
Moss also has no real roots. It holds on with rhizoids, tiny root-like threads that anchor it to soil, stone or wood, and it drinks through its leaves instead. That’s why it can grow on a rock where nothing else will, and why it dries out quickly in direct sun. A shady spot that stays a bit damp is the whole recipe, and these plants that grow well in shade make good companions for a moss garden, since they like the same conditions.
Under trees and on the north side
The ground under a big maple or oak is where lawns fail first, and for a whole yard there, a moss lawn is worth weighing up. The tree shades the grass, its roots take the water, and fallen leaves smother whatever survives. A moss garden fits there instead: a ring of moss around the trunk, a few flat stones and a fern or two look intentional rather than neglected. Keep the moss a few inches back from the trunk and don’t pile soil against the bark.
The north side of a house works the same way. A narrow strip that never gets direct sun, where grass turns patchy by midsummer, can become a moss garden with a stepping-stone path down the middle, and it stays green when the rest of the yard browns in August.
Between stepping stones
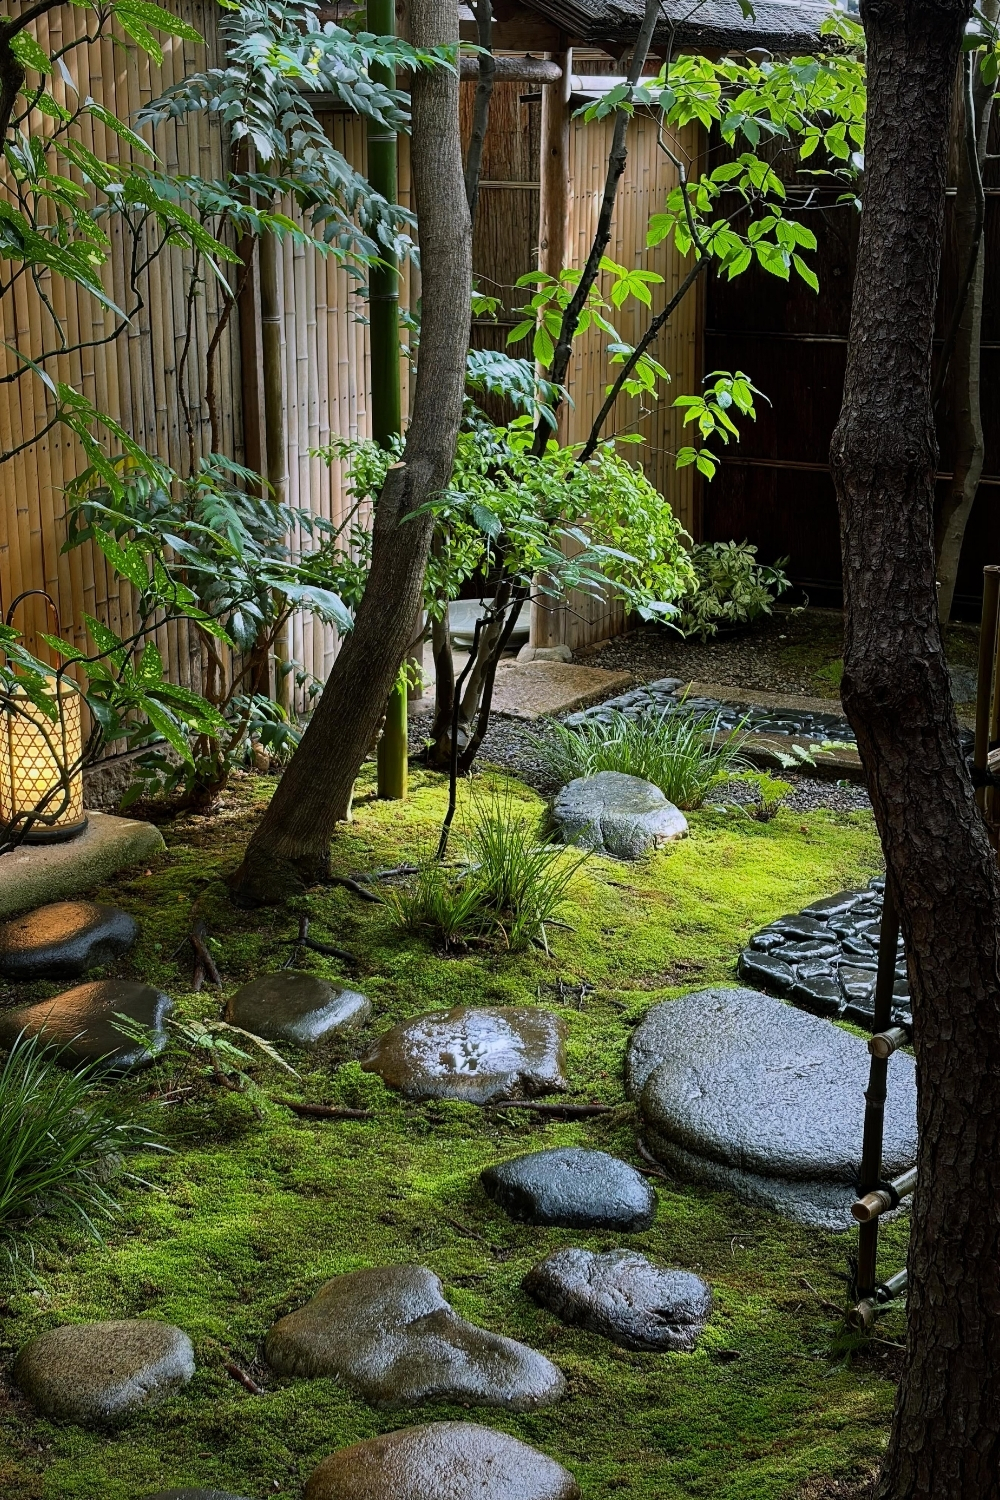
The gaps between stepping stones are one of the easiest places to start. The stones shade the soil at their edges and hold moisture underneath, so moss creeps into the joints on its own in many yards. Planting a little moss garden there just speeds things up.
Moss handles being stepped on now and then, though not daily traffic. Keep it to the joints and let the stones take the footsteps. Round, dark river stones set into moss look especially calm in a narrow side yard, where they’d otherwise sit on bare dirt.
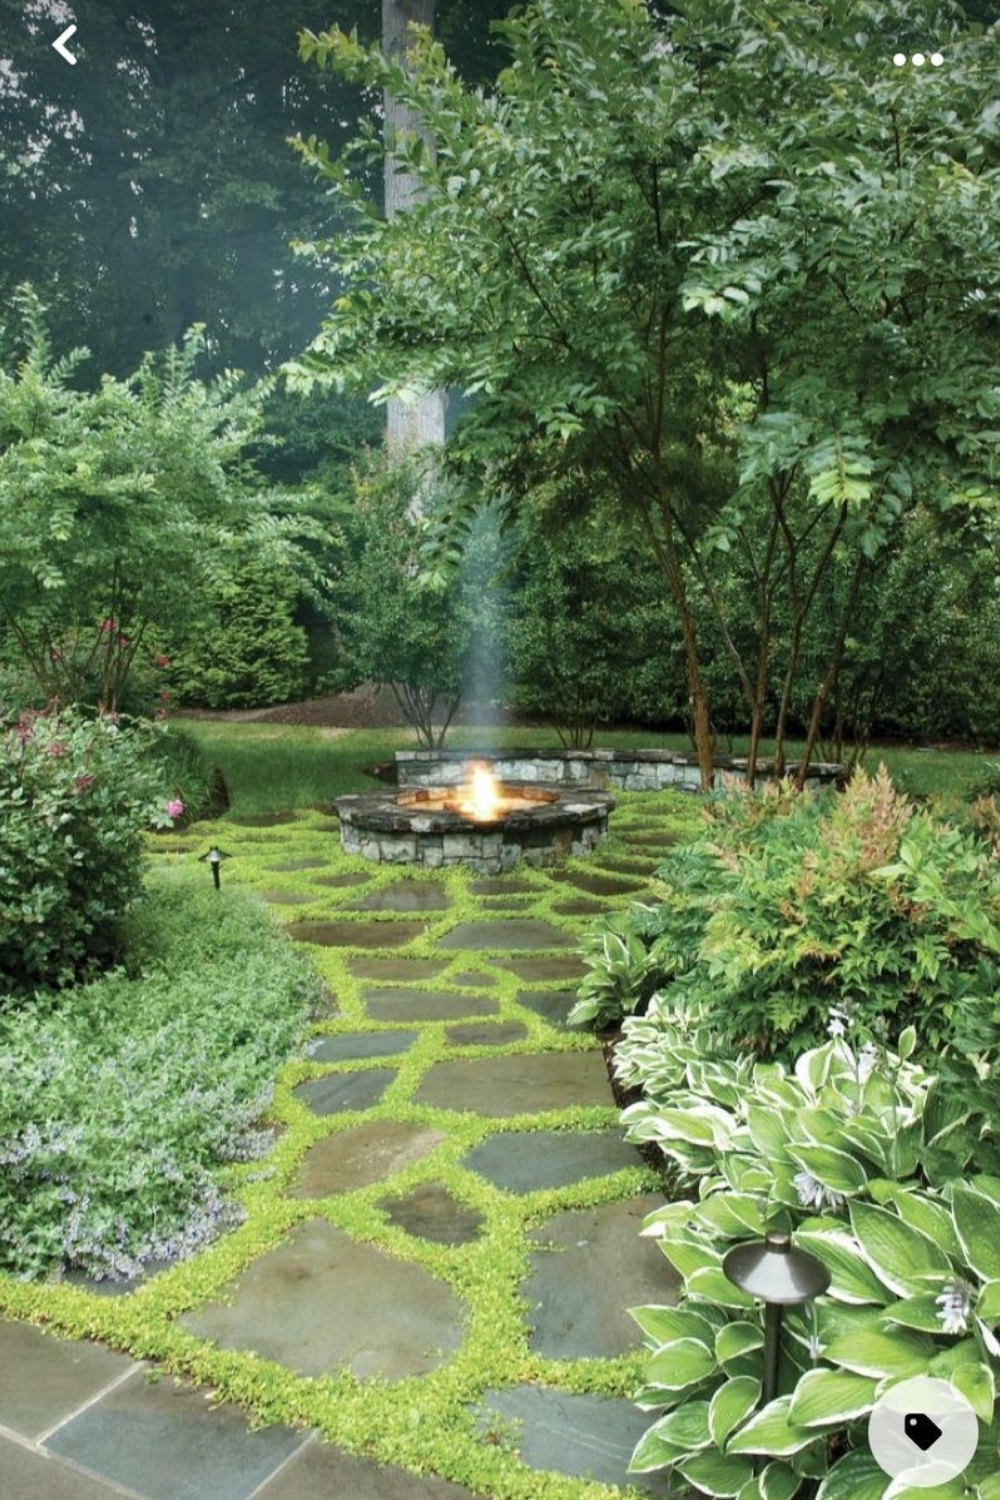
Flagstone paving with moss in every joint softens a patio or a path without adding a single plant pot. In sunnier spots, the moss will fade in summer; in a shady courtyard, it stays green most of the year.
Along a stone path

An old stone path through trees, with moss spreading in from both sides, is probably the image most people picture when they think of a moss garden. A narrow strip on each side is enough to get the look: it blurs the edges of the path and makes even a new path seem older.
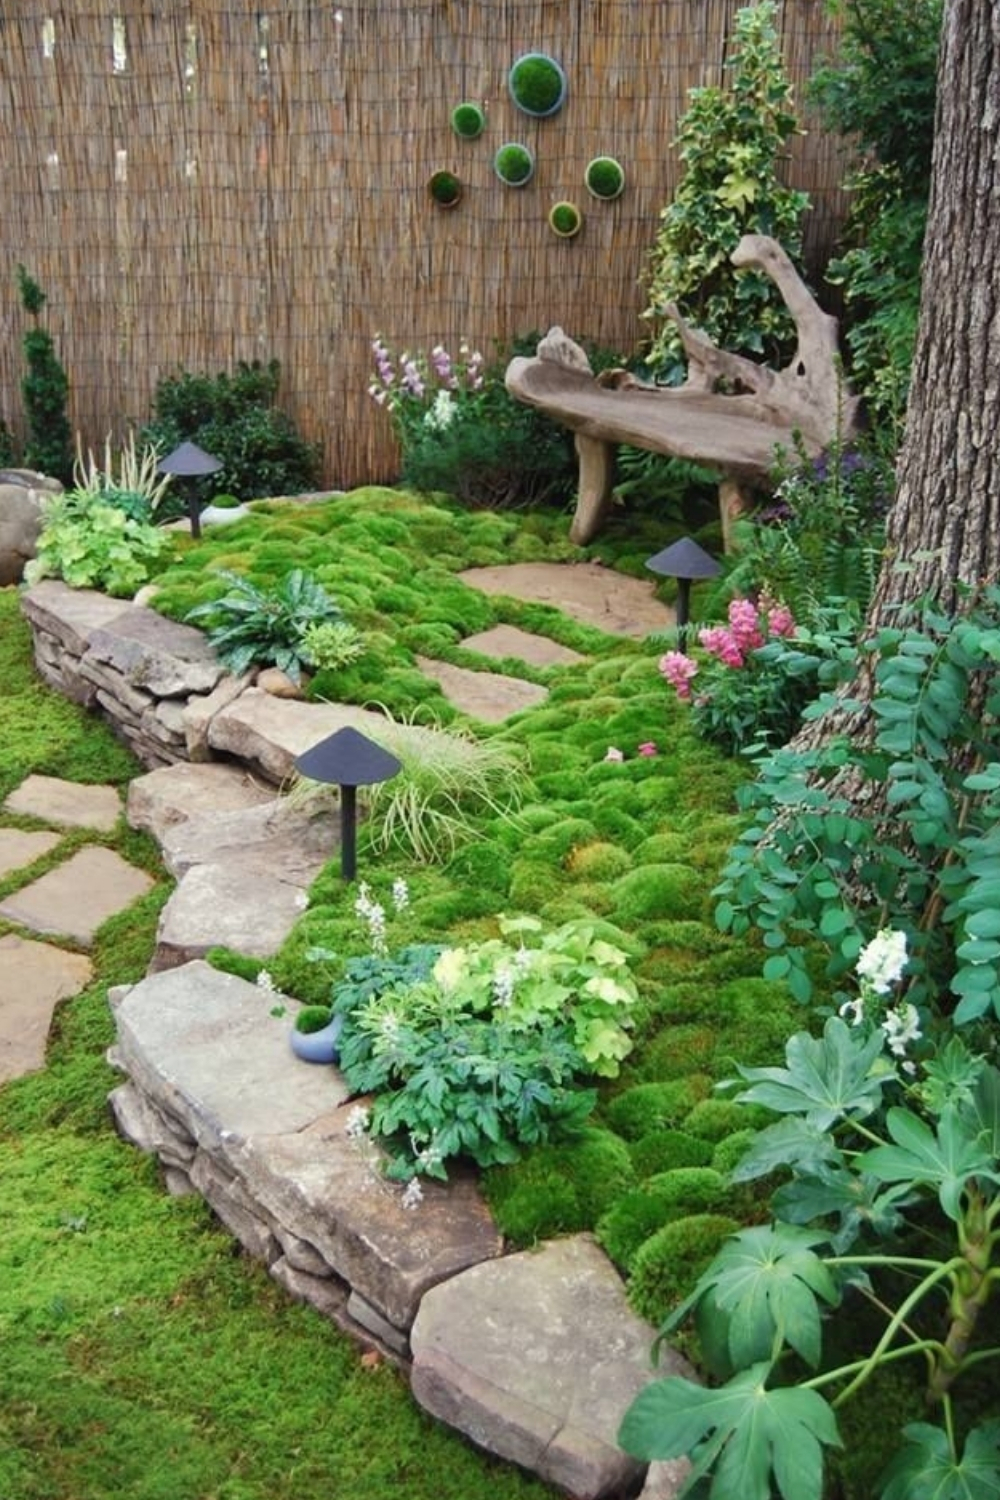
A low stone edging between the path and the moss keeps the two from mixing, and gives the moss a clean line to grow up to. The edging matters as much as the paving, and this look at what makes a garden path look good goes into edging, curves and planting along the sides.
Mounds and rock gardens, Japanese-style

Japanese gardens often use moss over low, gently rounded mounds, so the ground itself looks soft and rolling. Building a moss garden mound is simple: heap up soil into a smooth hump a foot or two high, firm it down, and cover it with sheets of moss. A fern or a single rock at the base gives the mound something to rise from, and a strip of gravel around it sets it apart from the rest of the bed.

In a rock garden, moss fills the space between larger stones and gravel. It keeps the soil shaded and moist around the rocks, and it makes a new arrangement look like it has been there for decades. In a way, it does the aging for you. A stone lantern or a small figure looks at home in this setting, as long as the count stays at one or two; these tips on choosing garden statues without overdoing it help with scale and placement.
Trays, pots and miniature landscapes
No yard? A moss garden works just as well in shallow dishes. Bonsai trays, low ceramic bowls and wooden boxes can each hold a tiny landscape: a cushion of moss, a few small stones, maybe a dwarf fern or a tiny tree.
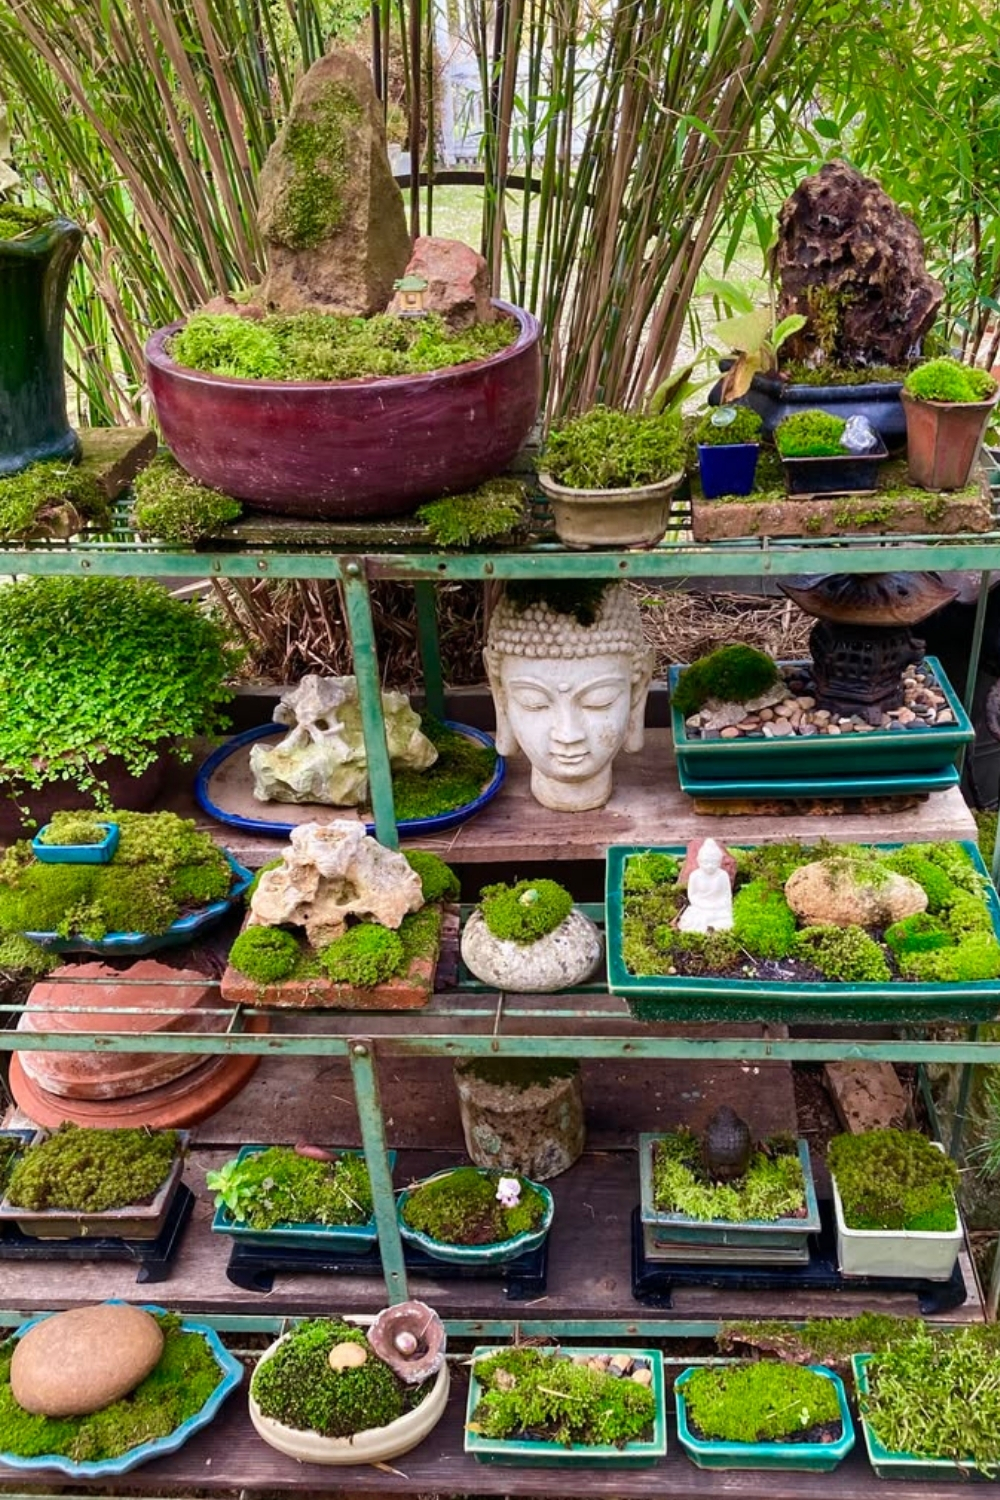

Shelves and tiered stands turn a collection of these into a display, with the shadiest shelf at the bottom. A balcony or patio that gets morning sun only, or a bright covered porch, suits them. I’m here for a shelf of these little moss gardens in place of yet another row of struggling flower pots.
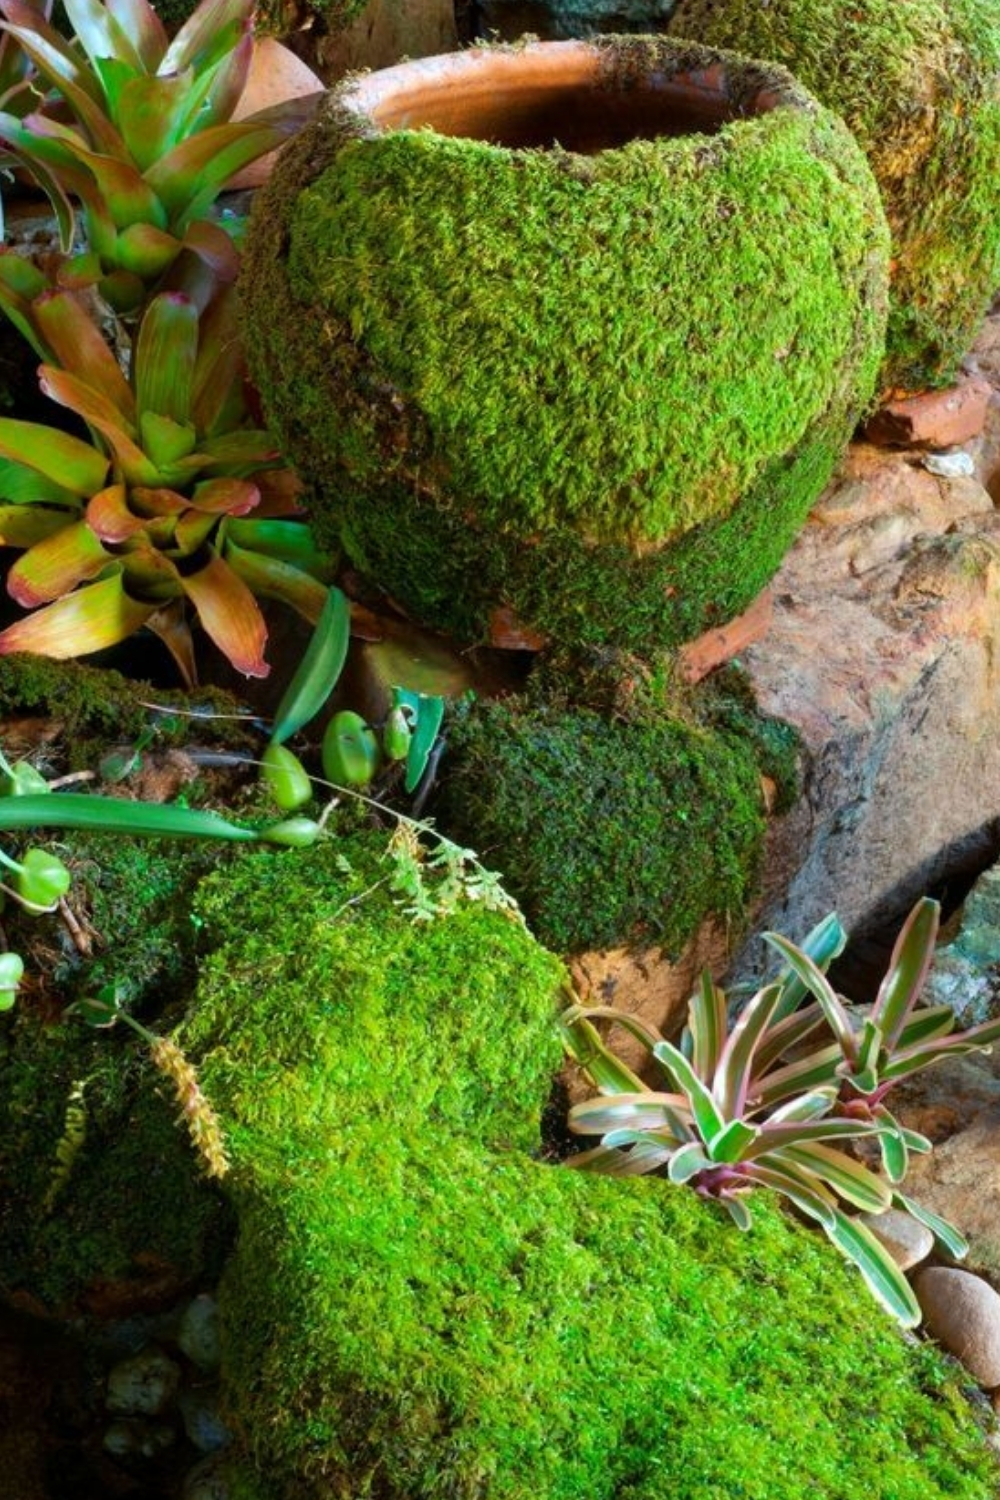
Moss can also grow on the outside of a clay pot. One method is a moss slurry, sometimes called a moss milkshake: moss blended with buttermilk or plain yogurt and painted onto the surface. It can work, but slowly and not reliably, and it needs constant moisture and shade. Pressing small pieces of live moss onto a damp, rough clay pot usually takes faster.
A moss garden around a small pond
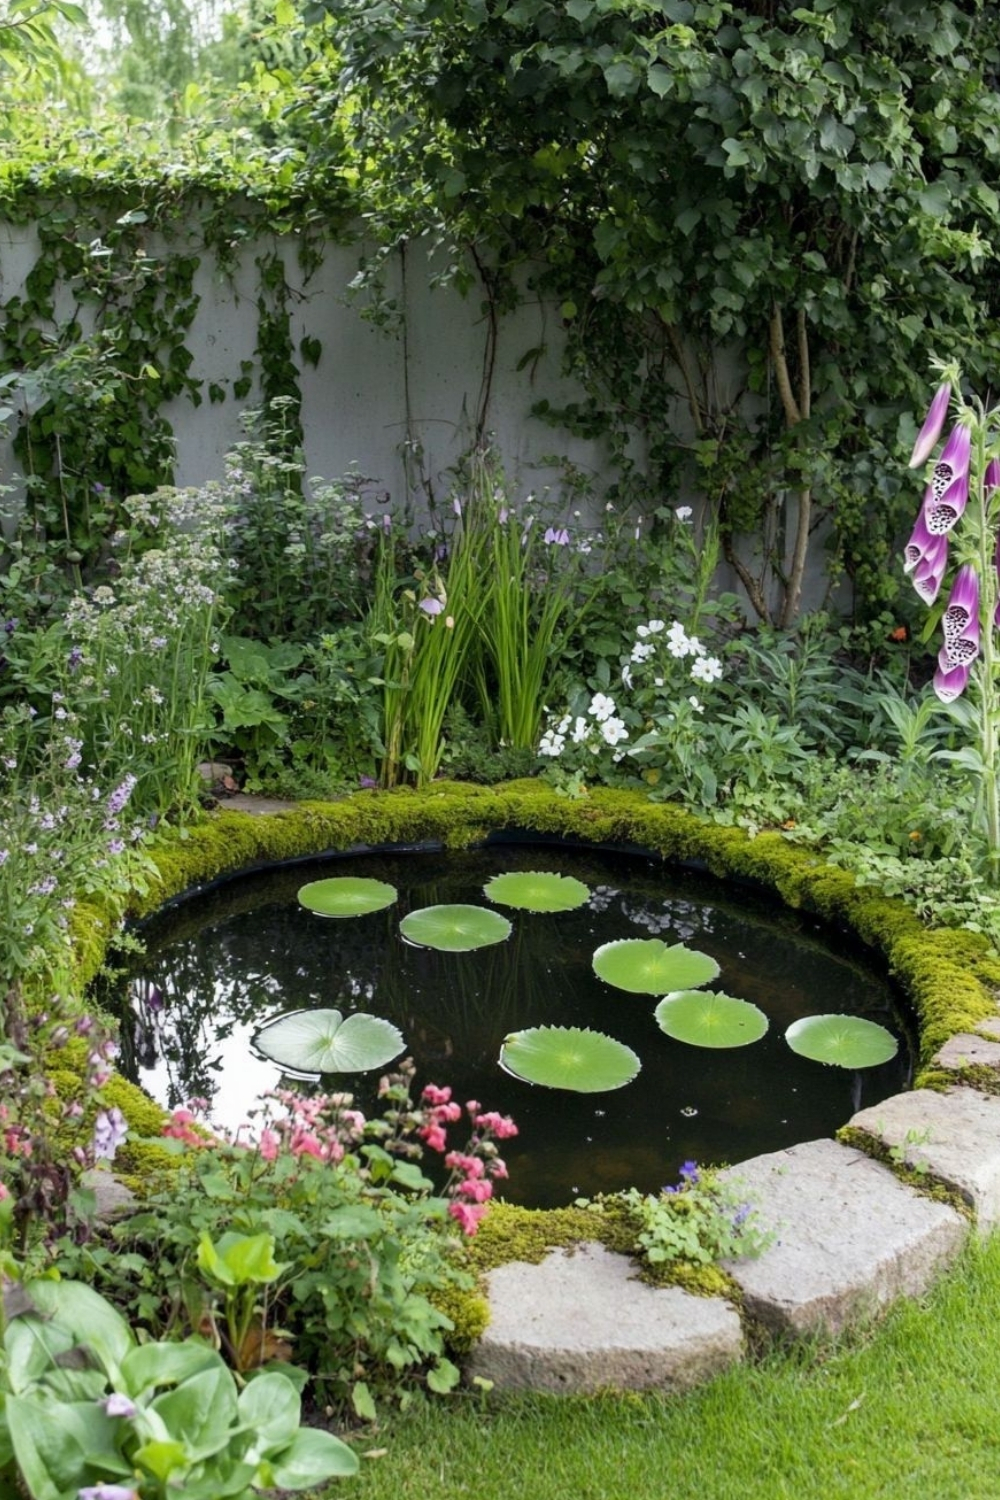
The edge of a small pond, like a patio container pond, or a sunken water bowl is a natural home for moss, since the air right above the water stays damp. A ring of moss over the rim hides the edge of a liner or tub and links the water to the planting around it. Keep the moss just above the waterline, not in it.
Getting moss started
Start a moss garden with moss from your own yard or from a nursery that grows or sources it responsibly. Wild moss regrows very slowly; according to this Grist report on commercial moss gathering, in some cases it recovers at only about 1 percent a year, and harvesting it is banned in places such as Olympic National Park. Taking moss from parks or public woods is best left alone.
Two broad kinds of moss are easy to find. Sheet moss grows flat and low, like green felt, and suits stepping stones, slopes and the outside of pots. Cushion moss grows in rounded clumps and suits mounds and the edges of a rock garden. Many nurseries simply label them by look, so choose by the shape you want.
Moss from your own yard transplants best when it comes from a similar spot, shady to shady and damp to damp. Clear the new area of weeds and leaves, rake the soil smooth and water it. Lay the moss sheets on top, press them down firmly so every part touches the soil, and walk on them gently or weigh the edges with a few stones. Then keep the moss damp for the next few weeks, misting or watering lightly every day in dry weather. When a gentle tug no longer lifts it, it has taken hold.
Upkeep
A moss garden needs very little, but the little matters. Fallen leaves are the main threat: according to Bob Vila’s guide to growing moss, moss can’t survive under a blanket of dead leaves, so rake or blow them off gently and often in fall. Pull weeds early, since they compete for moisture. Water lightly in long dry spells; brown moss often greens up again within a day of rain.
Skip fertilizer, lime and weed-and-feed products. Lime raises soil pH and many lawn products contain moss killers, so keep them well away from any moss garden.
Fall and winter are moss season. While most plants fade, a moss garden turns its brightest green in cool rain and short days, and the shady corner that looked like a problem all summer becomes the greenest spot in the yard.